 LeCoqRoti
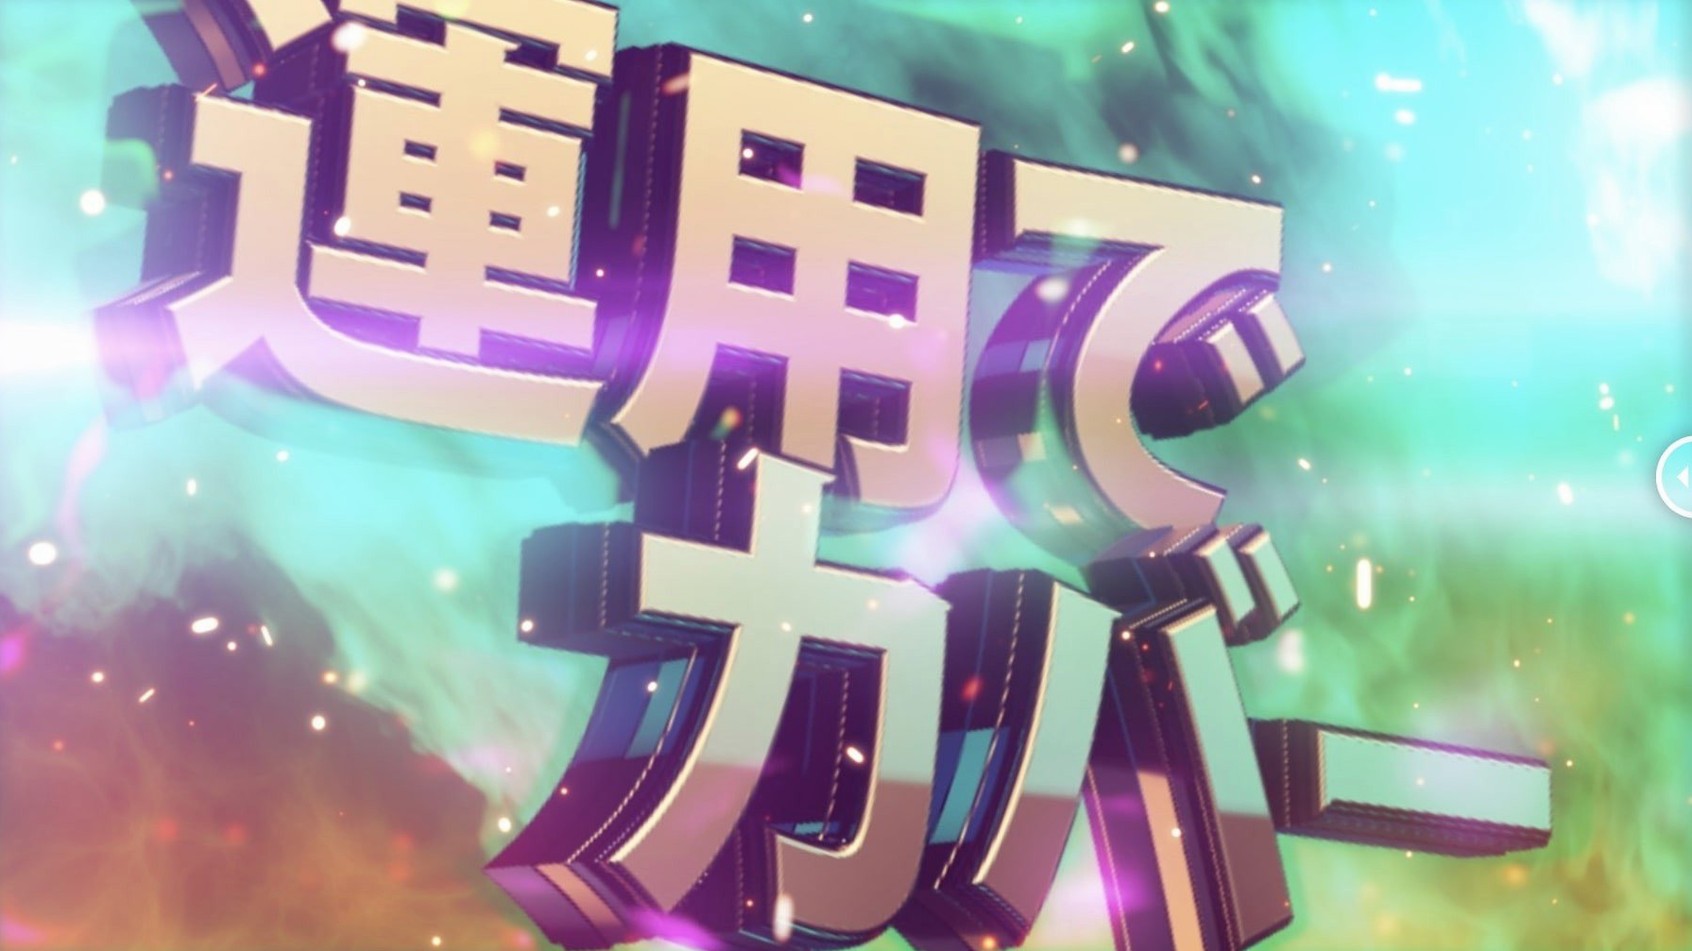
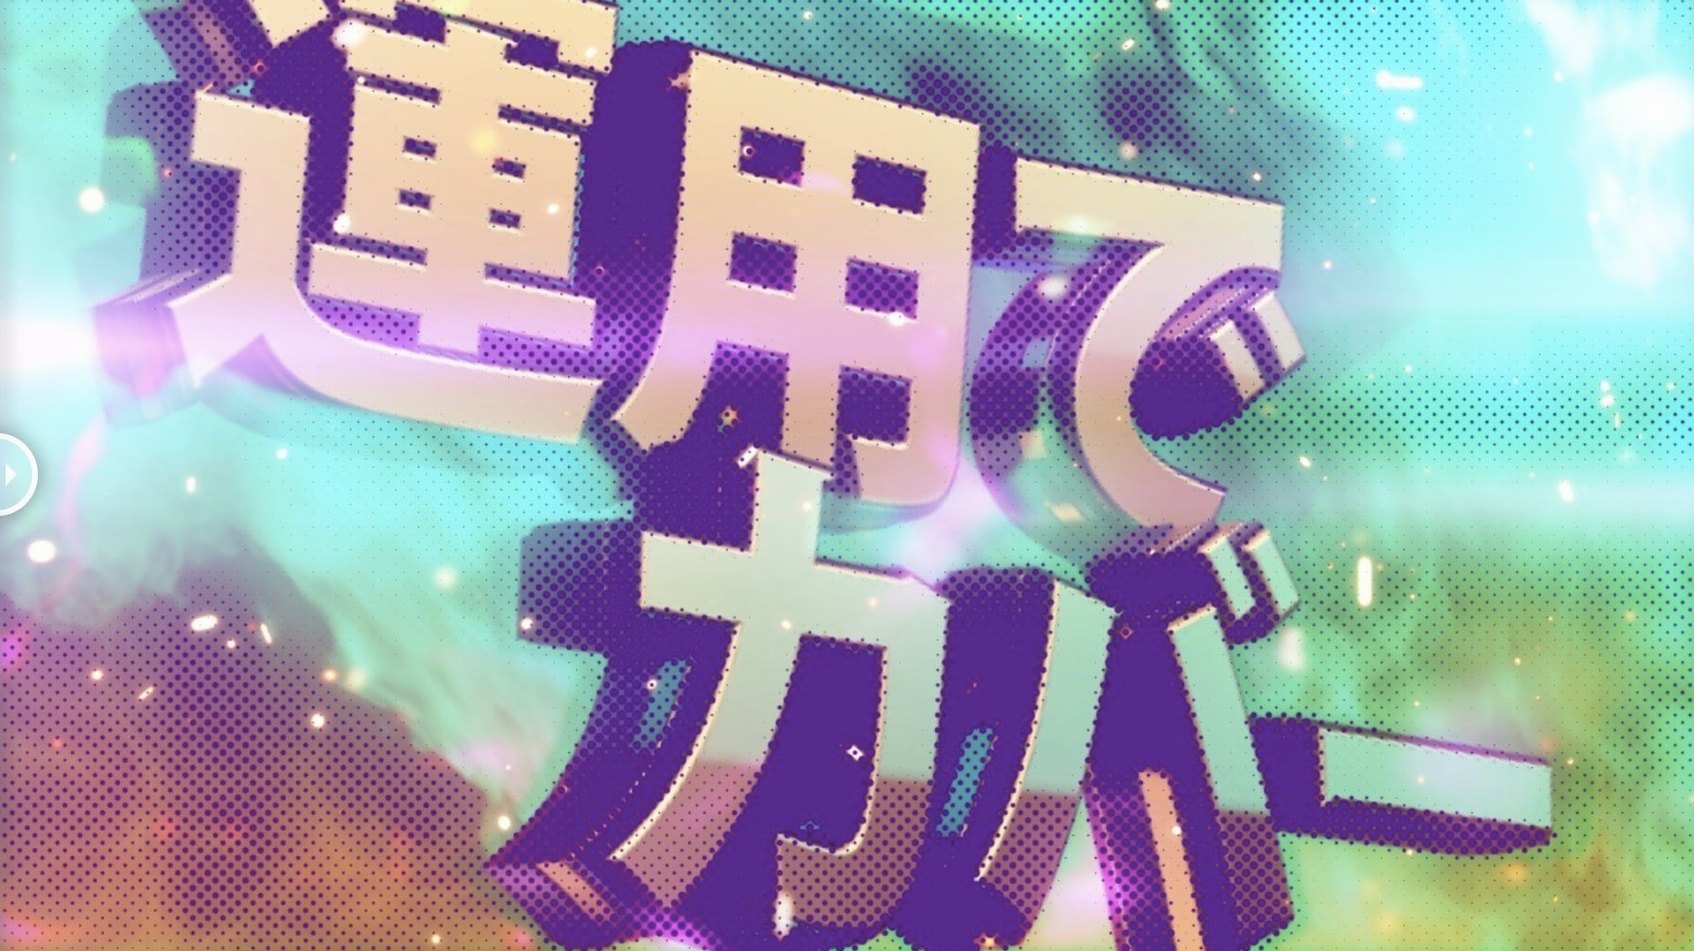
Dot pattern: sizing and rotation
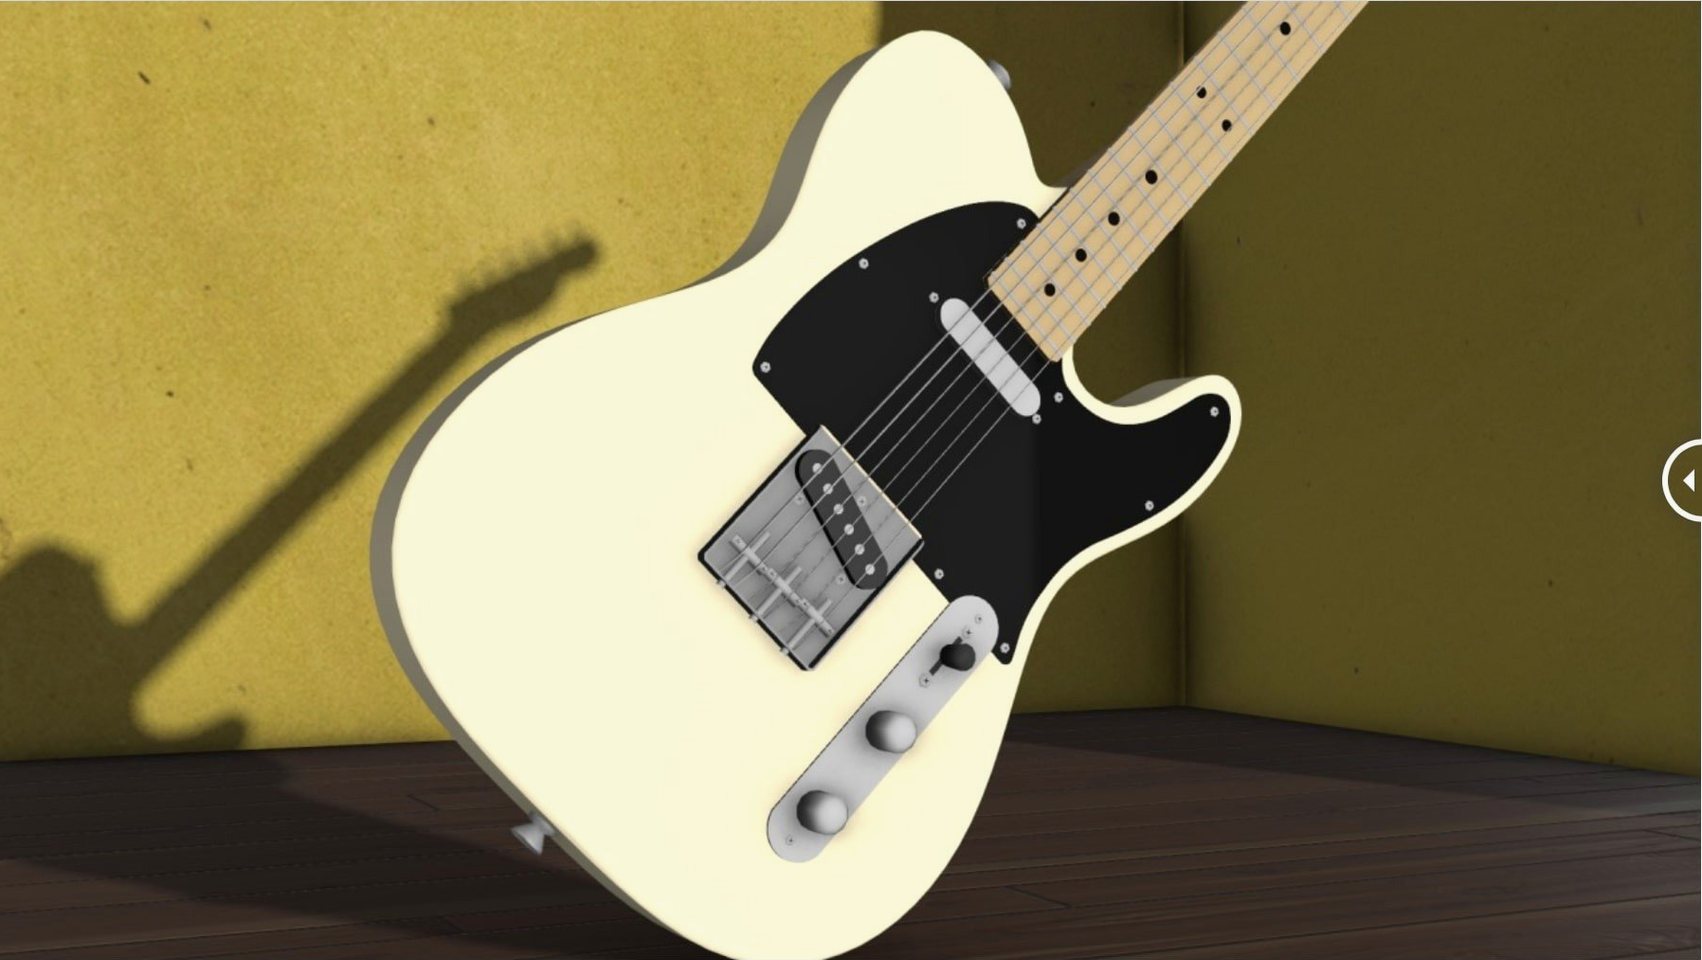
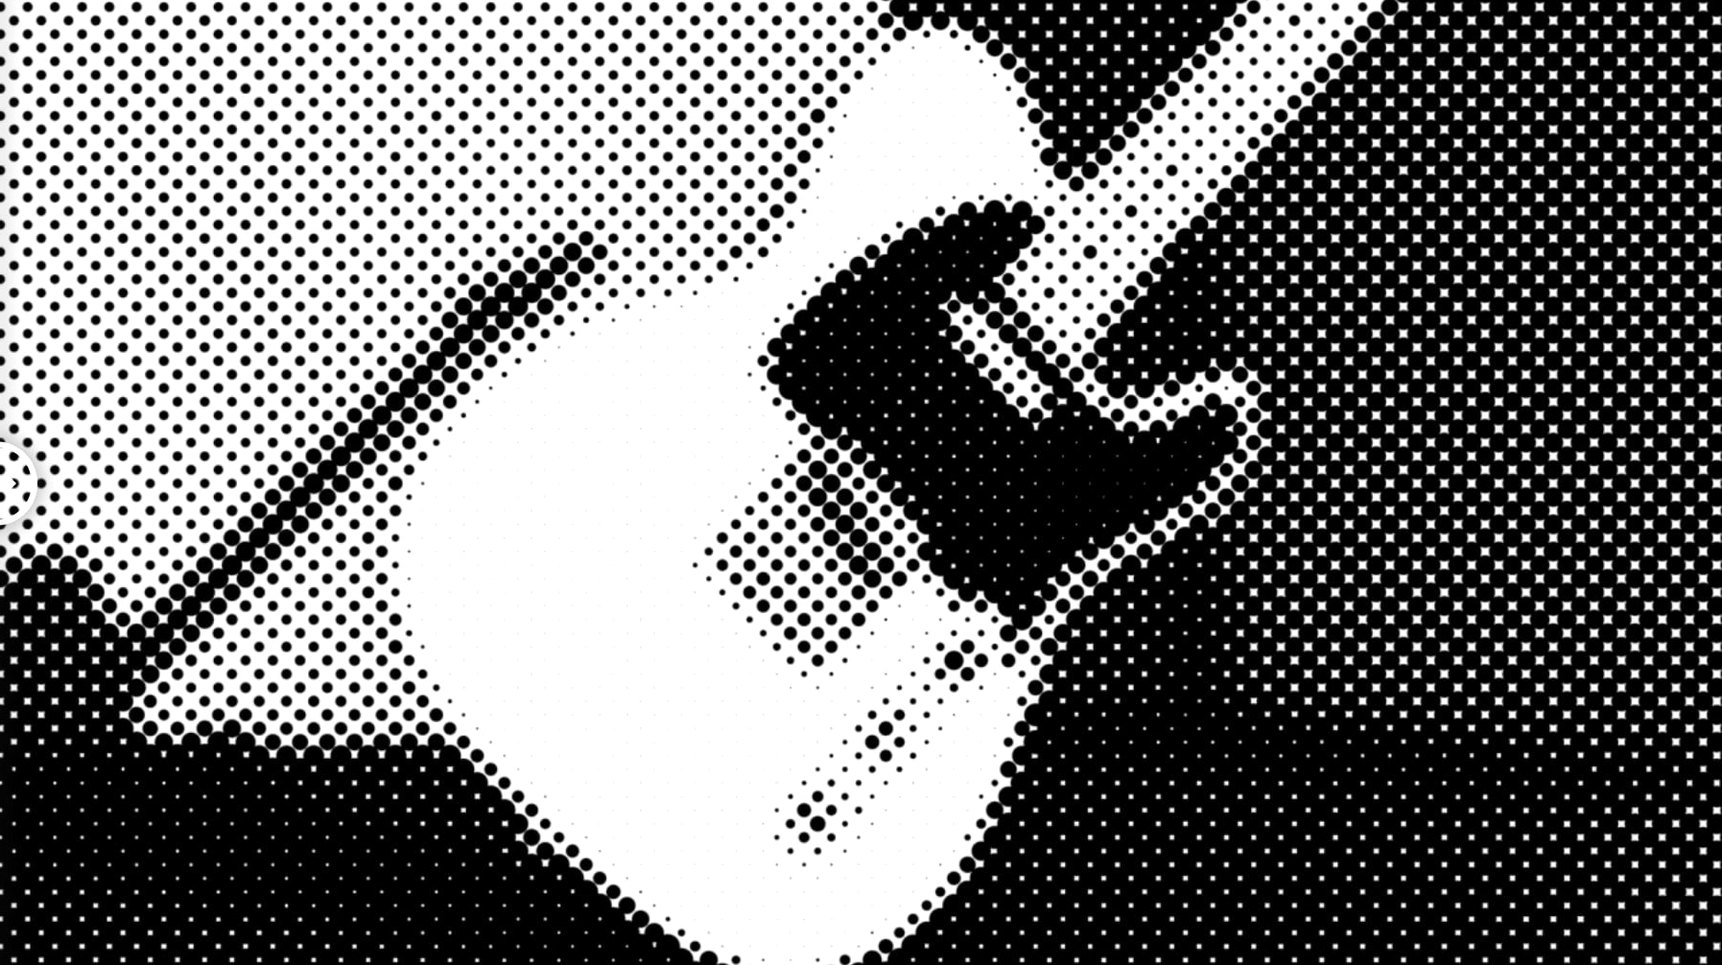
Drop the effect onto a layer and begin adjusting dot size and rotation immediately. The circle, square and line shapes each respond differently to scale, giving you three distinct starting points for a composition.
Alpha response: using the matte
Alpha and sampling controls let you drive the halftone from the layer’s own transparency, so a soft-edged matte produces a halftone that fades at the edges without extra masks.
Offset: shifting the grid
Offset moves the entire halftone grid in X and Y, which is practical when aligning patterns across multiple layers or matching a rhythm already present in the frame.
Little touches: conveniences that slip past the eye
A few details in m’s HalfTone reveal themselves only after repeated use. The rotation parameter, for instance, accepts values beyond 360 degrees without snapping back to zero — a small liberty that makes keyframed spins cleaner, since you avoid the jarring reset that plagues many angle controls. Holding the Option key while dragging a slider value scrubs it at a finer increment, useful when dialling in the exact dot radius against type or thin line art.
The sampling drop-down deserves a closer look. Beyond the expected RGB and luminance options, the Alpha Edge mode reads the transition between opaque and transparent regions, generating dots that cluster along the contour of a matte rather than filling its interior uniformly. Applied to a rotoscoped figure, the effect outlines the form with halftone beads — no secondary layer or track matte required. Equally easy to overlook: the dot origin defaults to the layer centre, but the offset parameters accept negative values, letting you nudge the grid so a specific dot lands precisely on a focal point in the composition without recomposing the source.
A practical run: halftone accents on a title card
Consider a short title sequence where white sans-serif text sits on a dark background. The brief calls for a vintage print feel, but only on the descenders and ascenders, leaving the counters clean. Here is one route from scratch to render:
- Duplicate the text layer and apply m’s HalfTone to the copy. Set the shape to circle and reduce dot size until the pattern reads as texture rather than legible dots — typically around 4 to 6 pixels on a 1920-wide comp.
- Switch sampling to Alpha. The halftone now appears only where the text is opaque. To restrict it further, add a mask to the halftone layer that isolates the top and bottom thirds of the frame, feathering its edges by 30 pixels so the effect fades toward the x-height.
- Offset the grid subtly, perhaps by 12 pixels on Y, so the dot rows align with the baseline rather than cutting through the middle of the letterforms. A slight positive X offset can shift the pattern away from the tightest counters.
- For depth, duplicate the halftone layer, change the shape to line, rotate the pattern 45 degrees, and set the blend mode to Soft Light at 30% opacity. The lines add a cross-hatched shadow without overwhelming the primary dot grid.
- Pre-compose the halftone layers and apply a subtle turbulent displace to the pre-comp (about 3 pixels, evolution keyframed slowly) so the print texture feels organic rather than mechanical.
What makes the approach work is that m’s HalfTone applies directly to the layer stack: no need to pre-render a map, no need to juggle separate comps for the halftone source. Adjustments to the type — a word change, a tracking tweak — cascade through the effect without rebuilding anything.
Alongside similar tools: three comparisons
Motion designers have more than one way to achieve halftone looks in After Effects. Two native approaches and one third-party alternative offer useful points of reference.
CC Block Load ships with After Effects and pixelates an image into rectangular blocks. It can approximate a square-dot halftone when combined with a threshold effect, but the result is screen-based: the block grid follows the pixel matrix of the layer, making rotation impossible without pre-composing and transforming. m’s HalfTone generates a mathematically defined grid that rotates and offsets independently of the pixel structure, so a 17-degree dotted pattern requires no workaround.
Circle and Stroke via shape layers offers total design freedom — any arrangement of dots, any masking, any animation curve. The cost is setup time. A field of dots that responds to luminance requires a sampleImage() expression, dozens of shape layer instances, and careful management of render order. For a one-off hero shot the control may justify the effort; for a client revision at the end of the day, the directness of a single plugin effect is hard to overstate.
BCC Halftone from Boris FX covers similar ground and adds a larger library of shape options, including diamond and cross patterns. Where m’s HalfTone distinguishes itself is in its lightness: the BCC suite installs a large shared framework, while m’s HalfTone is a single .plugin file with no dependencies beyond After Effects. On older machines or in collaborative projects where every team member must install the same tools, that difference in footprint matters.
Settings to visit first
A freshly applied instance of m’s HalfTone arrives at a neutral default — medium-sized black dots, luminance sampling, no offset. Three adjustments consistently yield a better starting point:
- Sample source: change from Luminance to Alpha when the layer carries transparency. The default luminance mode reads RGB brightness and produces dots even in fully transparent areas, which is rarely the intention with a keyed or masked element.
- Dot size range: the size slider governs the maximum diameter. The minimum dot size is controlled by the Range parameter beneath it. Narrowing the range — for example, setting a minimum of 60% of the maximum — creates a tighter, more uniform pattern that suits technical or HUD-style treatments where extreme variation feels chaotic.
- Grid rotation: a rotation of 15 to 22 degrees avoids the moiré that can appear when a square or circular grid aligns too closely with the pixel matrix of the composition. The difference is subtle on a still frame but becomes visible once the layer moves or the camera pushes in.
The plugin remembers its last-used settings within a session, so once you settle on a preferred dot shape and sampling mode, subsequent applications begin from that state. A small but welcome consideration when building a sequence that needs matching halftone treatments across a dozen shots.
In short: m’s HalfTone rewards attention to its quieter controls. The alpha-edge sampling, the unclamped rotation, and the grid-offset precision add up to a tool that feels more considered than its single-panel interface first suggests — and for any motion designer building halftone into a daily toolkit, the m’s halftone free download route lets you evaluate it in your own comps before committing it to a production pipeline.





Correspondence 0
Take a chair or join the table to send a letter.
No correspondence on this note yet. Letters are read before they appear.