 LeCoqRoti
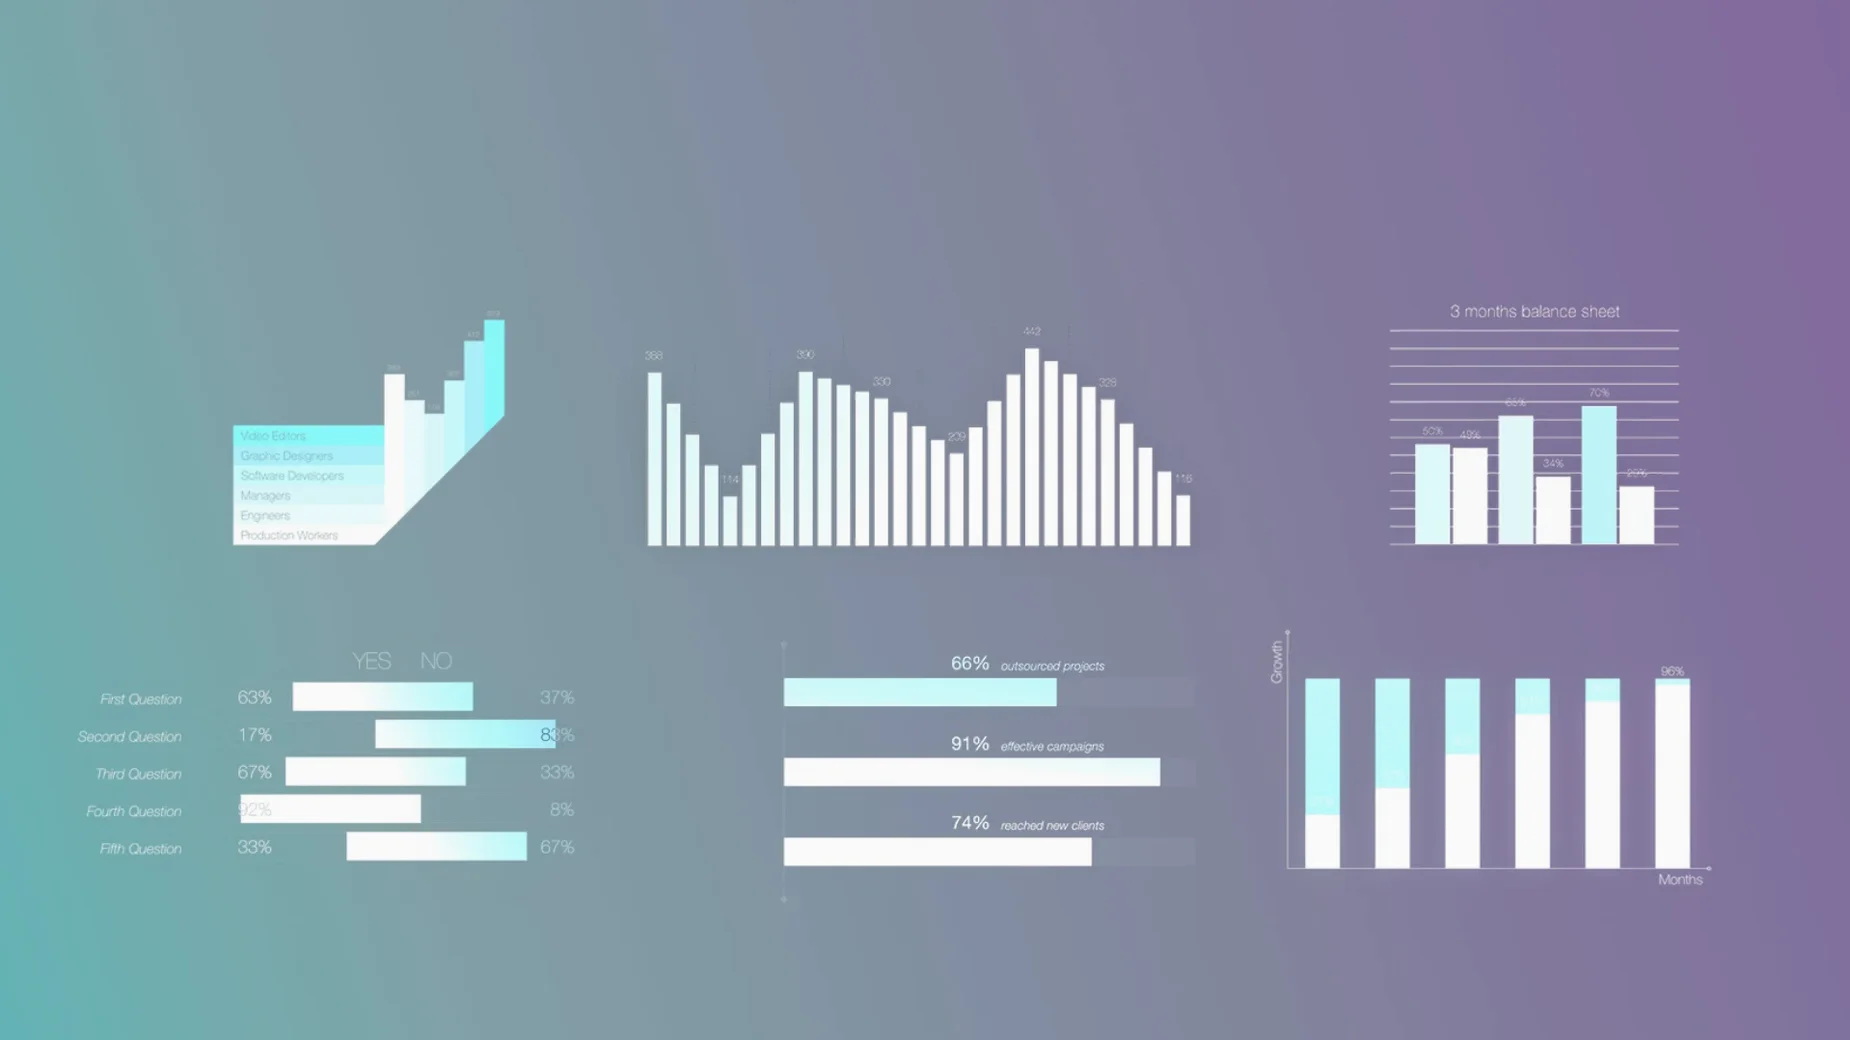
Final Cut Pro ships with a competent set of basic titles and generators, yet editors who piece together data-heavy sequences often reach a point where the built-in options feel too generic. MotionVFX mInfographics extends that library with sixty elements conceived specifically for video editors who need to present percentages, timelines, callouts and statistical comparisons without leaving the timeline.
The collection sits in the Titles browser, which means every element behaves like a native title layer. Dragging a chart or a counter onto a clip places it directly above the footage, and parameters such as colour, duration and text strings adjust through the inspector in the same way a standard lower third would. No compositing, no round-tripping to Motion.
The sixty elements cover the usual infographic vocabulary: circular progress rings, bar fills, numeric counters, map pins and label connectors. Because they are built on Motion templates, scaling up to 4K timelines keeps edges sharp and text legible. The English-only interface presents no localisation surprises inside the inspector controls.
Default parameters: the circular ring trap
Most missteps come not from the plugin itself but from treating these elements as finished graphics rather than editable templates. The first mistake is dropping an element onto the timeline and accepting every default parameter. The circular progress ring ships with a generic percentage value and a neutral grey fill; leaving it untouched signals placeholder work to anyone watching. Adjusting the counter value, recolouring the arc to match the brand palette, and nudging the on-screen position takes under a minute and transforms the read entirely.
A second recurring error involves stacking too many infographic elements in a single frame. The collection tempts you to combine a bar chart, a numeric counter and a map pin all at once, because each slides in cleanly from the Titles browser. The result on a 16:9 canvas is visual clutter. A cleaner approach: let one element carry the data point, hold it for three or four seconds, then transition to the next. The timeline stays legible and the viewer absorbs the information rather than scanning a dashboard.
The third pitfall is ignoring the on-screen controls in the Final Cut Pro viewer. Editors accustomed to adjusting everything through the inspector sometimes overlook the small blue handles that appear when an element is selected. These controls let you reposition labels, resize bars, and rotate directional elements like arrows directly on the canvas. Using them speeds up layout considerably compared to typing coordinate values.
How it compares: mInfographics and similar options
Final Cut Pro editors looking at infographic plugins will encounter two other names fairly quickly: Pixel Film Studios ProInfographic and FCPeffects Infographic Generator. They occupy the same shelf but differ in approach.
ProInfographic leans heavily on pre-built scenes: a full-screen newsroom breakdown, a sports statistic overlay, a corporate timeline with multiple data points already choreographed. That suits editors who need a complete infographic segment with minimal customisation. The trade-off is that breaking those scenes apart to reuse a single bar chart or counter requires more work than starting from individual elements. mInfographics takes the opposite route: sixty standalone pieces, no pre-assembled scenes, everything modular.
FCPeffects Infographic Generator offers a similar modular concept but with a stronger tilt toward animated entry and exit builds. Its elements arrive with more kinetic flourish baked in. That can work well for social-media cuts and punchy YouTube edits. For a documentary or a corporate video where the graphic should sit quietly on screen, the mInfographics elements feel deliberately restrained. The scaling behaviour on 4K timelines is comparable across all three; the difference lies in tone and assembly speed.
One practical distinction: mInfographics installs directly into the Motion Templates folder structure, keeping the Titles browser organised without an additional management app. Some competing packages install a preference pane or a library manager, which adds a layer editors may or may not want.
No Motion required: templates run natively
The most frequent question is whether these templates require Motion installed to function. They do not. MotionVFX builds the templates in Motion, but Final Cut Pro reads the published generator files natively. An editor who has never opened Apple Motion can drag, adjust and render every element in the collection without issues. Only someone intending to open and modify the template source itself would need Motion on the machine.
Another question concerns performance on older hardware. The templates use standard Motion generator architecture with minimal particle or simulation overhead, so a timeline with three or four elements running simultaneously tends to playback smoothly on Intel Macs that meet the minimum macOS requirement. Editors on Apple Silicon machines report real-time playback without rendering for modest projects, though complex timelines with multiple 4K streams will naturally benefit from a render pass regardless of which title plugin sits on top.
Some editors ask whether the elements can be saved as custom presets after adjusting colours and fonts. Final Cut Pro handles this natively: once an element is configured, right-clicking it and choosing Save as Title Preset stores the settings for reuse across projects. The plugin does not need to provide its own preset system because the host application already does.
Finally, people occasionally search for a motionvfx torrent or a motionvfx free download before realising the installation is straightforward: unpack the folders, move them into the Titles directory, and the elements appear in the browser without activation steps or licence prompts. The absence of a registration barrier makes the manual install feel simpler than expected.
Compressor exports: standard video layers pass cleanly
The plugin lives inside Final Cut Pro and rarely needs to speak to anything else, but a few connections are worth knowing. Because the titles render as standard video layers, they pass cleanly through to Compressor for batch export with metadata intact. Editors who colour-grade in DaVinci Resolve via an XML round-trip will find the infographic elements carried across as flattened video, which means the data labels remain sharp but are no longer editable text once they leave the Final Cut Pro timeline. For projects heading to Resolve, it is wise to lock the infographic design before the conform stage.
On the macOS side, the fonts used by the templates draw from the system font book. If an editor has activated a custom corporate typeface through Font Book or a third-party manager, that typeface becomes available inside the mInfographics inspector controls without additional configuration. The elements ship with a default sans-serif choice, but swapping to a brand typeface takes only a few clicks in the text parameters.
The Motion Templates folder structure also plays nicely with backup workflows. Because everything sits inside the user's Movies directory, Time Machine captures the installed templates automatically. Setting up a new Mac means restoring that folder and opening Final Cut Pro—the elements reappear in the Titles browser without reinstallation steps. Editors who collaborate across machines sometimes sync that folder through iCloud Drive or a shared volume, though they should ensure both machines run the same version of Final Cut Pro for consistent parameter behaviour.
In short: it is a modest, focused set of building blocks that treats infographics as timeline-native assets rather than external graphics to import.








Correspondence 0
Take a chair or join the table to send a letter.
No correspondence on this note yet. Letters are read before they appear.