 LeCoqRoti
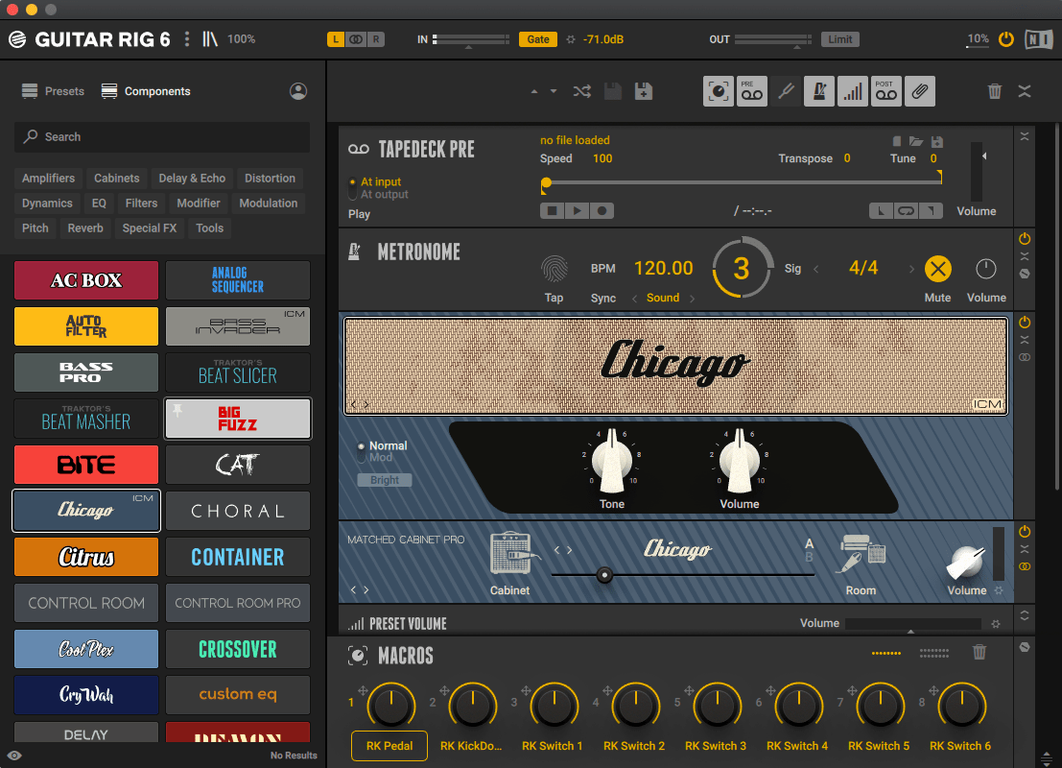
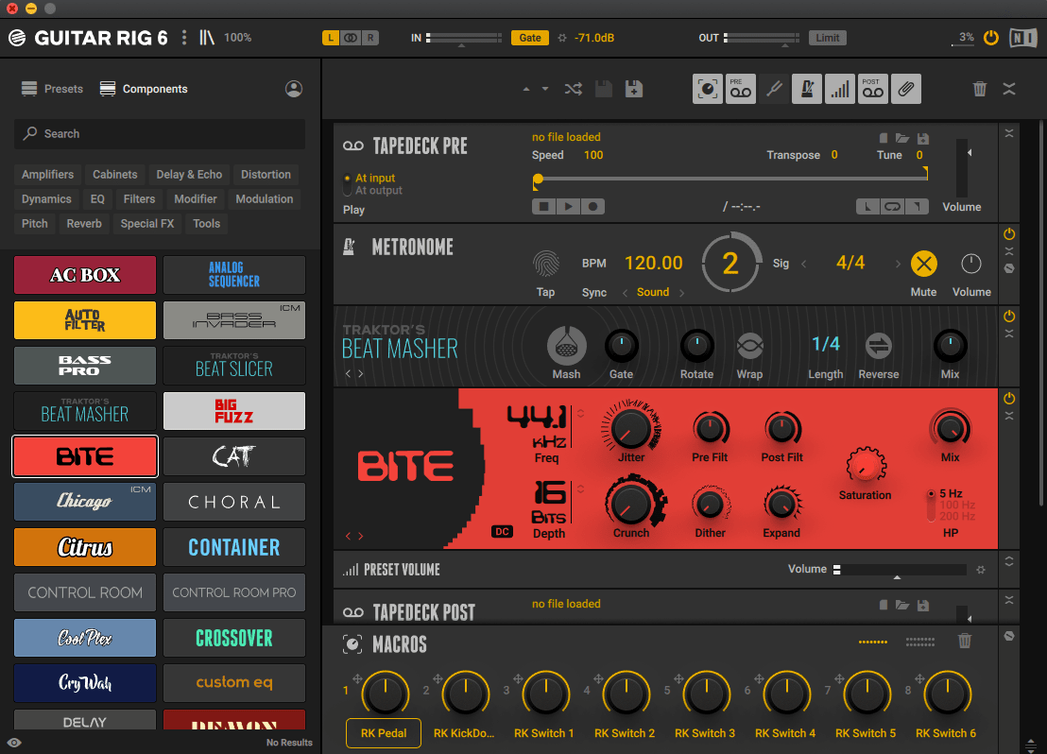
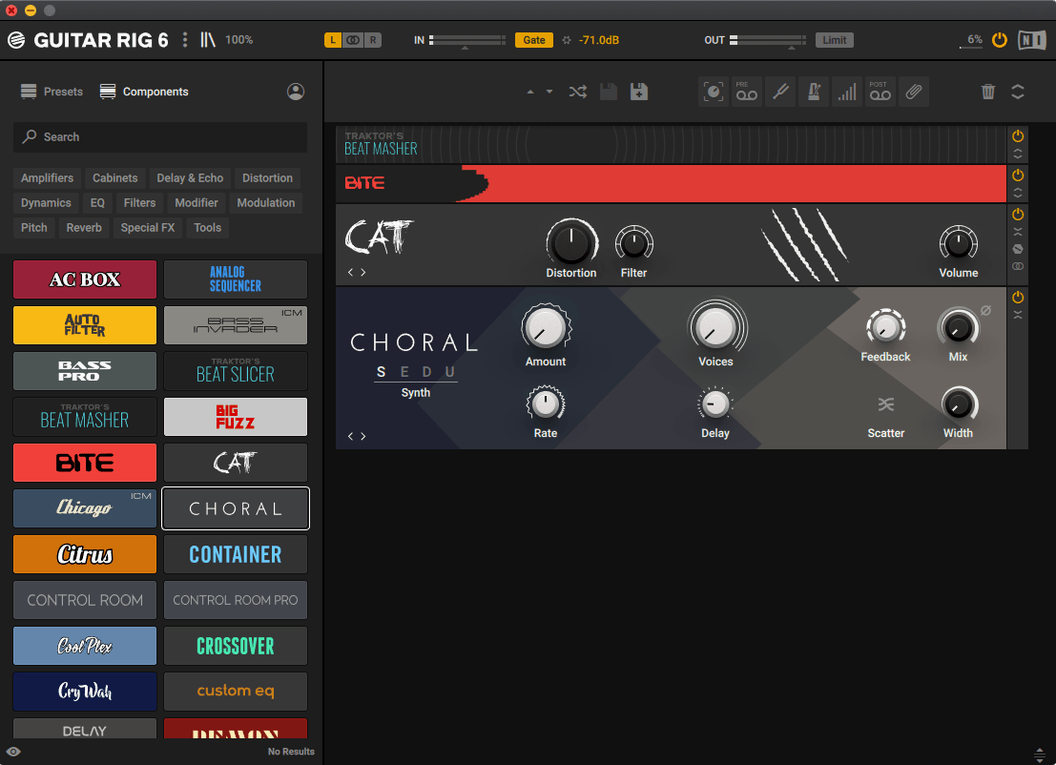
Cabinet selection: bypassing the amplifier for a direct tone
Begin with the Control Room Pro module loaded into an empty rack. Disable the amplifier section entirely, leaving only the matched cabinet and a choice of eight virtual microphones. A ribbon mic placed off-axis softens the transient attack, giving a hollow-body warmth to a solid-body electric.
Modulation chain: layering two chorus pedals before the reverb
Insert the Ensemble and Chorus/Flanger components in series before an Ice Reverb. Keep the modulation rate slow on both—around 0.8 Hz—and offset the depth slightly. The result is a subtle stereo shimmer that moves without obvious sweeping.
Rhythmic delay: using the tape echo with a metronome sync
Place the Tape Echo at the end of the chain and activate the built-in metronome from the toolbar. Set the echo to a dotted-eighth sync value and adjust the feedback to three audible repeats. The loop mode on the transport lets you audition the pattern against a click before committing to a recording.
First hours: what to set up before you play a note
Fresh out of the installer, the rack appears as a blank canvas with the preset browser collapsed on the left. Resist the urge to load a preset immediately. Open the preferences pane first and confirm your audio interface is selected under the routing tab. Set the sample rate to match your interface or DAW project—mismatches here cause the crackling people often mistake for a bad plugin.
Next, pin the tuner to the toolbar. The strobe-style display in version 7.0.2 is precise enough for setting intonation, and having it one click away saves you from digging through the component list later. Finally, load an empty rack and save it as a template named Dry In. A blank starting point with the input set to your interface’s instrument channel stops you from accidentally colouring the signal with someone else’s idea of good tone.
Silence fix: checking input routing first
A few problems surface often enough to deserve a mention. The most frequent is silence on output. Nine times out of ten, the culprit is the input routing: the stand-alone version defaults to the first available input, which may not be the one your guitar cable is plugged into. Open the routing panel and select the correct physical input by name, not by number.
Another recurring issue is a sudden volume drop when switching between presets. Guitar Rig applies a volume normalisation curve to each preset, but the perceived loudness still varies widely. Keep the Master volume fader visible at all times and learn to ride it—especially when auditioning presets in the browser, where a high-gain metal patch can come blaring after a clean jazz setting. A quick workaround is to enable the limiter on the output module for safe browsing, then disengage it once you settle on a sound.
Users sometimes report that the interface feels sluggish on Apple Silicon machines. This is almost always down to the display scaling setting in macOS. Guitar Rig’s rack graphics render best at native resolution; setting the display to “More Space” or a non-integer scaling factor forces a software redraw that lags the knobs. Switch to default scaling for the session and the controls regain their immediacy.
Lastly, preset search terms sometimes return nothing. The tag system relies on metadata that Native Instruments applies during categorisation, and a small number of community presets lack tags entirely. If a search for “fuzz” misses a preset you know exists, switch from the search field to the tag browser and navigate by category instead. The broader the term, the more you should lean on tags over free text.
Morning demo: tuner and template already waiting
It is late morning and a rough demo needs a guitar track with some character. The rack opens to yesterday’s template: an empty path, input set, tuner pinned. A few seconds with the tuner confirm the strings have held their pitch from the night before.
The first creative decision is the amplifier. The preset browser is set to filter by component type, showing only amp-based patches. Scrolling produces a dozen candidates; three are dragged to the rack’s compare slots for quick A/B testing. The third—a British-style head with a 2×12 cabinet—has the right midrange push for the track. The amp gain is pulled back two notches, and the cabinet microphone is switched from the default dynamic model to a condenser at twelve inches. The low end tightens noticeably.
With the core tone set, the signal path receives a boost before the amp. The Skreamer component, set to minimum drive and maximum level, pushes the preamp into a creamy saturation that adds sustain without turning the chords to mush. A touch of spring reverb at the end of the chain places the sound in a believable room, and the mix control is dropped to twenty-five percent so the dry signal still carries the note definition.
Now the metronome is activated and synced to the DAW via the transport controls. A quick run-through of the part against the click exposes a timing wobble in the third bar, but the tone itself sits well. The preset is saved with a descriptive name—Brit Crunch – Cond 12in—and the session moves on. Total time from blank rack to saved sound: under four minutes.
Task workflow: crafting a clean ambient pad from a bass guitar
The goal is a floating, synth-like pad built from a passive four-string bass. The approach reverses the usual amp-first logic and treats the instrument as a tone generator rather than a rhythmic element.
Begin with a split path in the rack. The upper path receives the dry bass signal into a volume module set to a slow attack swell, mimicking an auto-volume pedal. The lower path feeds a pitch shifter set one octave up, mixed to about forty percent, with a slight formant shift to avoid the chipmunk quality that straight pitch transposition produces on bass.
Both paths merge into a single stereo channel before hitting the effects section. First in line is a compressor with a low ratio and a medium attack, evening out the swells without squashing the dynamics. After the compressor sits the ensemble chorus from the modulation set, its rate kept deliberately low so the movement feels like a slow tide rather than a wobble. The depth knob is pushed past halfway for the first time in the session; the wide stereo image it creates spreads the bass across the full panorama.
Next, an Ice Reverb with a ten-second decay tail and the high-pass filter set to 400 Hz removes the low-end rumble that would otherwise muddy the mix. The dry signal is cut entirely at the reverb module, leaving only the diffuse wash. Finally, a tape echo with a single repeat and a long delay time adds a ghost note that arrives almost a full second after the attack—more a memory than an echo.
The result is unrecognisable as a bass guitar. It breathes, shifts, and fills the background of a mix without drawing attention to itself. The entire chain is saved as a preset titled Bass Pad Swell, and three macro knobs are assigned—one for the swell time, one for the chorus depth, and one for the reverb mix—so the sound can be adjusted mid-session without reopening the rack view.








Correspondence 0
Take a chair or join the table to send a letter.
No correspondence on this note yet. Letters are read before they appear.