 LeCoqRoti
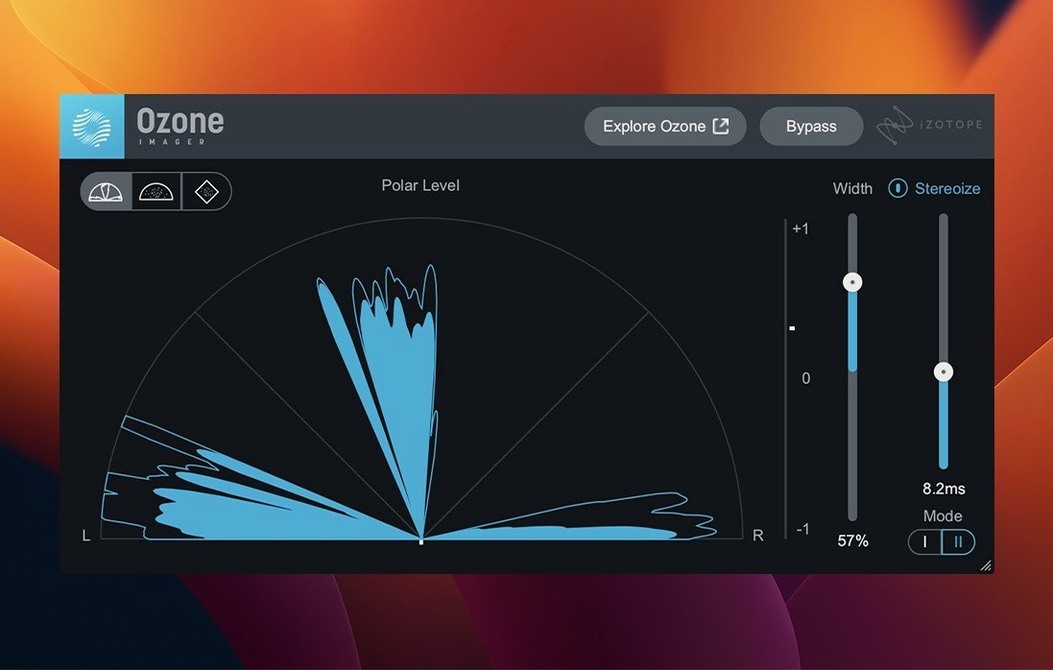
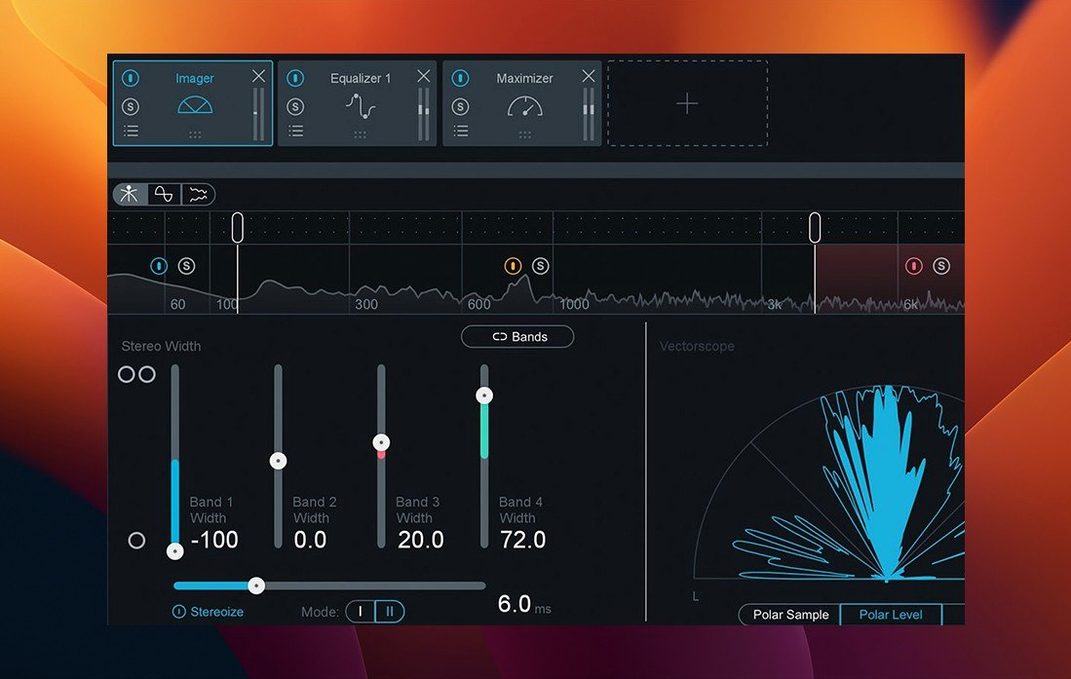
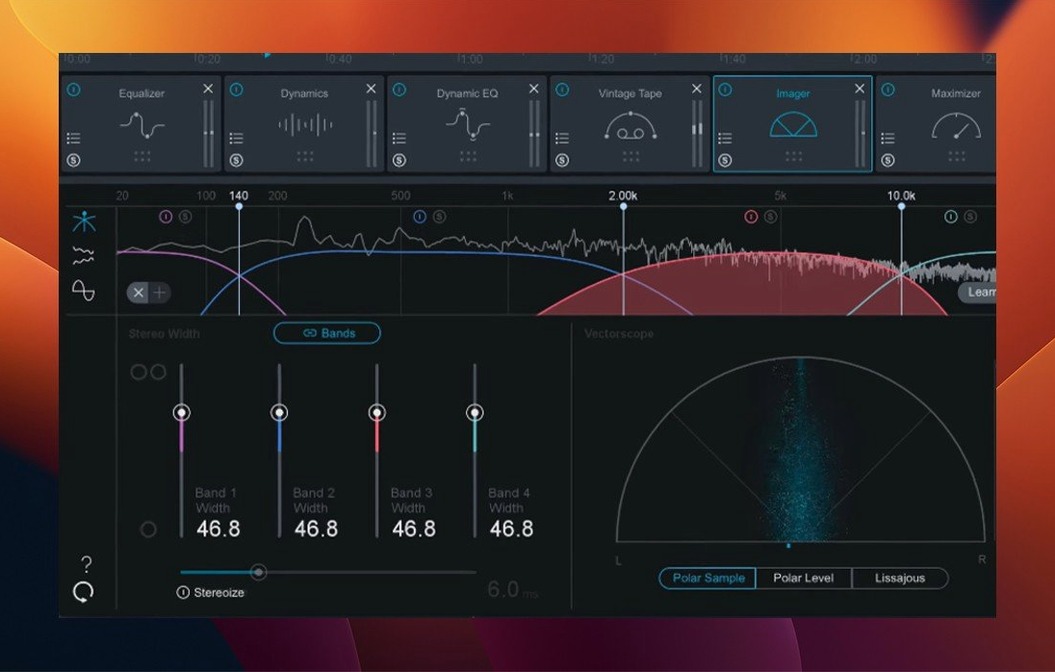
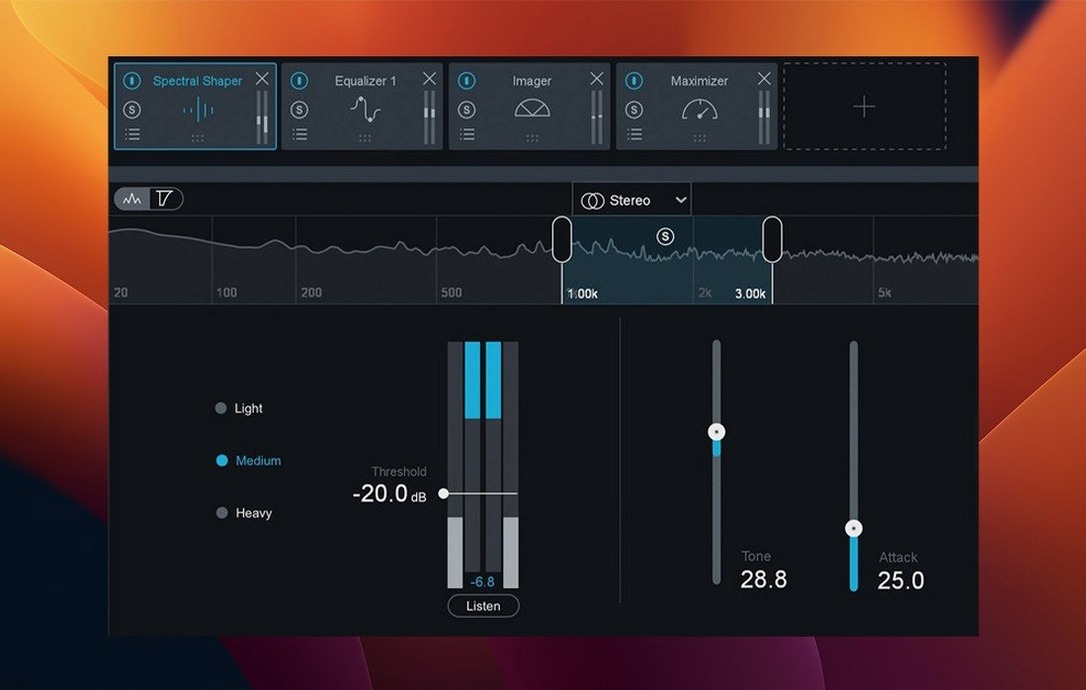
Most producers know the stock limiter in their DAW: reliable, transparent, and entirely manual. Ozone 12 takes that concept and extends it into a full mastering suite where the tools begin to listen back. It sits at the end of a mix as a collection of modules — an AI-powered assistant, the Stabilizer with 25 genre targets, Bass Control, and the Maximizer with IRC 5 limiting — each designed to adapt to programme material rather than simply process it.
A mastering session: the sequence
- Insert Ozone on the master bus and open the Assistant. It analyses the track and suggests a starting point across the chain.
- Dial in the Stabilizer, choosing a genre target that shapes the dynamic profile toward a specific commercial sound.
- Tighten the low end with Bass Control, setting the crossover and reducing boom without narrowing the stereo field.
- Engage the Maximizer with IRC 5 for final loudness, watching the ceiling and threshold as the mode shapes the transient response.
- Export with confidence, knowing the mono-to-stereo routing now behaves correctly in version 12.1.0.
On Mac, the suite runs natively on Apple Silicon and Intel hardware, requiring macOS 13.7 or later. The plug-in formats — AU, AAX, and VST3 — are all 64-bit only. For those working with Cubase 15, the 12.1.0 update formally adds it as a supported host, alongside fixes for sluggish interface loading and a stereo output bug that plagued mono-to-stereo instances.
Integration: where Ozone sits in a Mac studio
A mastering suite does not work in isolation. Ozone 12 appears in the plug‑in menus of any AU‑, VST3‑, or AAX‑compatible host, and on a Mac that means it slips into Logic Pro, Ableton Live, Cubase, and Pro Tools without friction. The installer places the components where macOS expects them — /Library/Audio/Plug-Ins/Components for AU, /Library/Audio/Plug-Ins/VST3 for VST3 — so every DAW picks them up on the next scan. Apple Silicon builds run without Rosetta overhead, and the plug‑in windows respond to Mission Control and Stage Manager like any native panel, which keeps the mastering view tidy when multiple modules are open across a large display.
Beyond the DAW, Ozone talks to the rest of the iZotope ecosystem in useful ways. If you use RX for spectral repair, you can bounce a cleaned‑up stereo file and drop it directly into Ozone’s standalone application — a route many engineers prefer when mastering an album sequence, because the standalone mode lets you arrange tracks, apply consistent processing, and hear the gaps without a timeline underneath. The Assistant’s analysis also shares a sonic logic with Neutron’s mixing tools: a mix sculpted with Neutron’s Visual Mixer tends to arrive at the mastering stage with fewer surprises, because Ozone’s algorithms interpret the spectral balance through a similar lens.
Day-one moves: building muscle memory fast
Installing Ozone 12 is straightforward — use the included instructions and enter the provided password — but the hours that follow shape how quickly it becomes part of muscle memory. A few deliberate moves on day one pay off later.
- Run the Assistant on three contrasting tracks first. Pick something dense (a full rock mix), something sparse (a vocal and piano), and something heavily electronic. The goal is not to keep the Assistant’s settings; it is to observe how it reads different spectral landscapes. You begin to learn which of the 25 Stabilizer genre targets it favours for each, and where it leans too bright or too contained for your taste.
- Map the Maximizer ceiling to a keyboard shortcut in your DAW. Most hosts let you assign MIDI or key commands to plug‑in parameters. Binding the ceiling control means you can audition loudness‑to‑ceiling relationships without reaching for the mouse — a small thing that, over a hundred mastering passes, becomes a rhythm.
- Test mono‑to‑stereo routing early. Version 12.1.0 fixed the bug that swallowed stereo processing on mono‑to‑stereo instances, but if you use an older session template, it is worth inserting a test tone and confirming the side signal behaves. Create a mono pink‑noise clip, route it through a mono‑to‑stereo instance with Bass Control widening the low end slightly, and check the correlation meter. The fix holds, but old habits of distrust take a while to fade.
- Save a default preset with the Stabilizer bypassed. The Assistant is excellent, but not every project needs genre‑targeted dynamics shaping from the first second. A clean starting point — Maximizer with IRC 5, an empty EQ slot, and all dynamic modules off — lets you build a chain from silence, which is how many mastering engineers prefer to work when they already trust the mix.
The interface itself feels lighter in 12.1.0. The slow loading that plagued earlier builds — windows taking a beat too long to draw, clicks registering late when switching modules — has been addressed. On a Mac Studio or an M‑series MacBook Pro, the plug‑in now opens in step with the DAW’s own panels, and the module selector responds without that half‑second hesitation that used to break focus.
Refinement over features: three daily workflow shifts
The 12.1.0 update is not a feature release; it is a refinement update, and those often matter more in daily practice than a splashy new module. Three changes stand out.
Interface speed. The sluggish UI loading and instantiation times were a quiet irritant — not a crash, not a showstopper, but a friction that accumulated. Opening a session with Ozone on the master bus now feels immediate. For anyone who switches between projects frequently, perhaps moving from a podcast master to a single release to an EP assembly, the accumulated time saved is real. The module chain draws without stutter, and scrolling through the Stabilizer’s genre list — all 25 targets — no longer lags as the waveforms recalculate.
Stereo integrity on mono‑to‑stereo instances. This fix is technical but its absence was audible. A mono‑to‑stereo instance should process the signal and then apply stereo widening, Bass Control’s side‑channel shaping, or the Imager’s multiband stereoisation. Before 12.1.0, that processing chain sometimes collapsed to mono, leaving the low end narrower than intended — exactly the opposite of what Bass Control promises. With the fix, a mono vocal stem that passes through Ozone with the Imager active now exits with the spatial information intact. Content creators who receive mono voice‑over files and master them for stereo delivery will notice the difference immediately.
Cubase 15 support. Adding a host to the supported list is not merely paperwork. It means iZotope tested the plug‑in against Cubase 15’s audio engine, its latency compensation, and its plug‑in sandboxing. For Cubase users who upgraded on release day, the confirmation removes a variable. The AU and VST3 builds behave consistently; there is no longer a question mark over whether a session will recall correctly.
A workflow: mastering a single for streaming
Imagine a finished mix: a three‑minute indie‑electronic track with a tight kick, a wide synth pad, and a vocal that sits slightly forward. The goal is a streaming‑ready master at around ‑14 LUFS integrated, with a dynamic profile that suits the genre’s quiet‑loud contrasts.
- Import the mix into the standalone application. Working outside the DAW removes the temptation to tweak the mix. Load the stereo WAV, set the track markers, and apply a short fade‑out if the mix ends abruptly.
- Engage the Assistant and set the intent to Streaming. Let it listen to the loudest section — usually the final chorus. The Assistant sets a tentative EQ curve, a Maximizer threshold, and a Stabilizer target. Accept the suggestion but switch the Stabilizer target from “Electronic” to “Indie Rock,” which applies gentler upward compression and keeps the verses breathing.
- Refine the low end with Bass Control. Solo the low band and sweep the crossover between 90 and 120 Hz. Settle at 100 Hz where the kick’s fundamental sits. Reduce the low‑band level by 0.8 dB to ease a slight boom on small speakers, then add 6 % width to the side channel above the crossover — enough to give the bass synth some air without losing centre‑channel punch.
- Shape dynamics with the Stabilizer. The “Indie Rock” target is a starting point, not a rule. Increase the Shape slider to 40 % so the transient shaping catches the snare’s attack without flattening it. Watch the waveform display; the verses should still show visible dynamic dips, while the choruses gently compress toward a consistent perceived level.
- Set the Maximizer with IRC 5. Choose the Transient mode — it preserves the snap of the kick and snare better than Modern or Vintage on this material. Set the ceiling to ‑1.0 dBTP and lower the threshold until the integrated LUFS reads around ‑14. The Maximizer’s gain reduction meter should flicker between 2 and 4 dB on peaks, never pinning in place.
- Check with the Codec Preview. Switch to the AAC 256 kbps mode and listen to the chorus. Codecs can introduce clipping on transients that looked safe in linear audio. If the preview shows overs, nudge the ceiling to ‑1.2 dBTP and re‑export.
- Export the master as a 24‑bit/44.1 kHz WAV. Name it clearly with the sample rate and the word “MASTER” so there is no confusion with the mix file. The standalone application handles dither automatically when reducing bit depth, but staying at 24 bits for the streaming master avoids an unnecessary truncation step.
The whole process takes about twelve minutes once the Assistant has run. The time is spent in listening decisions, not in fighting the tools.
Afternoon deadline: mastering a podcast in Ikebukuro
It is two in the afternoon. The studio in Ikebukuro is quiet; the video maker is out on a shoot, and the audio producer has left a note about a podcast episode that needs mastering by evening. The file sits on the shared drive: a forty‑five‑minute dialogue recording, two voices, mono, with a light music bed underneath.
You open the standalone application and drag the file in. The waveform draws instantly — the UI fix in 12.1.0 is noticeable here, because in earlier versions a file this long would pause the interface for a moment. The Assistant listens to a thirty‑second section where both voices speak over the music. It returns a chain: a gentle high‑shelf boost for clarity, a low‑cut at 50 Hz to remove rumble, the Stabilizer set to “Speech,” and the Maximizer in Modern mode targeting ‑16 LUFS.
The Stabilizer’s “Speech” target is a good call — it applies slower time constants than the music targets, so the compression breathes naturally around pauses. You switch the Maximizer to IRC 5 Transient mode instead; the music bed has percussion elements that benefit from the sharper transient handling. The ceiling stays at ‑1.0 dBTP. You lower the threshold until the loudness meter shows ‑16 LUFS integrated, then listen through the entire episode in small sections, watching the gain reduction needle. It moves between 1 and 3 dB, gentle enough that the voices never sound squeezed.
Halfway through, you notice the music bed swells in a section where one speaker pauses. The Stabilizer is reacting, but the swell still feels uneven. You add a dynamic EQ node at 300 Hz, side‑chained to the full mix, and set it to dip 1.5 dB when the music’s low‑mid range pushes forward. The node activates only during those swells; the rest of the time the frequency band stays flat. It is a surgical fix, the kind Ozone’s modular design encourages — you reach for exactly the tool needed, not a compromise.
By three o’clock the master is exported and sitting in the shared folder. The audio producer will not hear it until morning, but the waveform looks balanced on the overview, the loudness target is met, and the mono‑to‑stereo routing has spread the music bed into a gentle stereo field without touching the centred dialogue. The session took an hour, and most of that hour was listening.








Correspondence 0
Take a chair or join the table to send a letter.
No correspondence on this note yet. Letters are read before they appear.