 LeCoqRoti
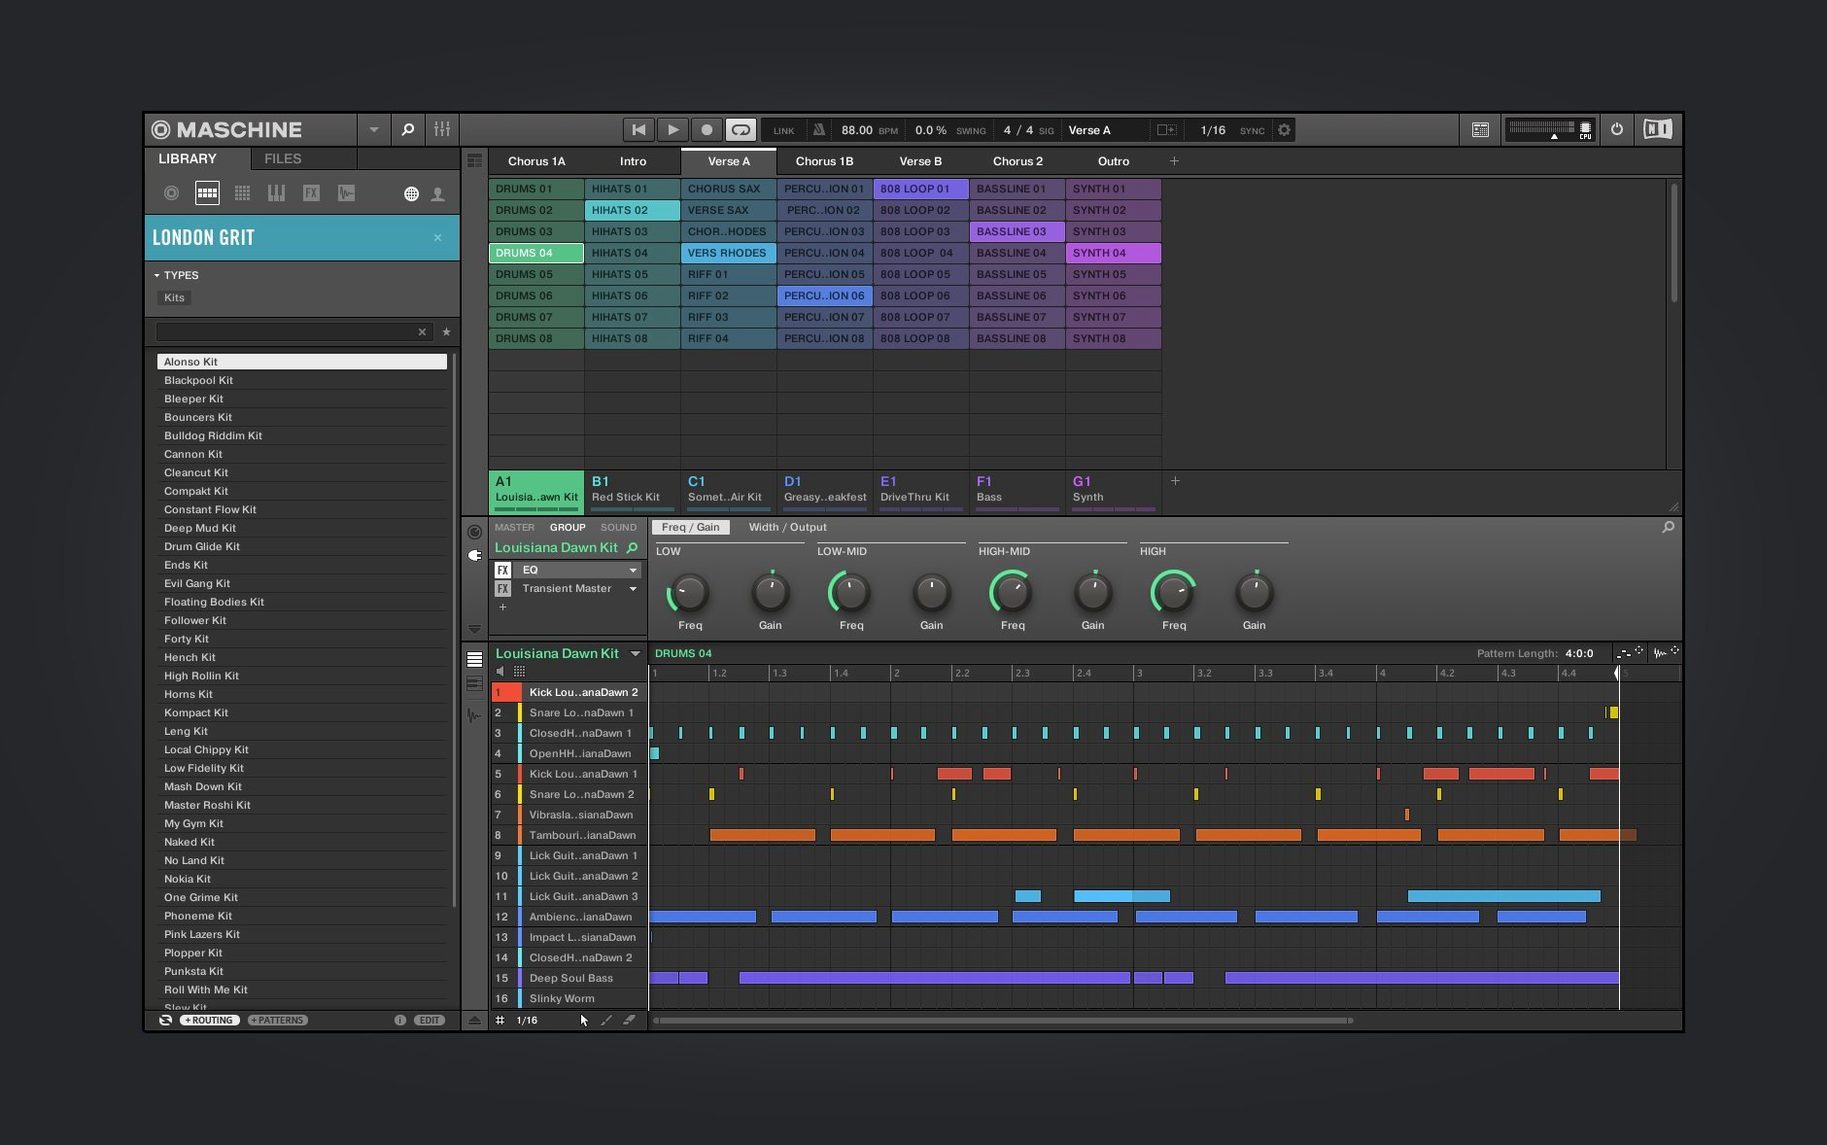
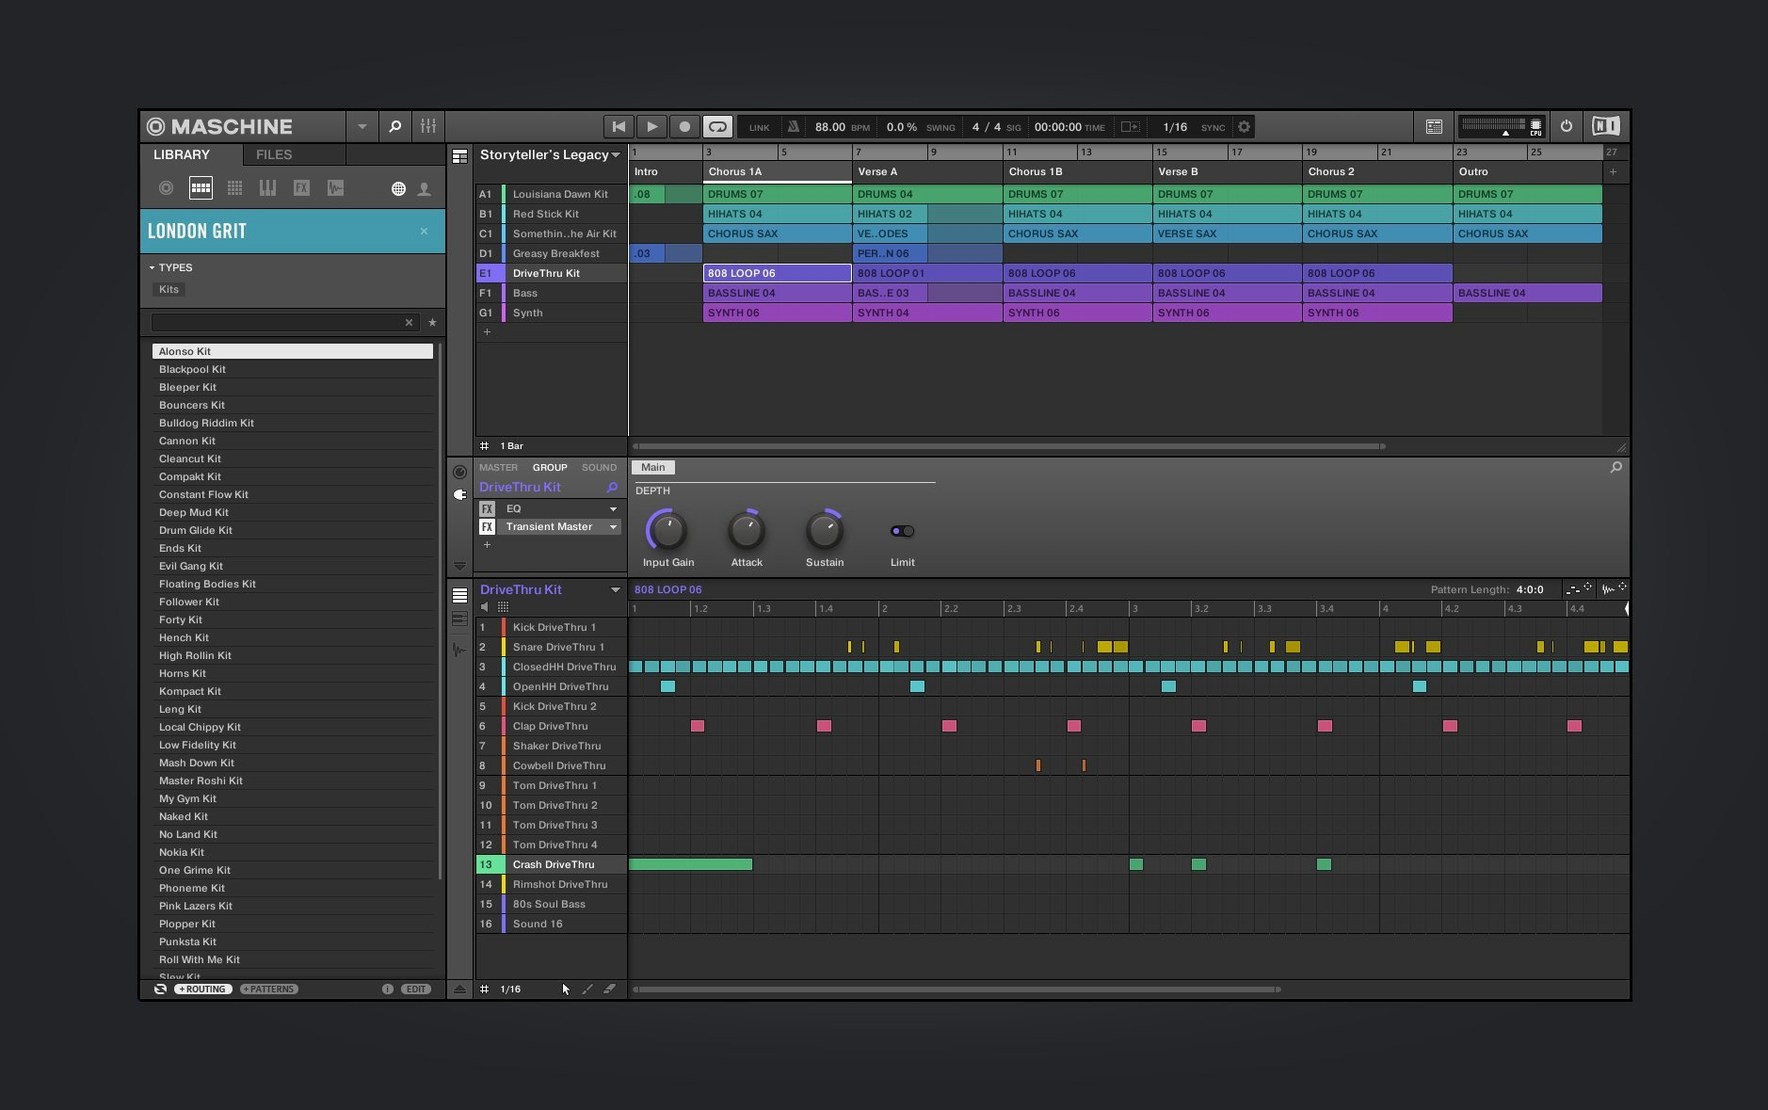
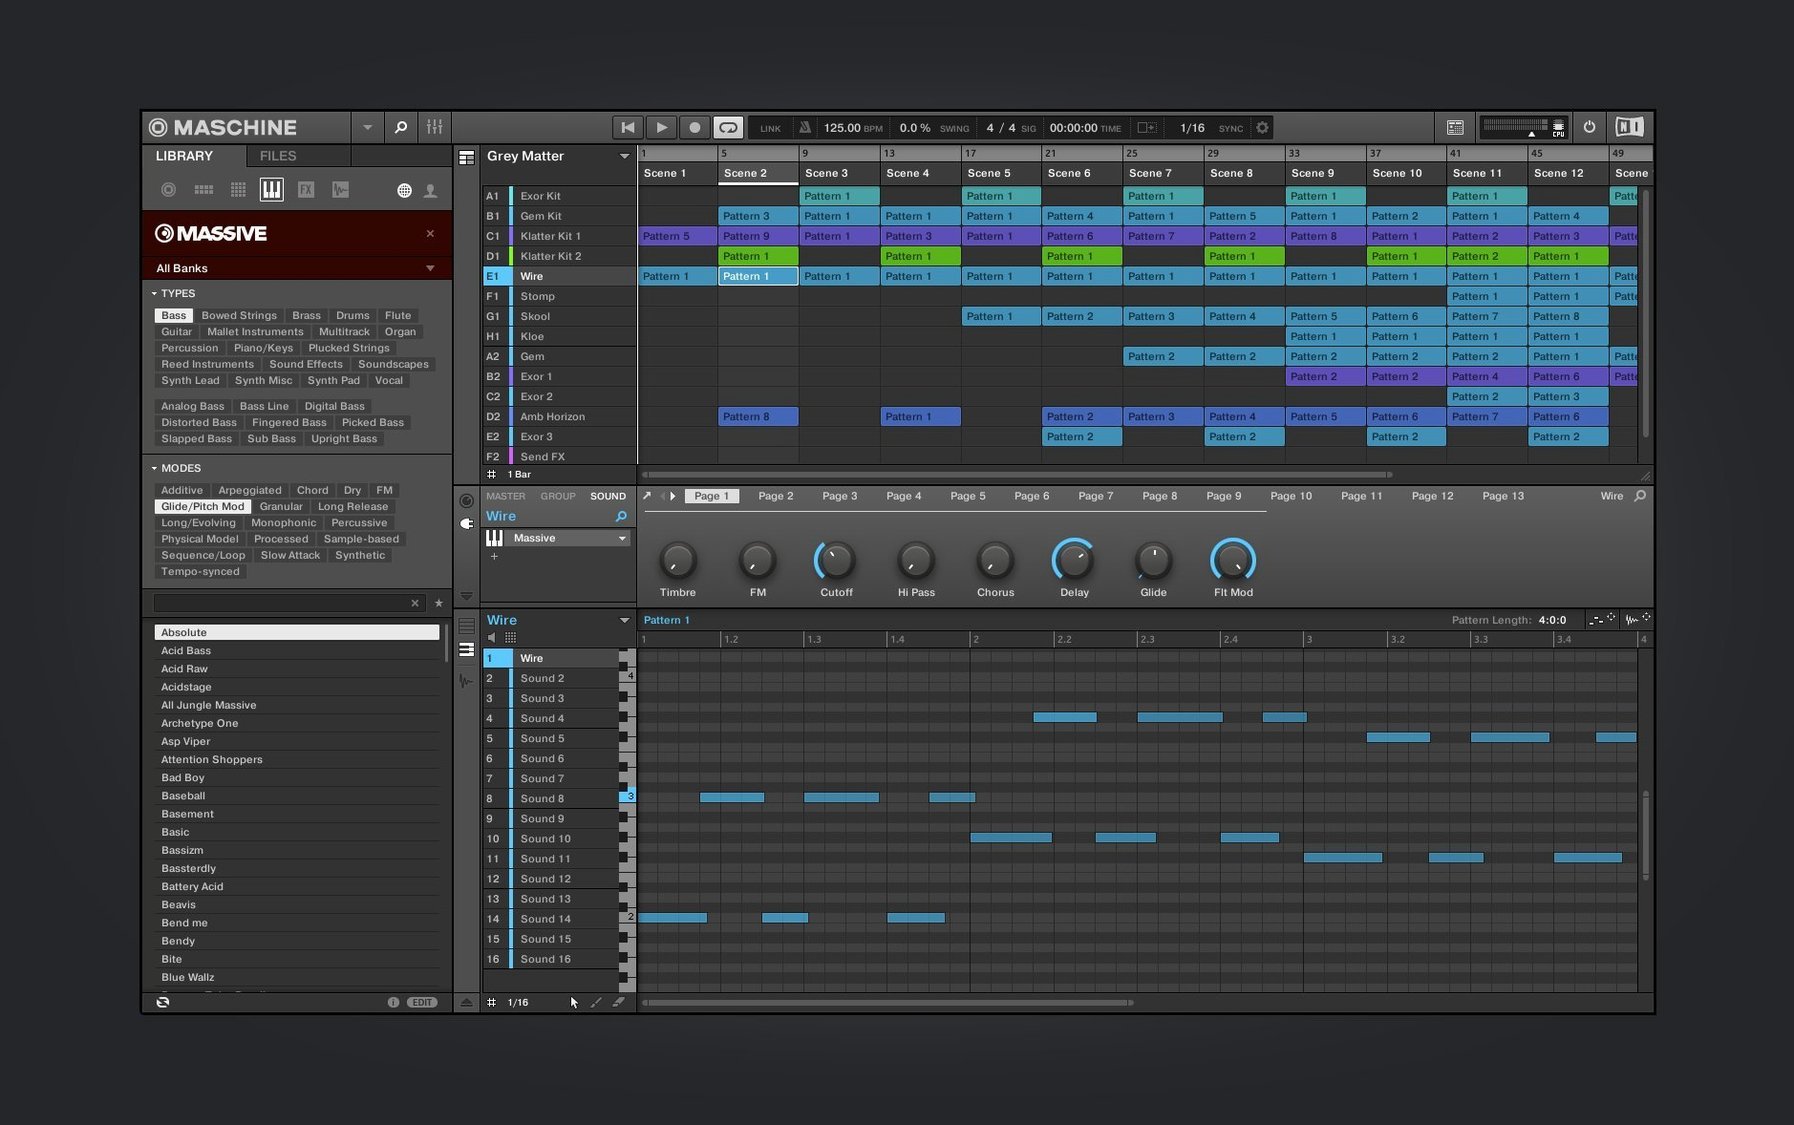
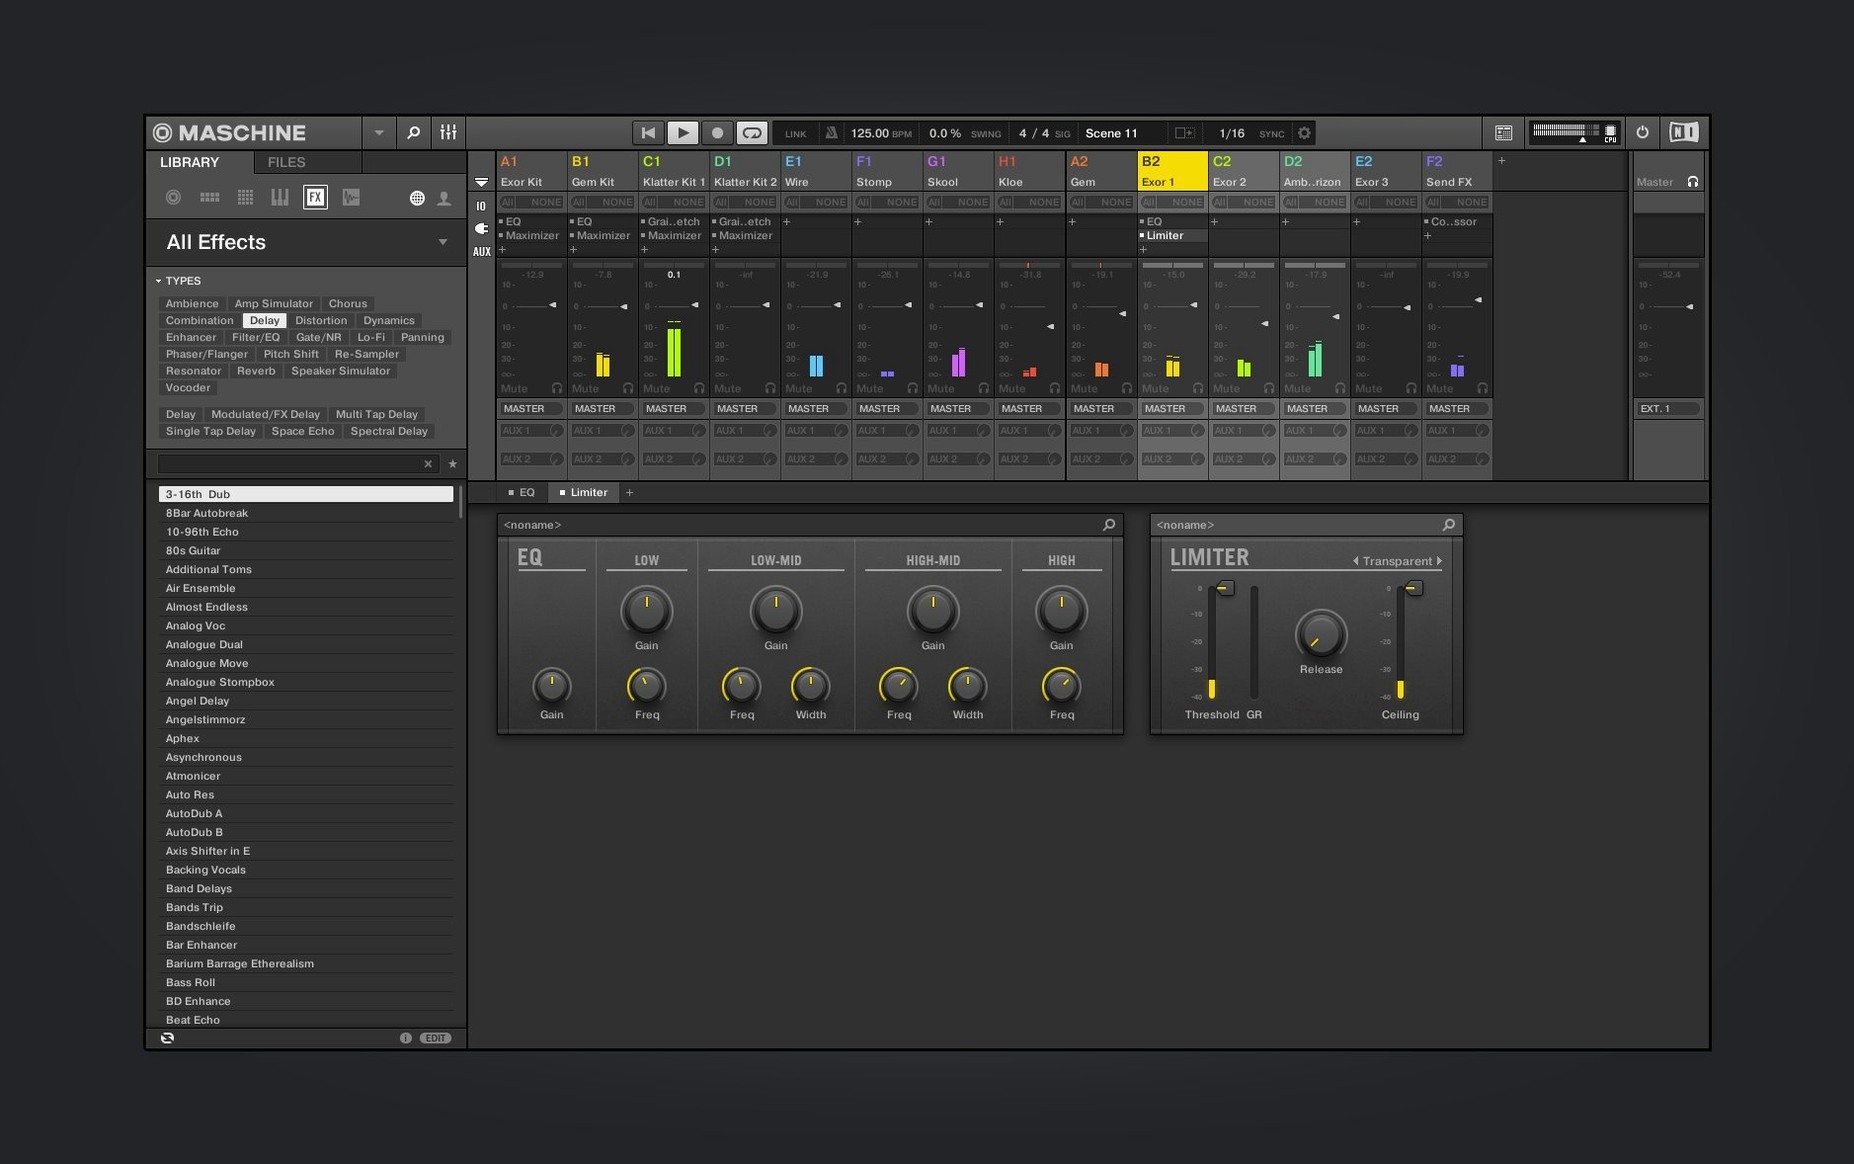
Before a musical idea drifts away, there is a brief window to capture it. Maschine solves that problem by putting a sampler, sequencer and mixer inside a single piece of software, so the distance between hearing a rhythm in your head and hearing it through your speakers stays short.
Sampling: a sound, reshaped
The high-performance sampler is the natural starting point. Drag in a piece of audio — a snare crack, a piano note, a few seconds of field recording — and the waveform appears immediately. From here, set start and end points, adjust the envelope, or map the sound across a keyboard range. The software handles slicing by transient, which means a drum break can be separated into its component hits with one command. Each slice gets its own pad, ready to be re-sequenced into a new pattern.
Patterns and effects: building a groove
With sounds loaded, the pattern-based sequencer takes over. Tap out a kick and snare on the pads, then switch to a bass sample and layer a two-bar line underneath. The mixer sits to one side, its channels hosting the effects: a little reverb on the snare, some saturation on the bass, maybe a delay throw on the last hi-hat of the bar. Nothing requires stopping playback. Change a pattern length, swap a sound, or tweak a filter while the sequence runs — the system is designed for performance, not just arrangement.
A task from start to finish: chopping a vinyl phrase into a beat
Imagine a short phrase lifted from an old soul record — a two-bar horn stab with a bit of room tone at the tail. The goal is to turn it into the melodic backbone of a new beat, with the original timing broken apart and reassembled.
Begin in standalone mode. Drag the audio file from the Finder straight onto an empty pad in the drum group. The waveform opens in the sample editor. Switch the slicing mode to transient detection and pull the sensitivity slider until the markers land cleanly on each horn attack, ignoring the quieter breaths between notes. Apply the slices; Maschine maps them chromatically across the pads, highest pitch on the left, lowest on the right by default. Now audition each slice with a finger — the third one has a nice growl, the fifth feels like a turnaround.
Create a new pattern of two bars. Tap out a rhythm using only four of the slices, placing the softest one on the offbeat. The original phrase had a swing to it, so open the swing control and push it to about fifty-eight per cent — just enough to loosen the grid without turning it woozy. Layer a kick from the factory library on beat one and three, then a clap on two and four. The horn slices now sit inside a pocket rather than floating above it.
Switch to the mixer. The horn pad channel gets a touch of tape saturation to warm the transient edges, and a high-pass filter set around three hundred hertz removes the low-end rumble that came with the vinyl transfer. The master channel receives a limiter, threshold set gently, purely to catch any peaks when the kick and the loudest slice hit together. The whole process, from dragging in the audio to a looped eight-bar sketch, takes under five minutes. The point is not speed for its own sake; the point is that the software never interrupts the listening.
How it fits with other tools and macOS
Maschine works as an AU or VST3 plug-in inside a host such as Logic Pro or Ableton Live, which means the sketch built above does not need to stay inside Maschine to become a finished track. Route each pad to its own output channel in the plug-in, and the host mixer sees individual stems: kick on one, clap on another, horn slices on a third. This turns Maschine into a sound-design and ideas module that feeds a larger arrangement.
On macOS, the software respects Core Audio without fuss. Plug in a class-compliant audio interface — or simply use the built-in headphone output — and latency stays low enough for pad drumming. The system-wide audio routing also means you can sample from any application that produces sound. Open QuickTime Player, play a field recording, and set Maschine’s sampling input to capture the system output via a virtual audio driver. No cables, no re-patching. The Finder integrates neatly too: dragging files from a folder of drum hits into the software’s browser adds them to the user library, indexed and ready for the next session.
For users of the AKAI MPK mini IV or other NKS Connect controllers, version 3.6.0 introduced direct browsing and parameter mapping. The controller’s knobs snap to the on-screen macro controls of the Poly Synth or Drum Synth modules, and the screen on the hardware displays preset names without needing to look at the computer. It is a quiet but significant bridge between the hardware origins of the Maschine line and the reality that many producers now work with compact, multi-brand setups.
Questions people ask before installing
Does the software run without Maschine hardware? Yes, and fully so. Every function — sampling, sequencing, mixing, effect processing — is accessible with a mouse and keyboard, or with any MIDI controller that sends notes and CC messages. The pads appear on screen and respond to clicks. That said, the interface is designed for a pad controller, and the workflow accelerates noticeably with one. Many people start with the software alone and add a controller later.
Will it work on an Apple Silicon Mac? Version 3.6.0 runs natively on ARM as well as on x86-64, so there is no translation layer involved. The performance difference is most apparent when using the Poly Synth module with several voices of unison or when running multiple instances of the plug-in inside a host. On an M1 or later machine, the standalone application launches in a few seconds and the browser searches the factory library without perceptible delay.
Can I use my existing sample library? Any WAV, AIFF, or MP3 file can be dragged onto a pad or into the browser. The software does not lock you into a proprietary format. Your folder structure remains untouched; Maschine simply references the files. The one thing to note is that sliced loops benefit from clean transient material — the auto-slicing works best on drums and short melodic phrases, less well on heavily reverberant pads.
First days: practical tips
Spend the first hour inside the welcome screen. The demo projects included in version 3.6.0 are not merely promotional — they are fully functional sessions with patterns, scenes and effects chains already in place. Opening one and muting parts, swapping sounds, or changing the tempo teaches the layout faster than any manual. The linked tutorial videos cover specific techniques like choke groups and macro assignment; watching a two-minute clip on swing parameters, then applying the idea immediately, solidifies the concept.
Build a user kit early. Take ten drum hits from different folders, load them onto ten pads, adjust the volume and pan for each, and save the kit with a descriptive name. This becomes a template: every new project starts with a familiar palette, and the muscle memory of which pad holds which sound develops naturally. Later kits can branch out, but having one constant reference removes decision fatigue in the first few sessions.
Leave the mixer visible. The redesigned Mixer view in 3.6.0 groups channels logically, and keeping it open on a second display — or toggling it with a key command — makes gain staging a habit rather than an afterthought. When a pattern sounds muddy, glancing at the mixer usually reveals the culprit: two pads competing in the low-mids, easily fixed with a small EQ cut on the less important one.
Finally, record everything. Even aimless tapping while browsing sounds can produce a happy accident. The pattern recorder runs continuously during playback; hitting the pads while a loop plays writes the performance into the pattern. Quantisation can be dialled back afterward, or removed entirely, preserving the human timing that gives a beat its character.


Correspondence 0
Take a chair or join the table to send a letter.
No correspondence on this note yet. Letters are read before they appear.