 LeCoqRoti
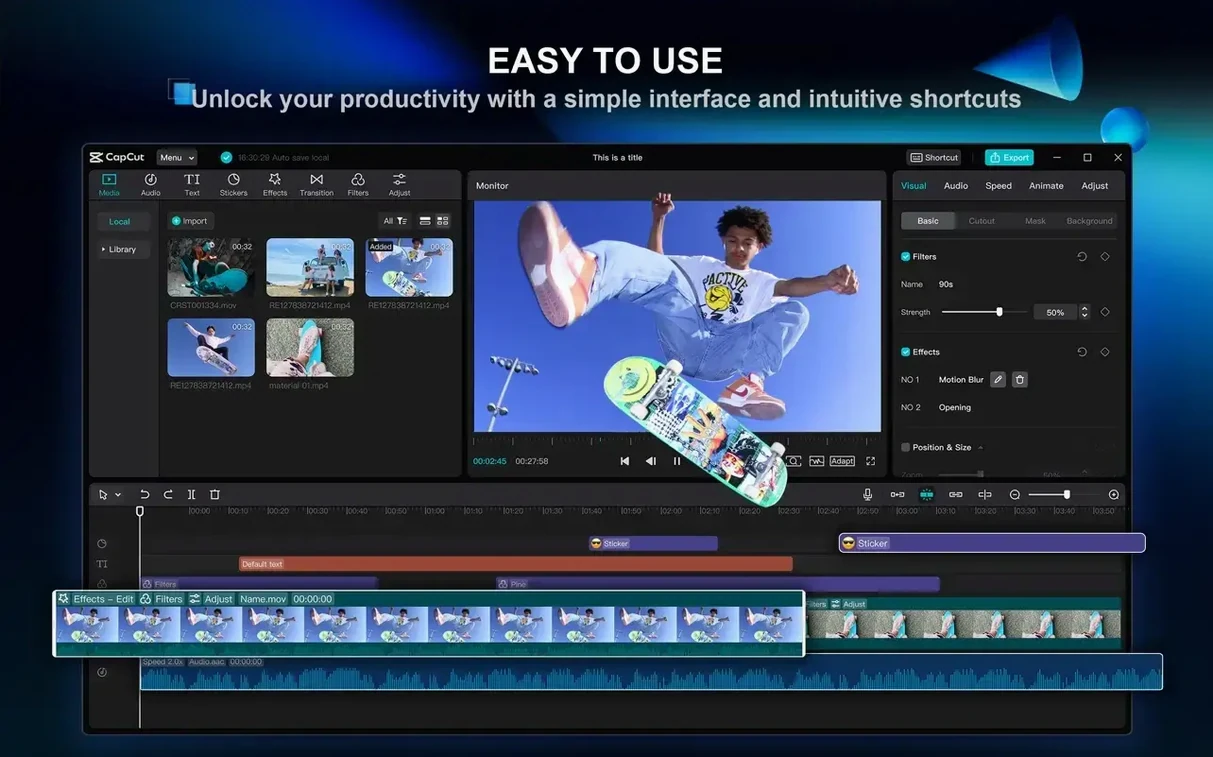
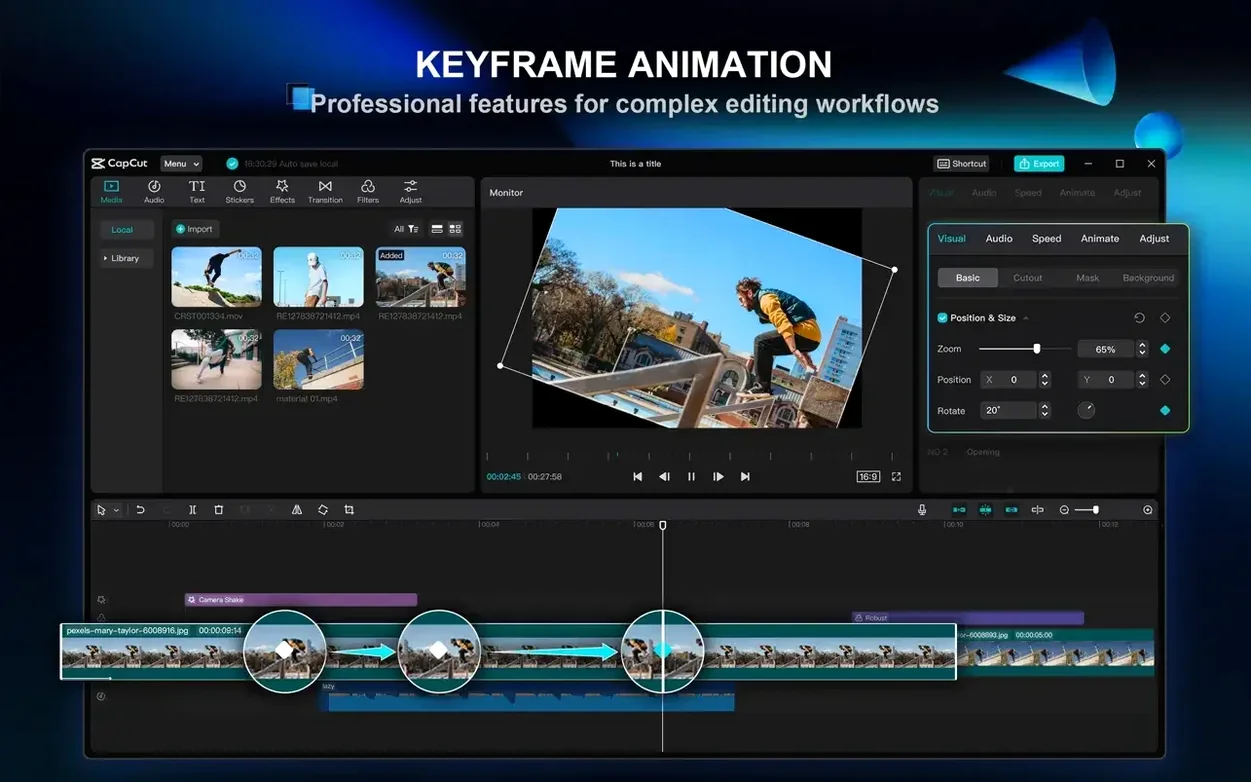
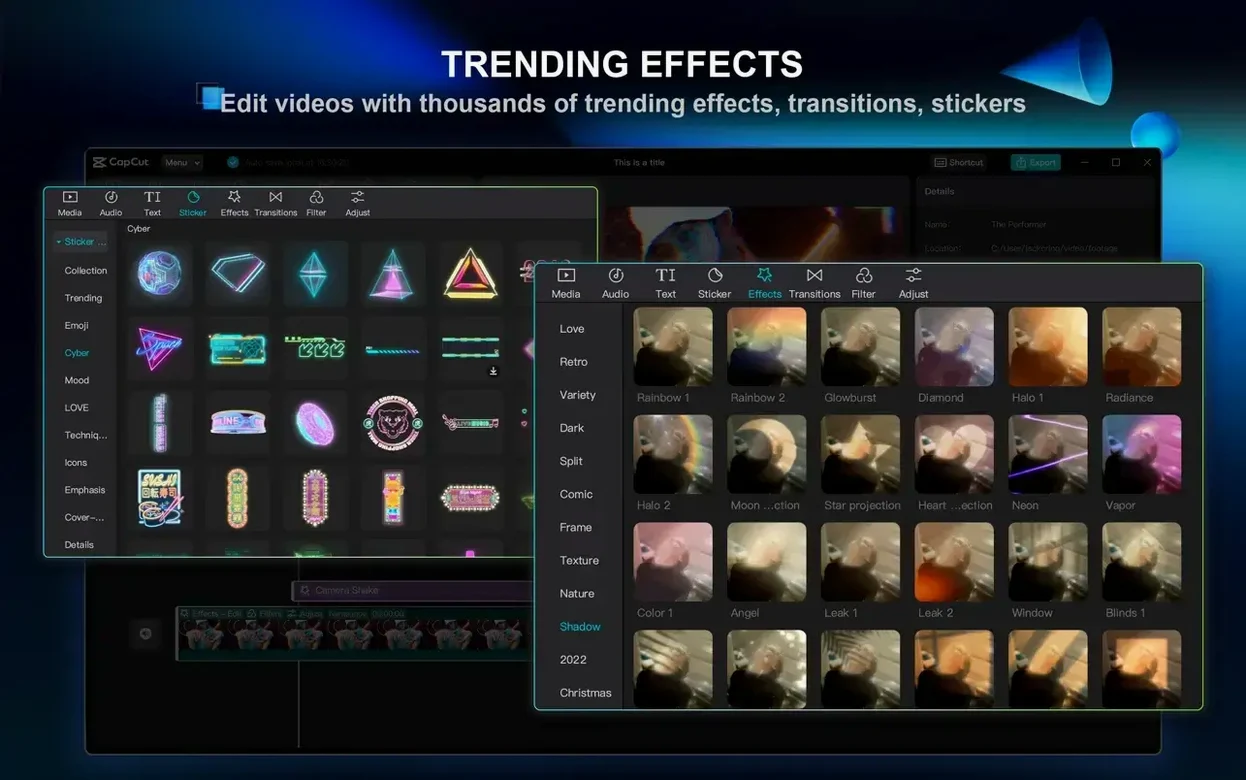
Unedited talk contains more silence and filler than we realise. Removing those fragments by hand is precise but tedious work — exactly the kind of task software can absorb. CapCut, ByteDance’s desktop video editor for macOS, folds several AI-assisted cleanup tools into a multi-track timeline, so one rough recording can become a clean clip in a few deliberate moves.
Workflow: clean up a spoken clip
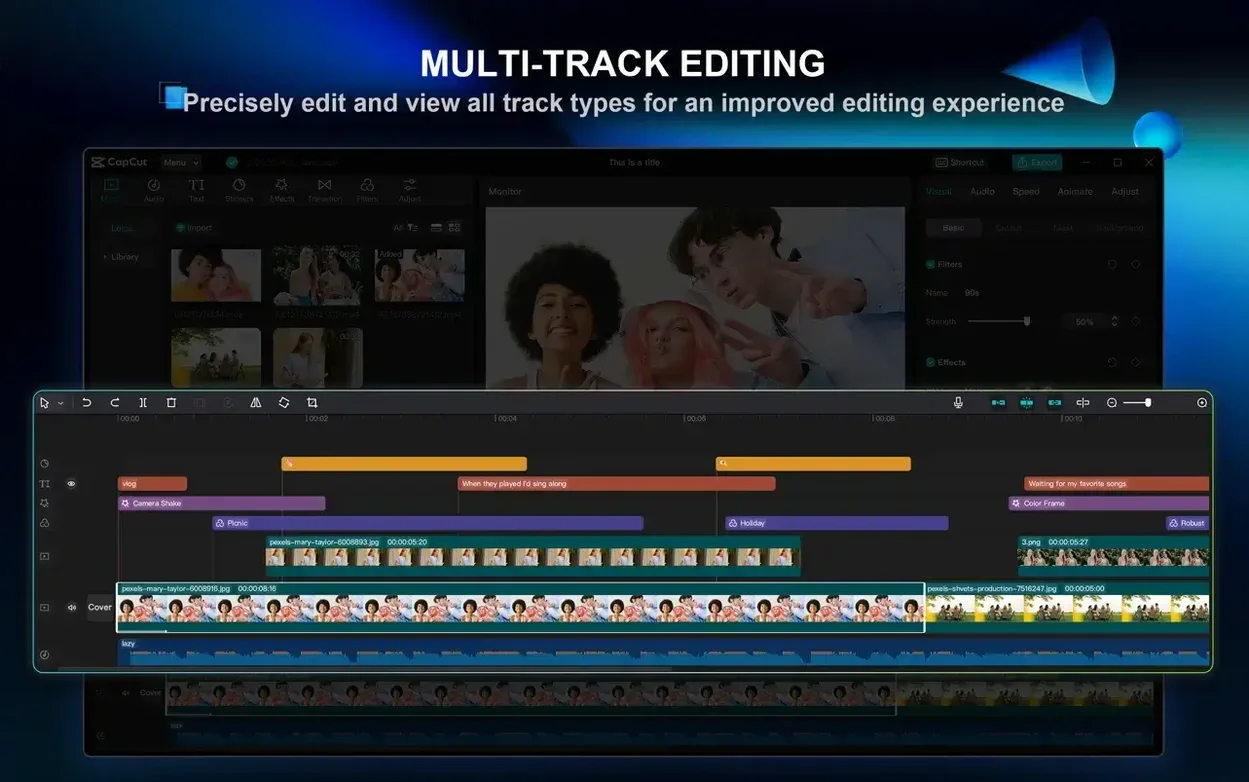
- Start a project and import. Launch CapCut, create a new project, and drag a video or audio file onto the timeline. The editor supports multi-track layering, so the clip sits on track one while generated subtitles will occupy a separate lane above it.
- Strip the silence and filler. Select the clip on the timeline. In the audio tools panel, choose the one-action option to remove filler words and pauses. CapCut scans the waveform and cuts the hesitations and dead air across the track, leaving the speech intact. The result is tighter without manual scrubbing.
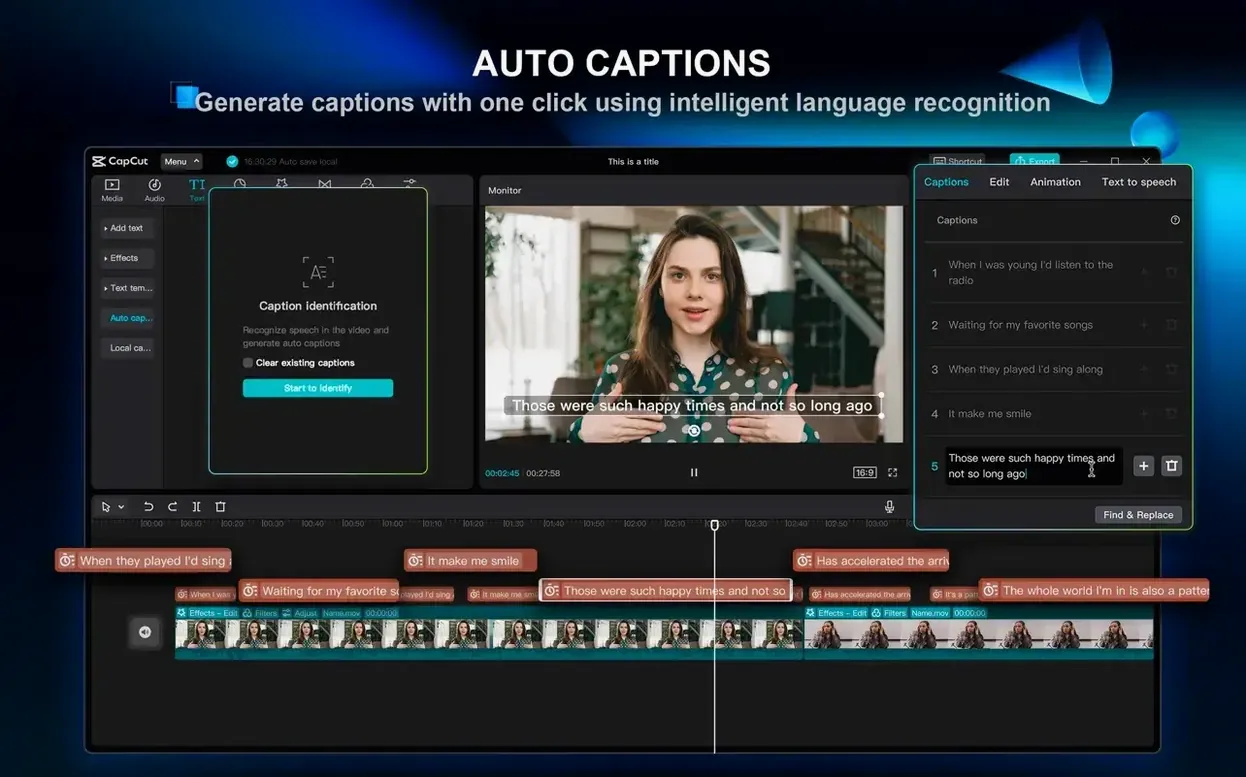
- Generate on-screen captions. With the cleaned clip still selected, trigger the automatic subtitle generation. The app transcribes the speech and places styled captions on a dedicated subtitle track, synchronised to the timeline. You can adjust the typeface and position afterwards to suit the frame.
- Refine and export. Play through the sequence, nudge any mistimed captions, and trim the edges. When it feels right, export the video. The whole process — from raw recording to a subtitled, pause-free version — stays inside one window.
This narrow sequence barely scratches the surface: chroma key background removal by colour sits in the same toolset, and the interface can be switched between two dozen languages. What the workflow demonstrates, though, is how much correction can happen in three deliberate steps rather than an afternoon of manual cuts.
Proxy and save paths: the three pre-edit switches
Out of the box, CapCut assumes a few defaults that are worth overriding immediately. Open preferences — the gear icon sits in the upper-right corner of the project window — and make three changes before you place a single clip on the timeline.
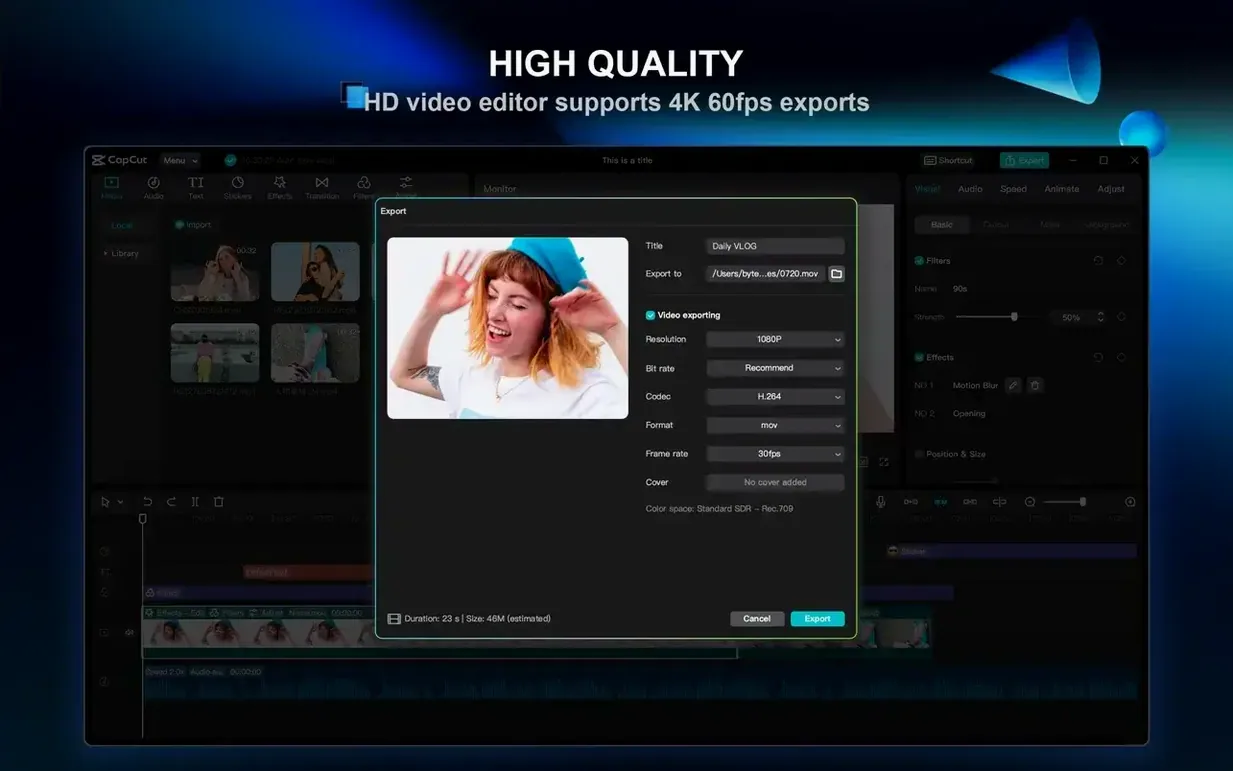
First, set the default export resolution to match your source footage. CapCut initially aims for 1080p at 30 fps, but if you routinely work with 4K material recorded at 60 fps, switching the project settings upfront avoids an unpleasant downscale surprise at export time. The frame rate and resolution controls live under the Project tab.
Second, disable the automatic proxy generation for high-resolution clips. The feature is helpful on older Macs with 4 GB of RAM, but on a machine with 8 GB or more it adds a background task that slows the initial import. You can always generate proxies manually for a single heavy clip later.
Third, visit the Performance section and enable hardware acceleration if your Mac supports it. On Apple Silicon machines this is usually detected correctly; on Intel Macs with a discrete GPU, the setting sometimes defaults to software rendering, and toggling it cuts render times noticeably.
A podcaster’s afternoon: one file, three outputs
Consider someone who records a forty-minute interview on a single camera and a standalone microphone. The raw file contains the full conversation, complete with the host’s false starts and a two-minute pause while a delivery arrived at the door.
She drags the file into CapCut and first runs the filler-word and pause removal across the entire track. The AI strips the dead air and the host’s repeated “I mean” tics in under a minute. She then generates captions — the automatic transcription handles two voices well enough that only six lines need manual correction. A quick chroma-key pass replaces the blank wall behind her with a branded backdrop. From this single cleaned timeline, she exports a full episode, a sixty-second teaser cut down with the razor tool, and a silent captioned square clip for social media, all at 4K. The entire session, from import to three exports, fits inside ninety minutes.
Beginner mistakes that waste time
The most common early error is treating CapCut’s one-click AI tools as final passes. The filler-word removal is aggressive: it occasionally clips the tail of a word that ends softly, especially with certain microphone placements. Playing through the result once and nudging a few edit points back by a few frames takes two minutes and rescues lines that would otherwise sound cut off.
Another habit is stacking effects directly onto the main clip instead of using adjustment layers. A colour grade applied to the clip itself becomes a problem when you split the track later — each segment inherits the effect, and changing the grade means updating every piece individually. Placing corrections on an adjustment track above the edit keeps one control point for the whole sequence.
Finally, beginners often export at the default bitrate without checking the Advanced export settings. The standard preset is tuned for fast uploads, not for preserving fine grain in low-light footage. For a master file, raising the bitrate to at least 30 Mbps for 4K avoids compression artefacts that become visible after a platform re-encodes the video.








Correspondence 0
Take a chair or join the table to send a letter.
No correspondence on this note yet. Letters are read before they appear.