 LeCoqRoti
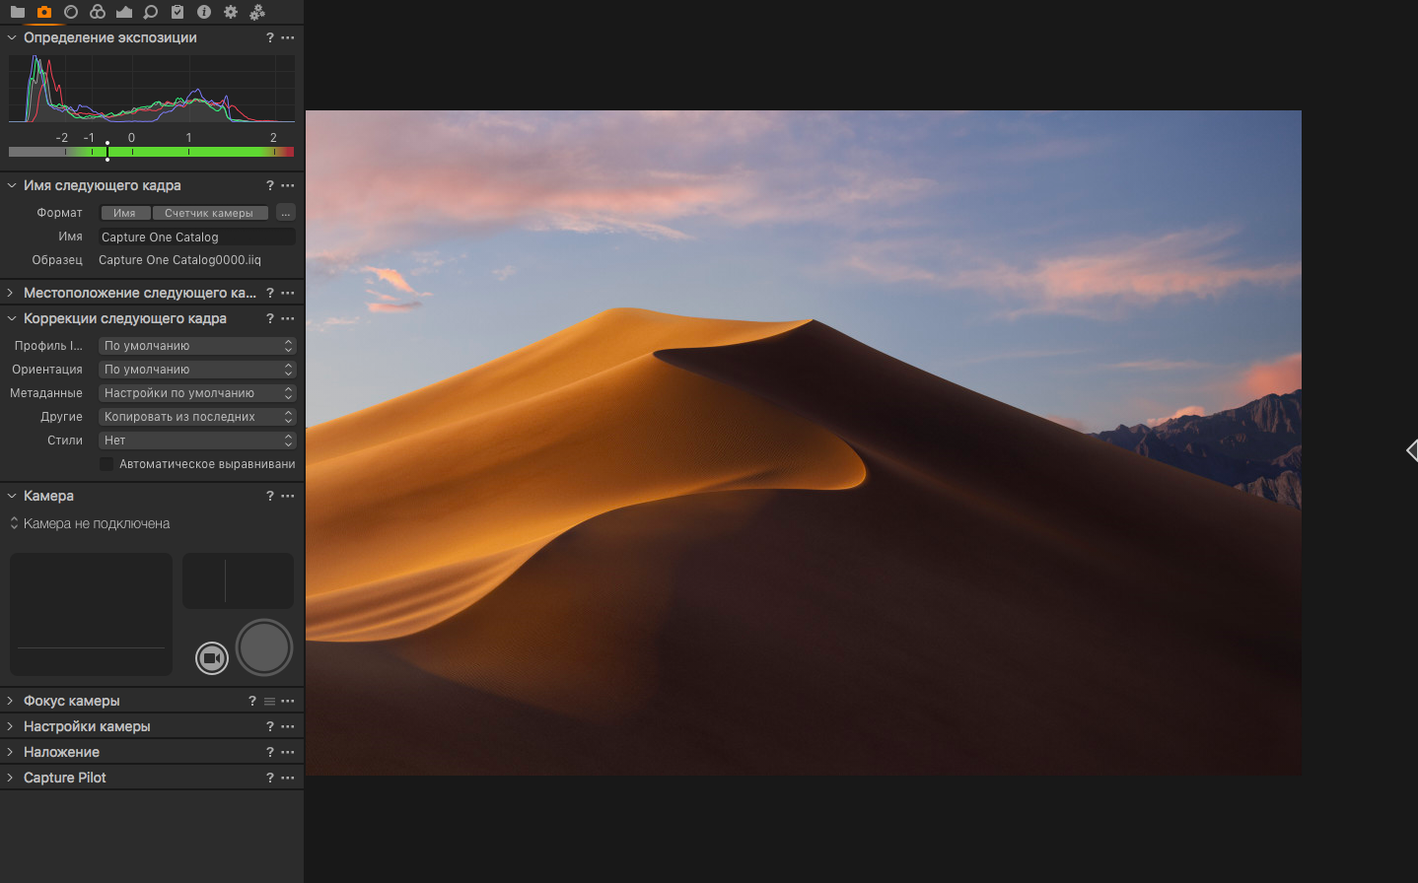
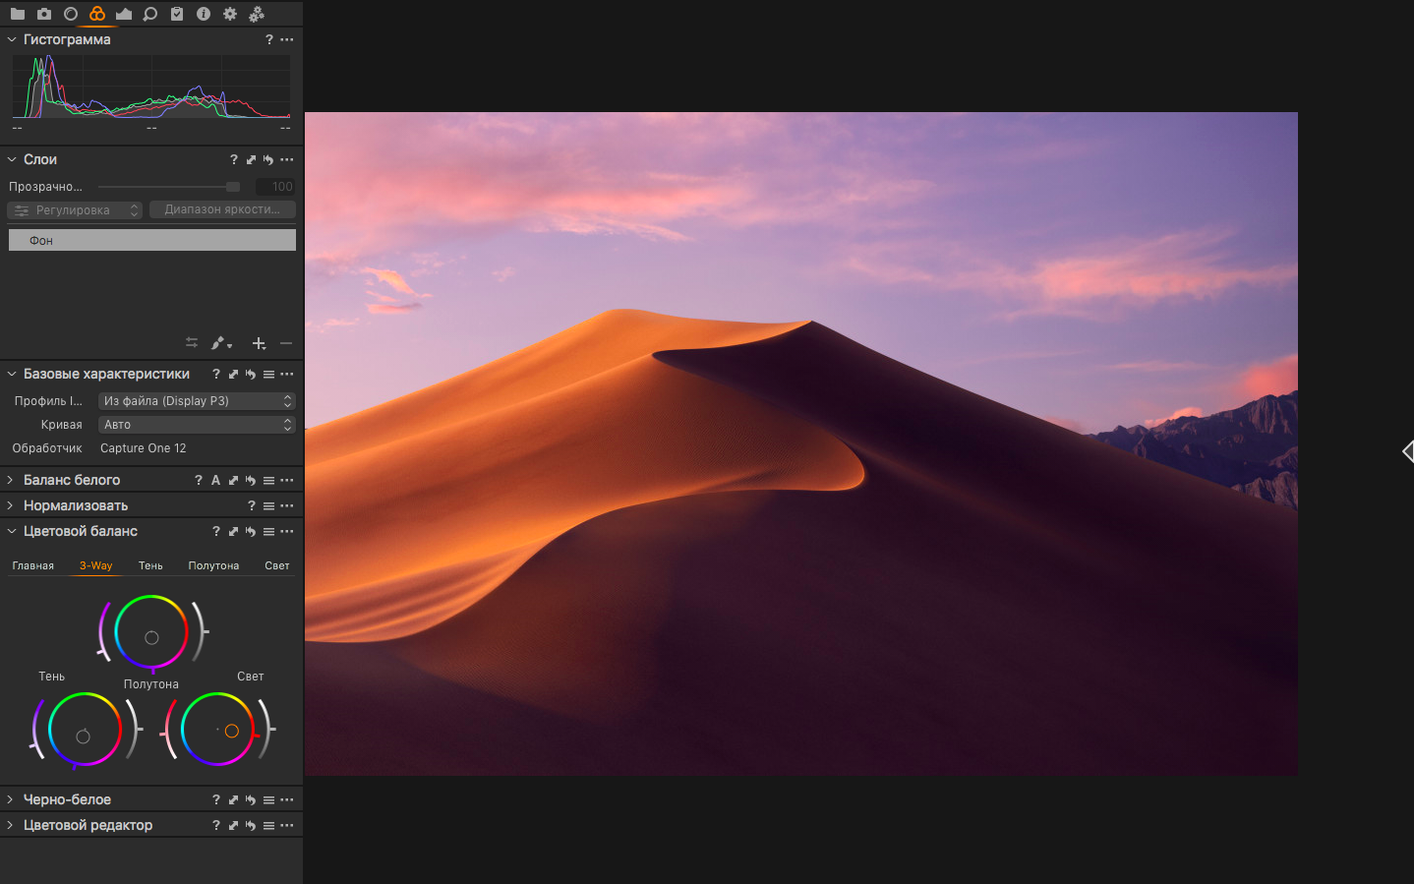
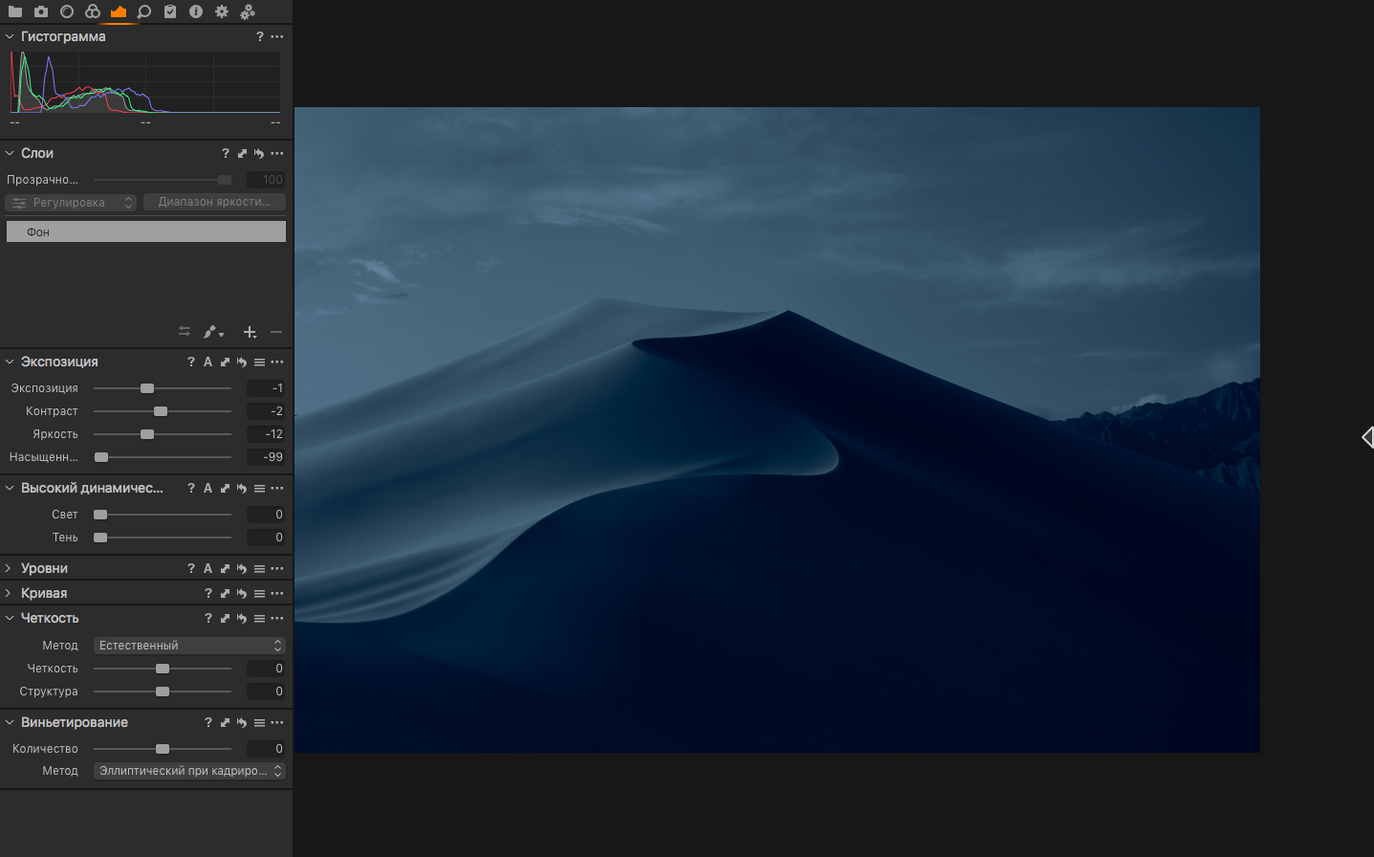
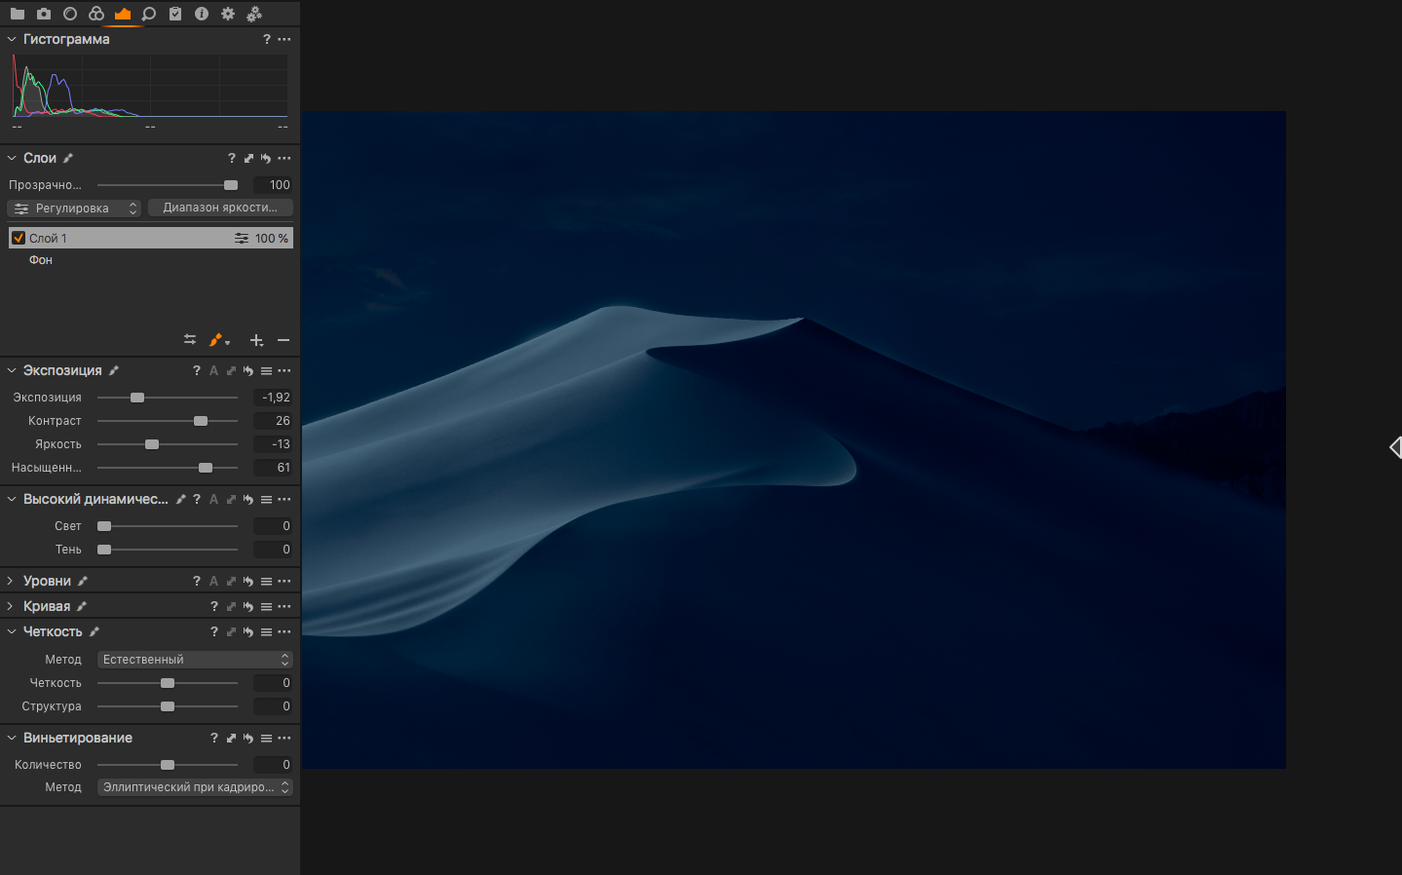
Commercial studios, portrait photographers and meticulous colourists often reach for Capture One. It is a professional RAW converter built around precise colour editing, reliable tethering and a workflow that favours control over speed.
Colour: set white balance with precision
White balance is corrected by selecting the eyedropper and clicking a neutral gray point in the image. The engine also reduces colour noise and lets you push or recover hue, saturation and luminance across individual bands. For skin-tone work, the uniformity sliders are particularly useful.
Exposure: recover highlights and shadows
Overexposed skies and underexposed backlit faces respond well to the High Dynamic Range sliders. Combined with the curve and levels tools, a flat RAW file gains shape without the halos that lesser algorithms introduce. Sharpening is applied through a dedicated tool that respects edge contrast rather than amplifying noise.
Output: ready for print or screen
Finished work can be exported to full-size TIFF in RGB or CMYK, or to a high-quality JPG. The contact-sheet generator, refined in the latest release, turns a session into a clean PDF for client review in a few clicks.
First days: configure the essentials
After the first launch, pause before importing a full shoot. A few adjustments made early will save repeated corrections later. Open the Preferences panel and visit the Appearance tab: the viewer background colour defaults to a mid-grey, but switching to a darker shade reduces glare during long editing stretches. Under Image, set the default ICC profile to your most-used output space—Adobe RGB or sRGB for screen, a specific CMYK profile for print. This becomes the suggested profile in every new session and variant.
Next, check the auto-adjust settings. Capture One applies a base curve and some sharpening by default. For many RAW files this is a useful starting point, but if you prefer a flat, linear starting point, disable the default sharpening and set the curve to Linear Response in the Base Characteristics tool. This gives you a neutral canvas that behaves more like a digital negative.
One more practical step: assign shortcuts. The default set is logical, but mapping the Pick and Reject labels to single keys—such as the number pad or a few unused letter keys—accelerates culling considerably. Also, set the Copy Adjustments and Paste Adjustments shortcuts to something you can trigger without looking at the keyboard; you will use them constantly.
From card to contact sheet in a saved session
Picture a Tuesday morning with a fresh CFexpress card from a portrait session. The card goes into the reader. Capture One is already open to an empty session, the kind saved inside the project folder on an external SSD. A new Capture folder is created and named with the date and client initials.
The Import tool is set to Copy to Session. The destination is that new Capture folder. In the import dialog, a naming preset applies the date, a sequence number and the client code—241022_Rivera_001.NEF. File renaming happens during import, not after, so the files on disk match the catalogue from the first moment. The import runs; thumbnails populate the browser in a few seconds.
Culling begins in the Browser with the viewer set to Full Screen. The arrow keys move forward, the assigned key for Reject marks blinks and soft frames, and Pick tags the keepers. The filter bar shows only tagged images. A second pass with a tighter eye narrows thirty frames to six. Those six are selected, right-clicked, and sent to a new album called Selects.
Editing starts with the first frame. The White Balance eyedropper clicks on a neutral grey card held in the first shot. That correction is copied, all six selects are selected, and the adjustment is pasted in one action. Each frame then gets individual exposure tweaks: a quarter-stop lift on the shadows for the ones near the window, a slight highlight recovery on the shirt collar under the strobe. The session auto-saves every adjustment as a sidecar instruction; the RAW file is never touched.
Workflow: building a monochrome conversion from a colour RAW
A strong black-and-white image rarely comes from a single desaturation click. Start with a colour file that has even exposure and no clipped channels. In the Black & White tool, enable the conversion. The default mix flattens the image; the real work is in the colour sliders underneath.
Pull the blue slider left to darken a pale sky, adding weight and drama. Push the red and orange sliders right to lift skin tones and separate the subject from a darker background. The yellow slider, adjusted carefully, controls the luminance of sunlit foliage or fabric. Watch the histogram as you work: a smooth distribution without spikes at either edge usually means a clean print later.
Once the tonal map is set, add a Clarity adjustment—between 15 and 25 on the punch method, avoiding the neutral method for portraits. Structure at a low value, around 10, brings texture to hair or fabric without making skin look harsh. If grain is needed, the Film Grain tool offers control over type, impact and granularity; the Silver Rich type with a modest impact of 30 and granularity around 40 mimics a classic medium-format stock.
Export the final conversion as a 16-bit TIFF in Adobe RGB if it is heading to a print layout, or as a high-quality JPG in sRGB for a digital portfolio. The recipe can be saved as a process preset and applied to an entire album with two clicks.
Real-world scenario: an architectural photographer on location
An architectural photographer arrives at a newly finished residential project with a technical camera and a Phase One digital back. The laptop runs Capture One in a tethered session. The back is connected via USB-C, and the live view feed appears inside the application. Composition is checked on the large screen rather than squinting at the back's LCD.
Each exposure is captured directly into the session. The photographer applies a custom LCC (Lens Cast Calibration) profile, created earlier with a white acrylic plate, to correct for colour cast and falloff across the frame. Keystone correction is dialled in with the Keystone tool: vertical lines are pulled straight with two guides placed along the building edges. The crop is set to 4:5 ratio, the aspect requested by the client for their portfolio book.
Between shots, the client—an interior designer on site—reviews the images on the same screen. Using the new Assisted Review feature, they can add star ratings and colour tags without touching the keyboard, leaving the photographer free to adjust lighting and composition. At the end of the morning, a contact sheet is generated as a PDF and sent to the client's phone before the gear is packed. The session folder, with all adjustments embedded as instructions, is ready to reopen later for final retouching.
Tether drops: cable choice over software blame
Tethering drops mid-session. This is often a cable issue before it is a software one. Use the shortest, highest-quality USB-C cable available—those rated for data transfer, not just charging. In the Capture One preferences, under Capture, set the camera sleep setting to Never. If the connection still drops, quit the application, power-cycle the camera, and relaunch. The session will reopen with all previous adjustments intact.
The interface feels slow with large catalogues. A catalogue referencing tens of thousands of images will eventually lag. The remedy is to switch to sessions for active work. Sessions are lighter, store adjustments in sidecar files, and can be moved between machines. Reserve catalogues for long-term archiving and searching, not for daily editing.
Preview colours do not match the exported file. This is almost always a colour-management mismatch. Confirm that the viewer's proof profile, set in the View menu, matches the export recipe's ICC profile. If the export is sRGB but the viewer is set to Adobe RGB, the colours will shift. Also, check that the system display profile is valid; a corrupted monitor profile can cause strange casts inside any colour-managed application. Recalibrating the screen often resolves the discrepancy.
Adjustment layers behave unexpectedly. Each layer in Capture One carries its own set of adjustments, and the background layer always sits at the bottom. If a new layer's white balance correction seems to have no effect, check that the layer opacity is at 100% and that no mask is hiding the adjustment. Also, the Background layer cannot be reordered; new layers always stack above it. When cloning or healing, create a new layer first—the healing brush will not function on the background layer at all.
In short: the first week is about building a session habit that matches how you shoot, not how the manual suggests you should. The software rewards a consistent folder structure and a light touch with the default settings.







Correspondence 0
Take a chair or join the table to send a letter.
No correspondence on this note yet. Letters are read before they appear.