 LeCoqRoti
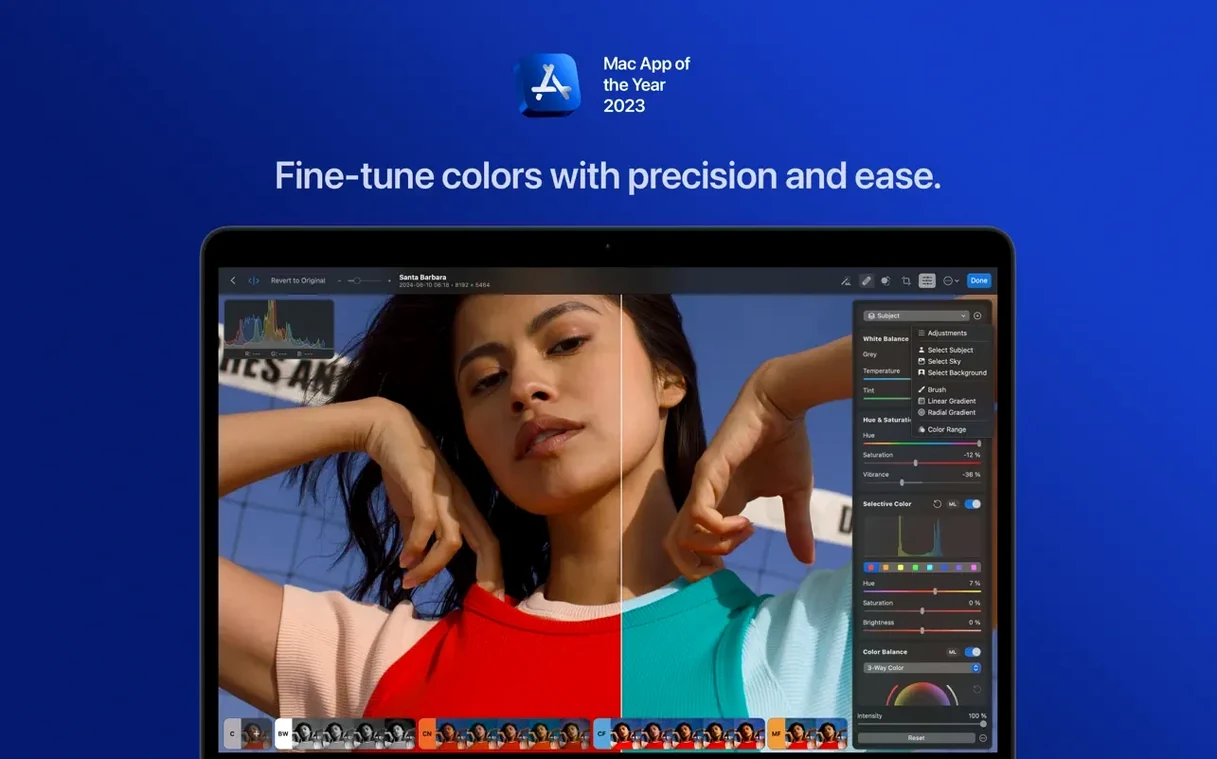
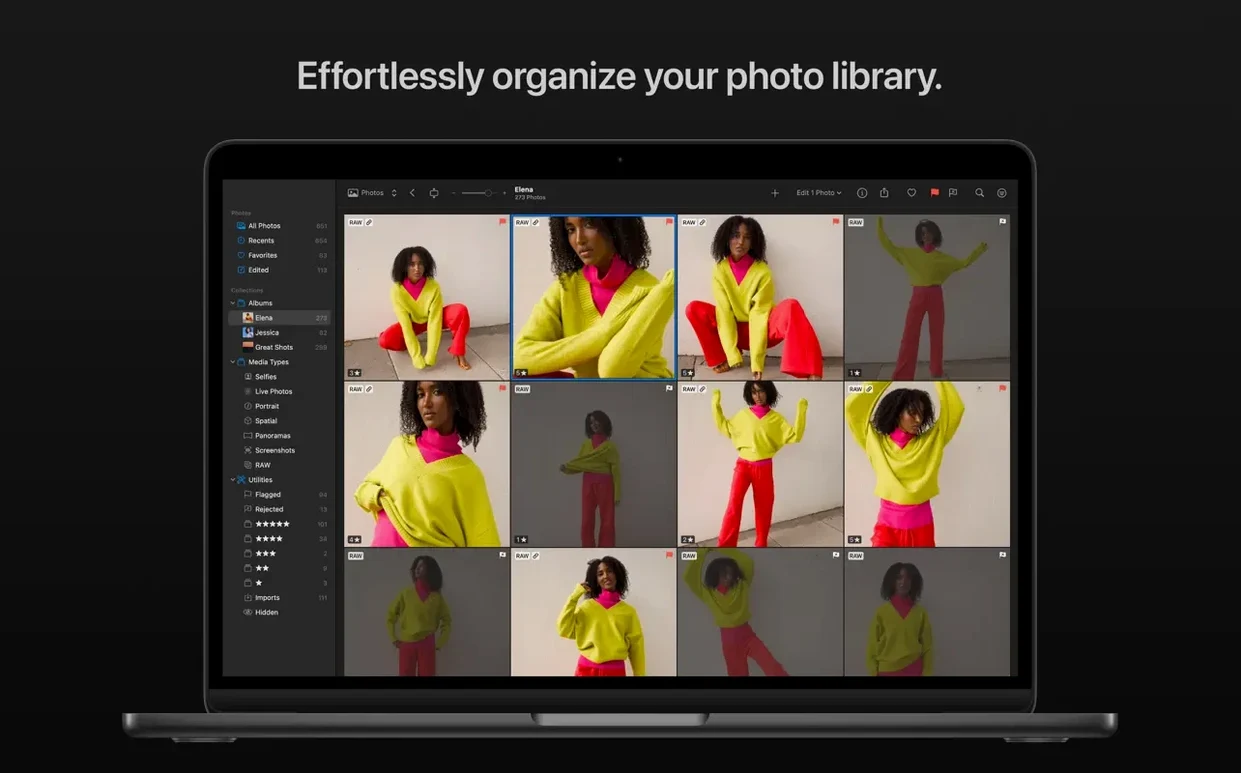
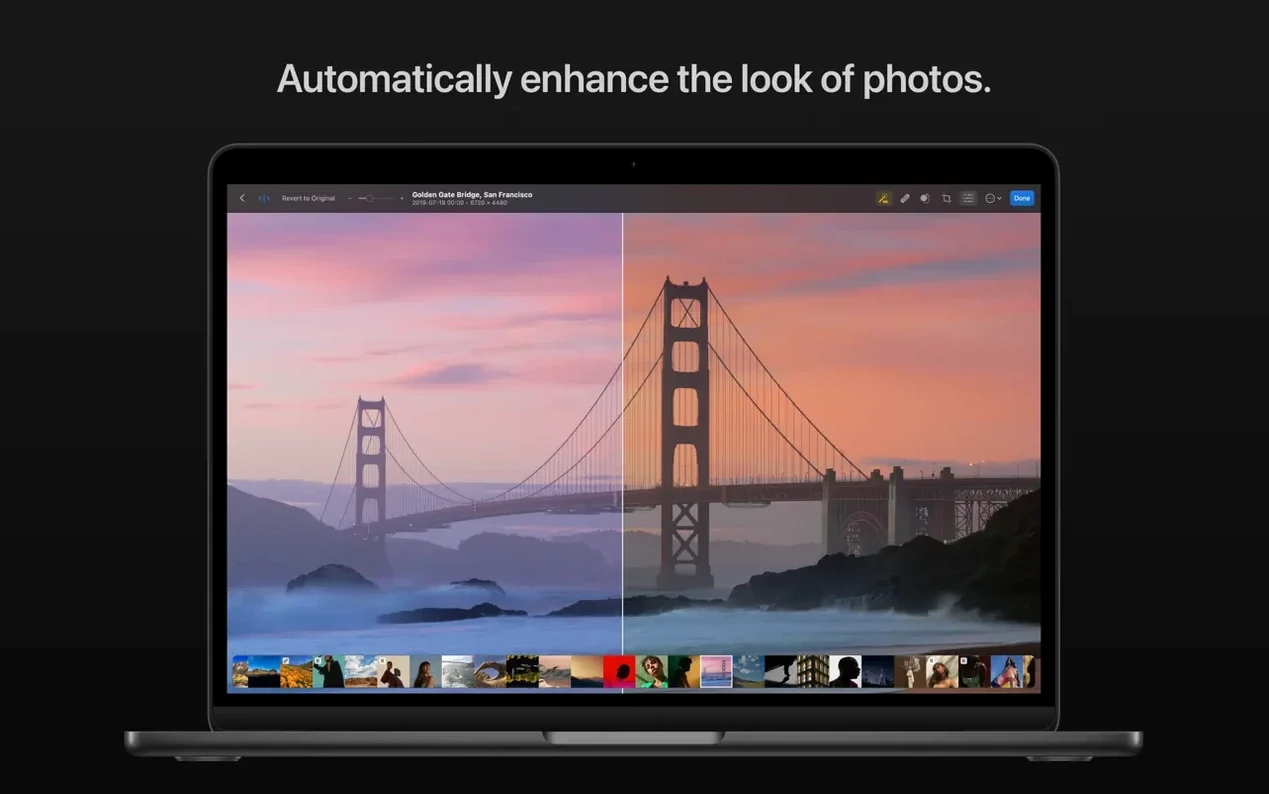
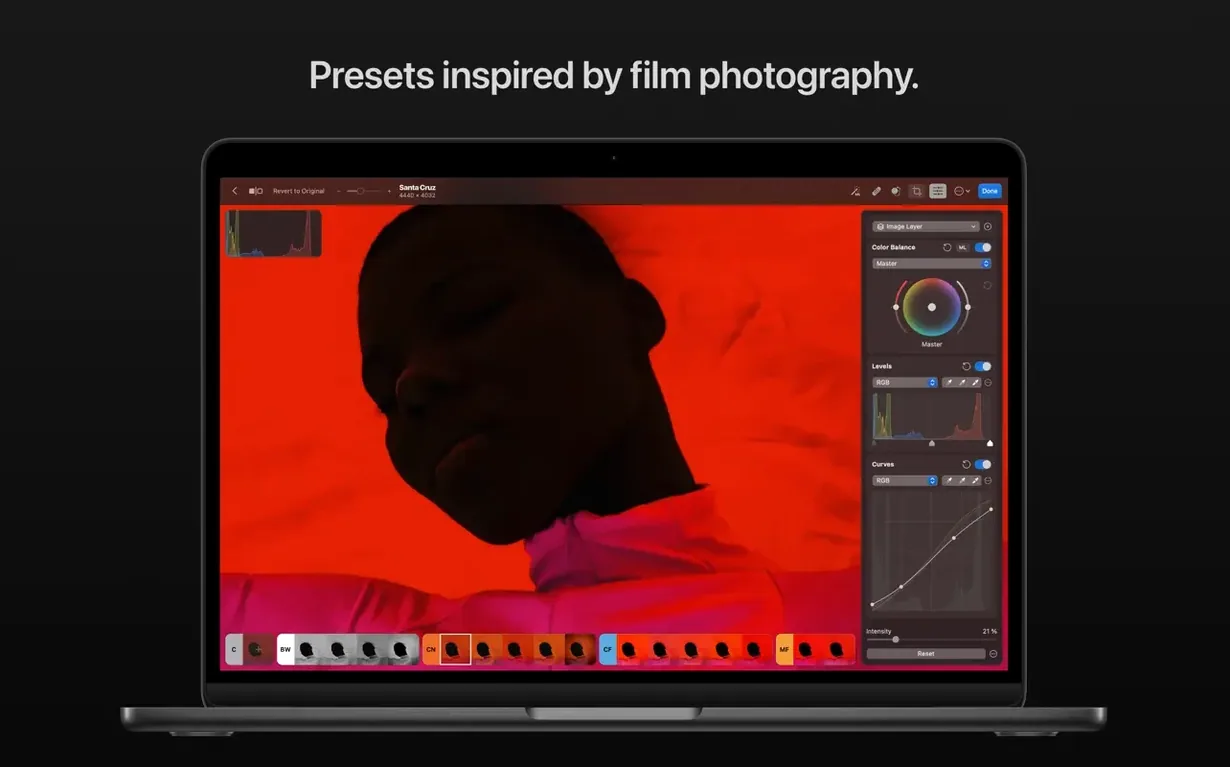
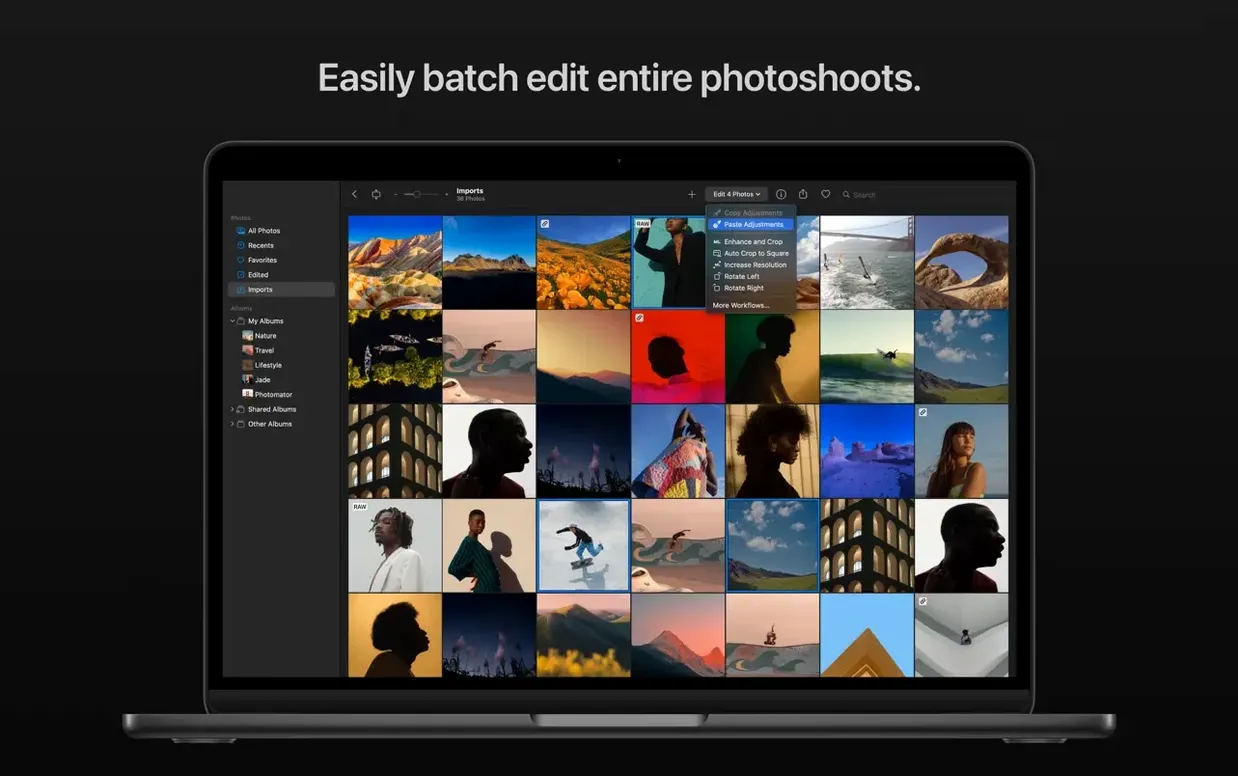
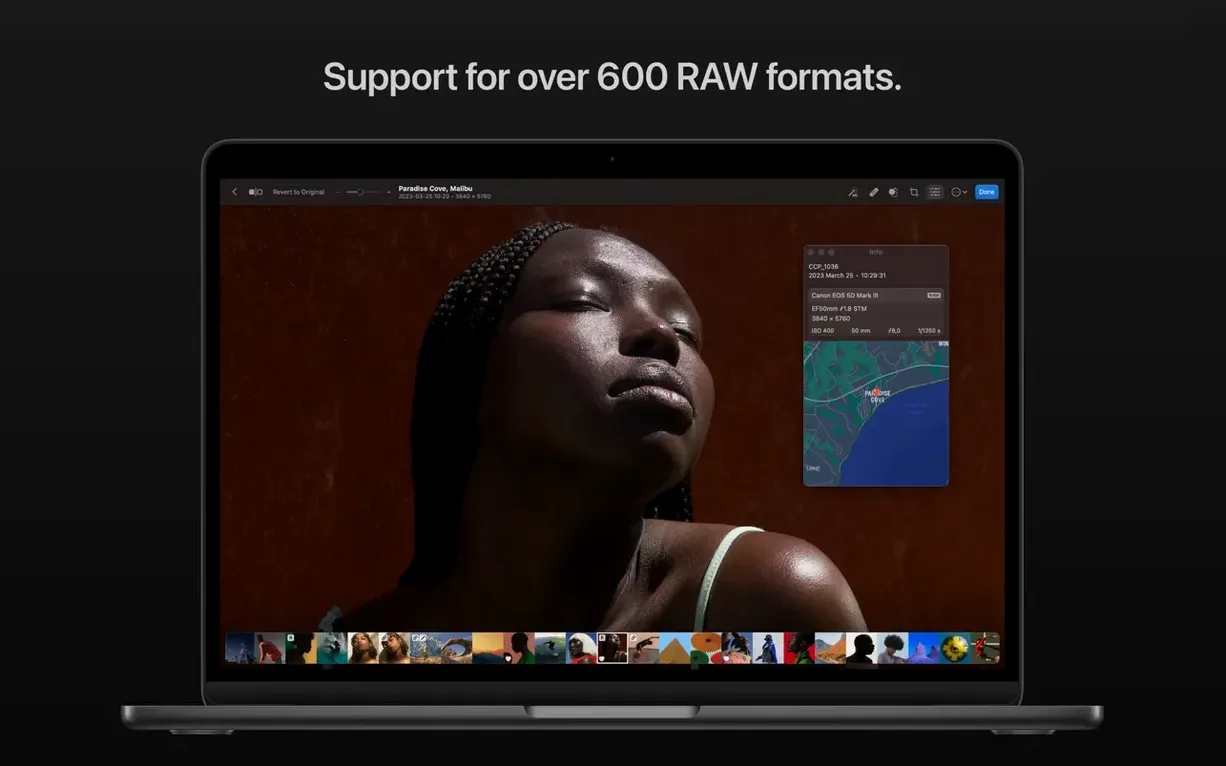
You open a batch of RAW files from a morning shoot, knowing they need noise reduction and a consistent colour treatment before heading into a layout. Photomator sits at that midpoint: a Mac-native editor built to handle the technical side of image preparation without pulling you into a separate ecosystem.
RAW processing — full support for RAW files, including batch editing across RAW and other formats in the same set. The latest version extends this to compressed RAW from recent Sony, FUJIFILM, and Nikon bodies, plus high-resolution mode files from the Panasonic LUMIX DC-S1RM2.
AI-assisted adjustments — Denoise runs on Core ML for machine-learning noise reduction. Smart Deband targets colour banding in gradients, and a match-look feature transfers the colour and tone of one photo to another.
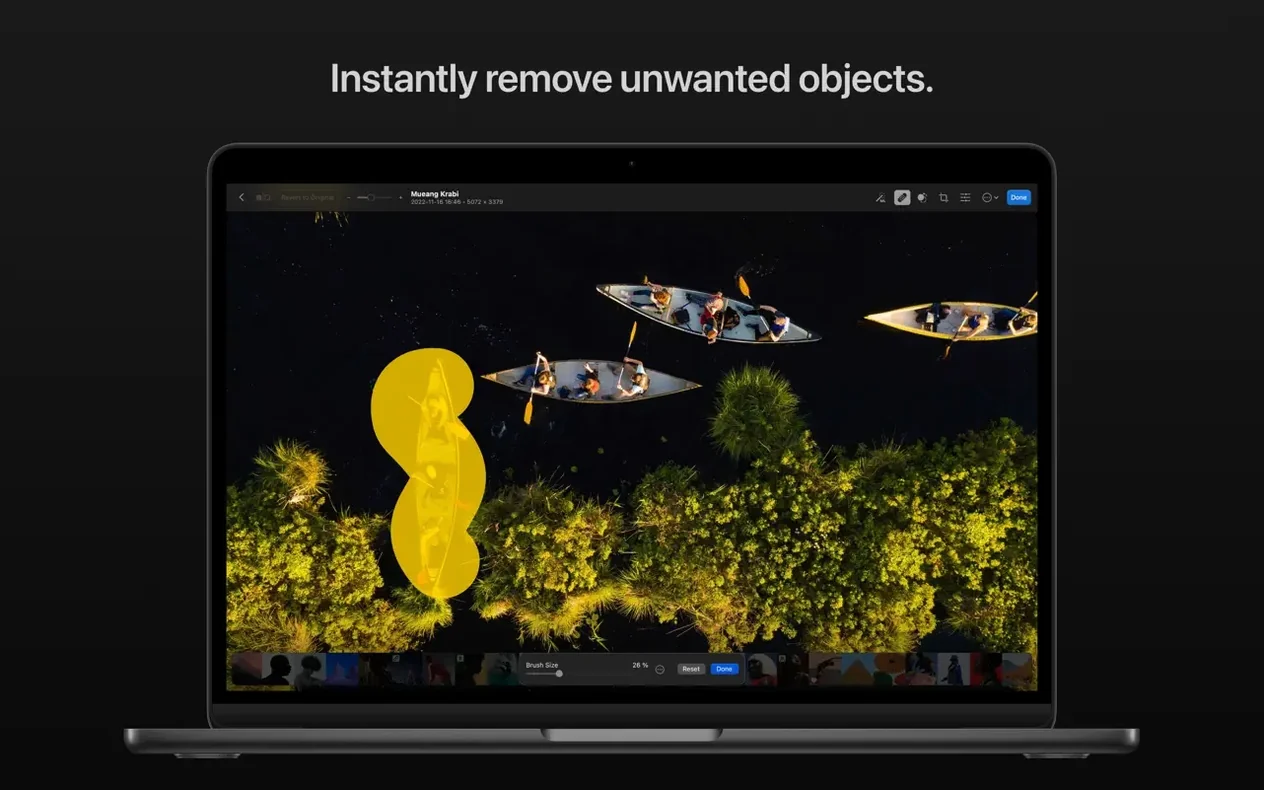
Retouching — clone and repair tools let you remove unwanted objects. Crop, straighten, and perspective controls handle the geometric side of a composition.
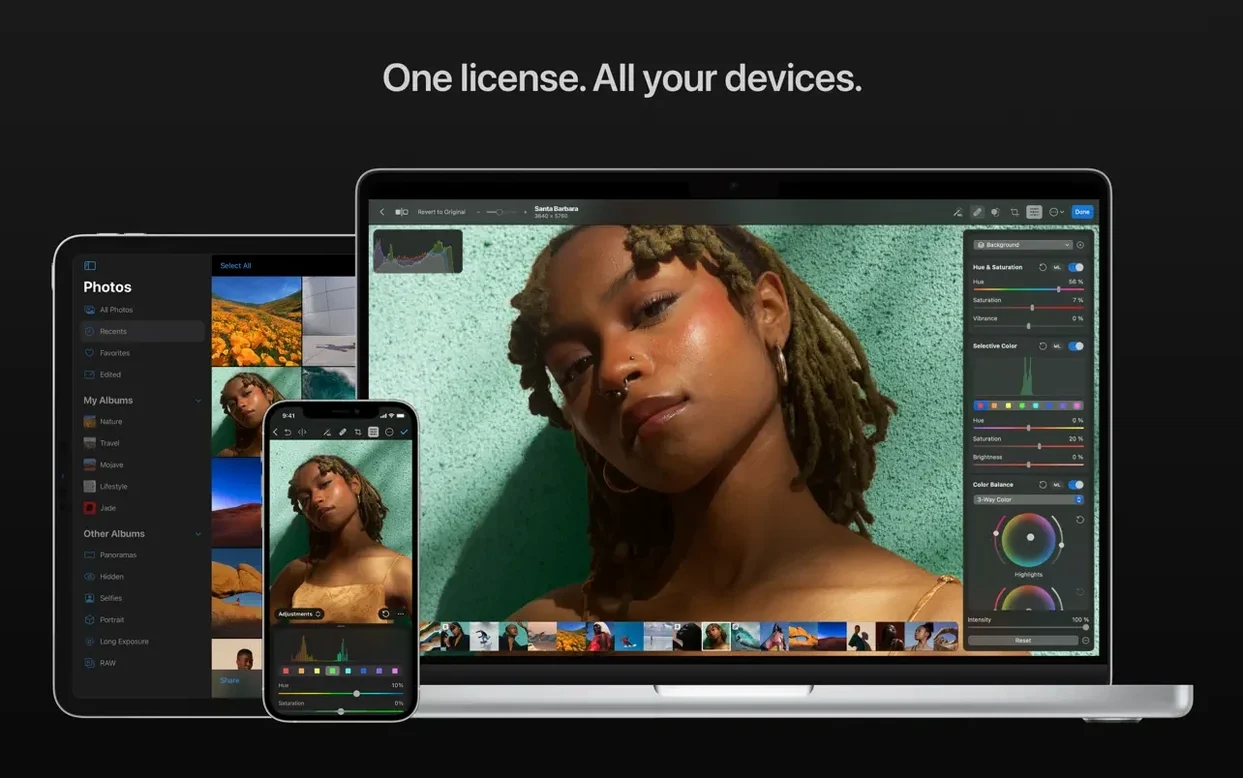
Mac integration — the app requires macOS Ventura and runs natively on both Intel and Apple Silicon. It speaks the system’s visual language: no cross-platform awkwardness, just a quiet fit beside the other creative tools on the machine.
RAW-first editing: three photographer profiles that fit
A tool’s shape often reveals itself in who reaches for it daily. Photomator makes most sense for three distinct groups, each with a different set of needs.
The RAW-first photographer. Someone who shoots uncompressed or compressed RAW across multiple bodies and wants a single editing surface that reads them all without conversion. The fact that RAW and non-RAW files can sit side by side in a batch edit matters enormously here: you import everything from the card, group shots by lighting conditions, and apply the same colour grade and noise reduction in one pass. No bridge application, no round-tripping.
The layout-conscious designer. A graphic designer or art director who receives photography from others and needs to prepare it for a layout. Cropping to a precise ratio, straightening a horizon that was slightly off, copying edit settings from an already-approved image onto a new one, upscaling a low-resolution file for print: these are the moves that fill the ten minutes before a file lands in InDesign or Affinity Publisher. The Mac-native interface keeps the tool in the background, which is exactly where a designer wants it during production.
The occasional editor who dislikes subscription software. A person who edits in bursts, perhaps after a trip or a family event, and wants a capable editor that sits on the Mac without demanding a monthly commitment. The learning surface is flat: AI-assisted subject and sky selection means a complex mask does not require brushwork, and the preset collection offers a fast starting point for landscape or black-and-white treatments. For this user, the value lies in reaching competence quickly, then putting the tool away until the next batch arrives.
Sony Alpha ILCE-7M5: compressed RAW support arrives quietly
The update to version 3.4.15 is quiet on the surface. The developer describes it as bug fixes and performance improvements, but the camera support additions tell a more interesting story for working photographers.
Compressed RAW from the Sony Alpha ILCE-7M5 now opens directly. That means a photographer using Sony’s lossy compressed format to save card space can edit without a separate conversion step. The same applies to FUJIFILM GFX 100S II and GFX 100RF files: medium-format compressed RAW arrives ready to work with. For Nikon shooters, High Efficiency and High Efficiency Star RAW from the Z5II and Z50II bodies are now readable. And the Panasonic LUMIX DC-S1RM2 in High Resolution mode, which produces large multi-shot composites, is newly supported. These are not headline features for everyone, but for anyone holding one of these cameras, the update removes a small friction point that used to mean an extra application in the chain.
What this pattern suggests: the developer keeps the format library current without making the user think about it. You insert a card, you edit. The absence of a separate import dialogue for RAW conversion is a design decision that pays off quietly every day.
Photos library link: the first connection to make
After you mount the photomator dmg and drag the application into place, a few deliberate steps make the first editing sessions smoother.
Connect the Photos library or a working folder first. Photomator can sync edits with the Photos app and iCloud Drive. Decide early whether your images live inside the system library or in a folder structure you manage yourself. If you work with iCloud, open a test image, make a small adjustment, and confirm the edit syncs back to Photos before you commit a full shoot to the workflow.
Spend ten minutes with Denoise and Smart Deband on a difficult file. Find an image with genuine noise, ideally shot at high ISO, and one with visible colour banding in a sky or a smooth background. Push the Denoise slider until the noise grain breaks up, then back off slightly. For Smart Deband, watch what happens at the edge of a gradient. Getting a feel for these two controls early prevents over-application later, when you are working through a hundred frames and tempted to apply the same heavy setting everywhere.
Build one preset from your own edit. Edit a photo the way you like it, save the settings as a preset, and give it a name that describes the light, not the effect: “Overcast afternoon,” not “Moody cool.” Apply it to three other photos shot in similar conditions. Tweak each one individually. This single exercise teaches you more about how Photomator handles colour and tone than reading any number of feature lists.
Adjustment clipboard: copy edits across images instantly
Some of the most useful things in the app are the ones that do not announce themselves.
Copy and paste edits between photos. Select an edited image, use ⌘C for the adjustments, select one or more target images, ⇧⌘V to paste. The paste applies only the adjustments, not the crop or the retouching. This distinction is deliberate and useful: you can copy a colour grade across a set without overwriting each photo’s individual composition.
AI selections as adjustment masks. The automatic subject, sky, and background selections are not just for cutting things out. Select the sky, then apply a gradient adjustment to it alone. Select the subject, lift the shadows slightly without affecting the background. The selection becomes a temporary mask that lives inside the adjustment layer; you never see it, but it shapes everything that follows.
Match look for consistency. Open two photos, one with the colour treatment you want, one without. With the target photo active, choose Match Look and point to the source. Photomator analyses the colour and tonal distribution and maps it across. The result is a starting point, not a final grade, but it reliably gets you 80% of the way in a single click.
Upscale before export. The upscaling feature sits a little out of the way, but it is worth locating before you need it. When a client asks for a larger file than the original capture provides, upscale the image inside Photomator rather than relying on layout software to interpolate. The algorithm uses Core ML and tends to preserve edge detail better than a simple bicubic resampling downstream.
In short: the tool rewards the person who learns where the quiet controls live, not the one who reads the feature list. A photomator download from the developer’s site puts a capable Mac editor in front of you; the first few hours of deliberate use decide whether it becomes the tool you reach for without thinking.






Correspondence 0
Take a chair or join the table to send a letter.
No correspondence on this note yet. Letters are read before they appear.