 LeCoqRoti
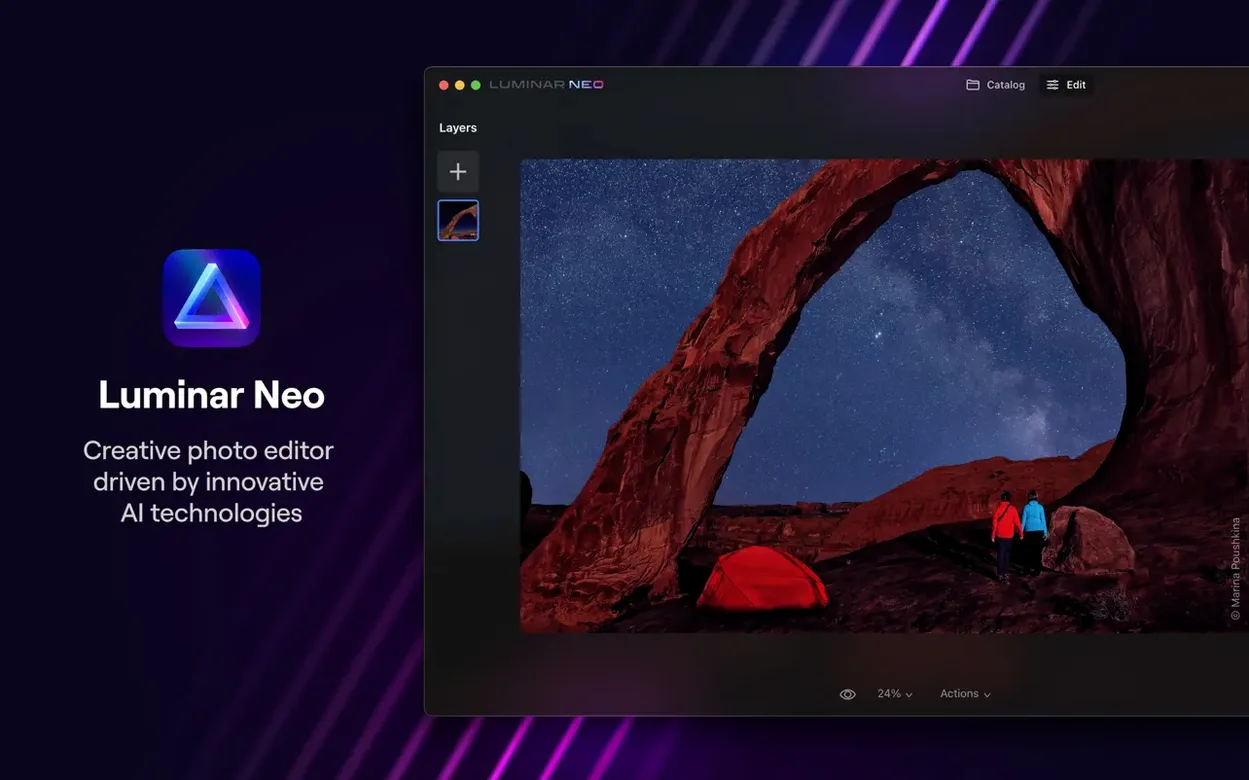
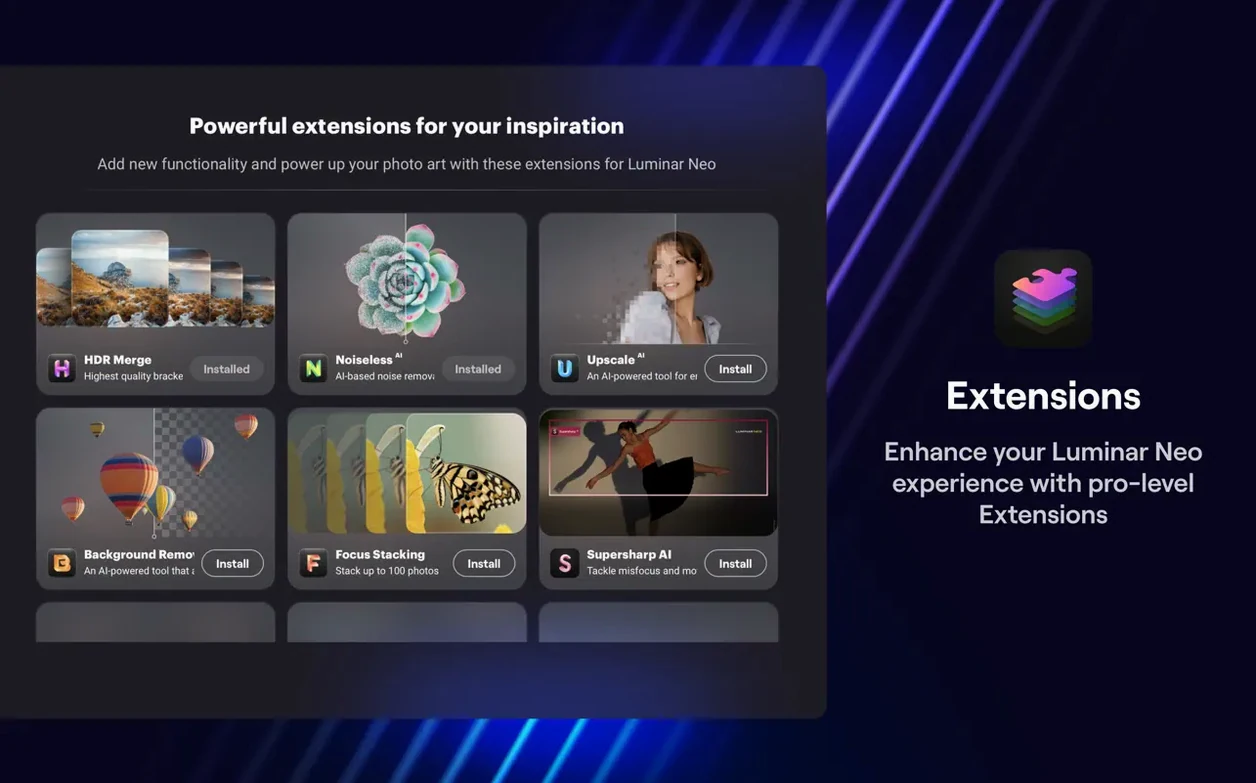
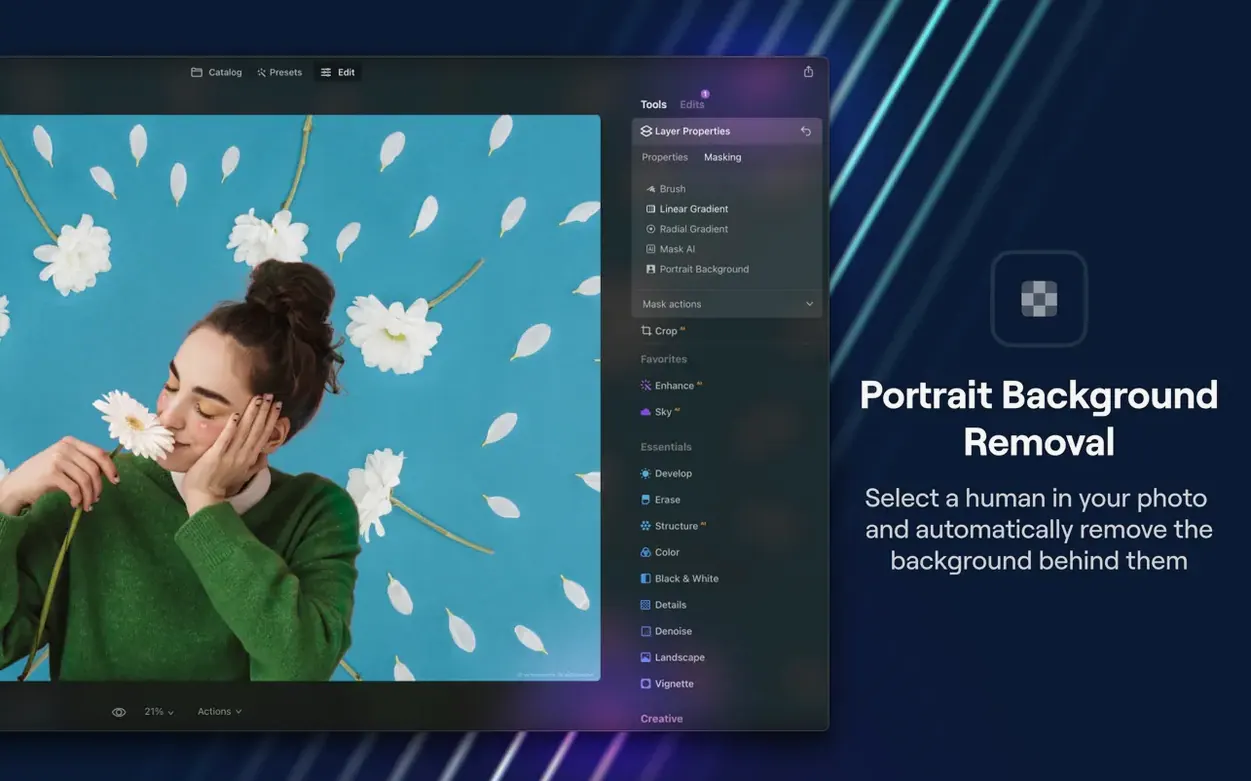
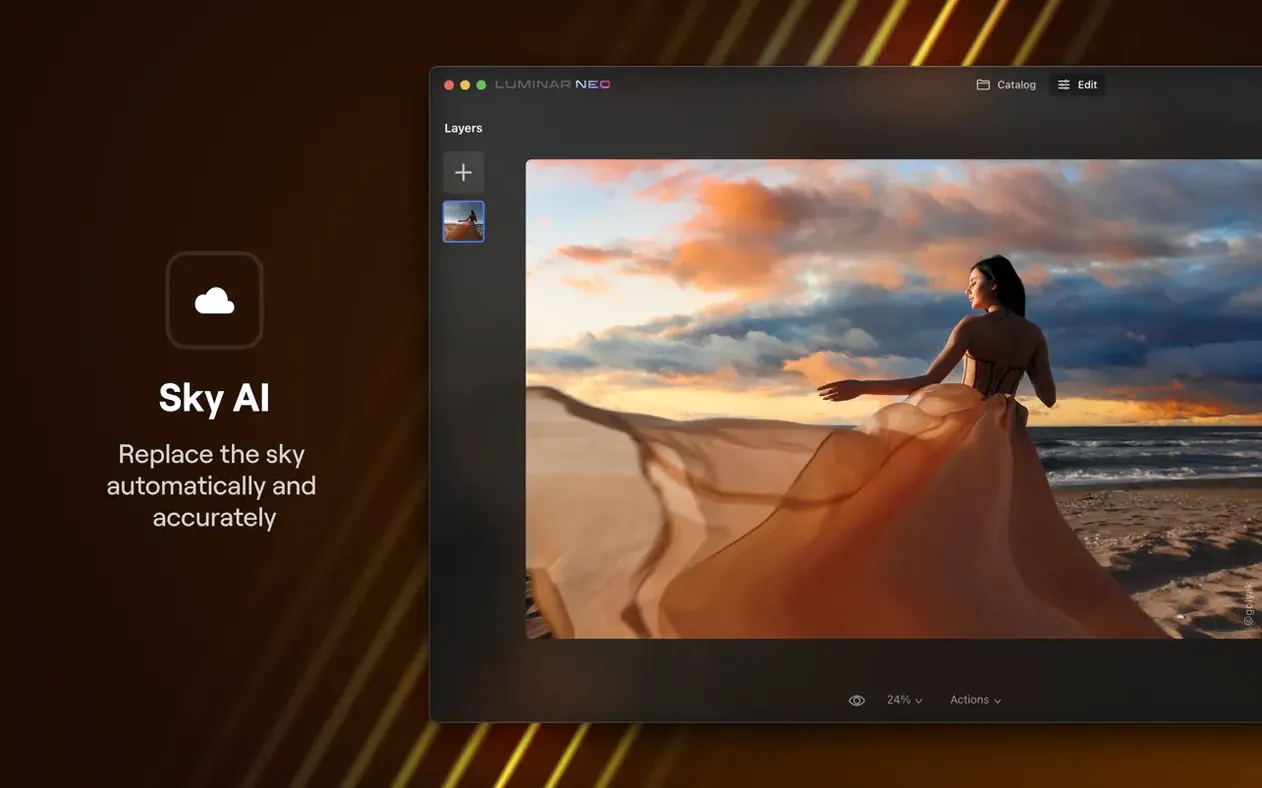
Portrait backdrop looking busy. Open Luminar Neo, select the Background Removal tool, and a few moments later your subject sits against a clean, editable layer. It is the kind of task that once demanded careful masking, now handled by the app's AI engine. But before the editing begins, the first question is simpler: will it actually open on your machine.
System requirements: what your Mac needs
Luminar Neo asks for macOS 12.0 Monterey or later, and it runs natively on both Intel and Apple Silicon processors. Skylum lists 8 GB of RAM as the minimum, though 16 GB is recommended for working with larger files and multiple image layers. The interface is localised into twelve languages, including English, French, German, Japanese, and Korean.
What you get: a layered, AI-driven editor
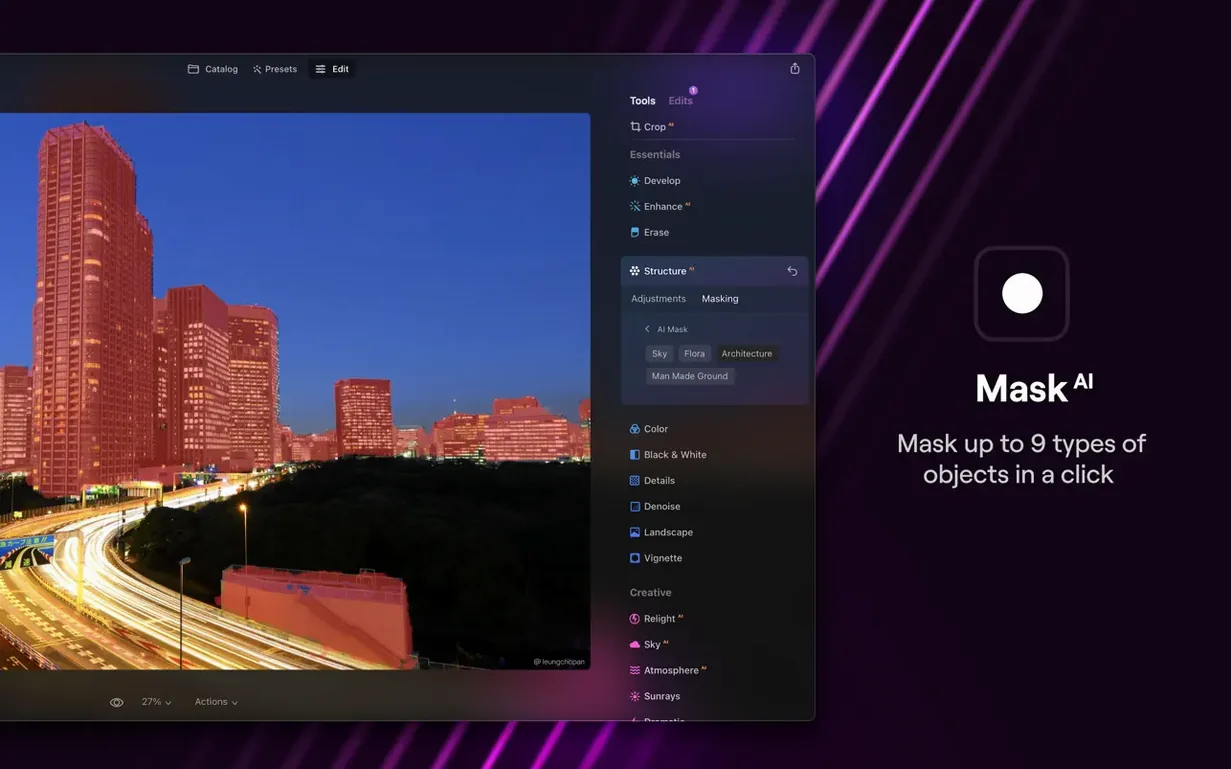
Built on the foundation of Skylum's earlier LuminarAI, this version introduces a more customisable workspace. Tools like background replacement and layer support push it beyond quick-fix territory into professional-quality photo editing. The AI Assistant, now present in both the Presets and Edit tabs, aims to speed up routine decisions without taking full control away.
Working with high-resolution RAW files from a Sony A7R IV, I have seen Luminar Neo 1.26.0 open a 60‑megapixel image in under five seconds on a MacBook Pro with an M1 Pro chip and 16 GB of RAM. That is not instantaneous, but it is visibly quicker than some older versions of the application. Memory pressure stays in the green for most single‑image edits, hovering around 6 to 7 GB of used RAM. When you begin stacking adjustment layers and a texture overlay, the figure climbs. At around twelve layers, the app can pause for a breath — a brief beachball — before catching up. That behaviour is consistent with what Skylum recommends: 16 GB gives the engine room to breathe.
Stability in version 1.26.0 feels markedly improved over the early Neo releases. In a full afternoon of editing, the application did not quit unexpectedly once. That said, the background replacement tool, when fed a portrait with flyaway hair against a busy garden hedge, froze the canvas for eight seconds. It recovered and delivered a clean mask. Not flawless, but workable. The AI Assistant, now present in both the Presets and Edit tabs, completes its analysis in roughly two to three seconds on an Apple Silicon machine, and it does so without blocking the rest of the interface. You can still scroll through presets while the assistant thinks.
On the resource side, Luminar Neo is not a lightweight app. The package size sits around 4.5 GB installed, and it writes a substantial cache to ~/Library/Application Support. On a 256 GB MacBook, that is worth monitoring. For daily work, though, the application feels quick where it matters — slider response, preset preview, layer toggling — and only slows when asked to perform heavy compositing tasks that would challenge any pixel‑based editor.
Philosophy shift: editing library versus instant embellishment
Photographers browsing for luminar neo often already know Lightroom Classic and Photoshop. The three applications share a surface, but their philosophies diverge quickly. Lightroom organises; Luminar Neo embellishes. Adobe’s catalogue‑centric workflow feels like a library with a darkroom attached, while Skylum’s editor behaves like a light‑filled studio where you walk in with a single image and start playing. Lightroom’s masking tools have grown more intelligent in recent versions, yet Luminar Neo’s AI‑powered relighting and background replacement still feel less clinical — fewer sliders, more immediate result.
Compared to Pixelmator Pro, the difference narrows on the Mac. Pixelmator Pro offers a machine‑learning‑driven workspace wrapped in a native Apple design language. Its repair tool and colour adjustment layers are fast and deeply integrated with macOS frameworks. Luminar Neo counters with an editing flow that leans harder into atmosphere: the Orton effect, sunrays, and the mood‑driven Accent AI slider. Pixelmator Pro costs less to own, but it does not offer the same one‑click sky replacement fidelity or the new AI Assistant that reads an image and suggests a starting point. For a photographer who wants to spend ten minutes rather than an hour on a portrait, Luminar Neo’s approach can feel more generous.
Some users who arrive via a search for Luminar Neo torrent or Luminar Neo Mac torrent are comparing it with free or open‑source alternatives like Darktable. That comparison is harder to make fairly. Darktable is a parametric editor built for precision and non‑destructive pipelines; it does not attempt to guess depth or replace skies automatically. Luminar Neo makes different trade‑offs — speed of result over granular control, visual impact over file management. Neither approach is wrong, but they suit different temperaments.
A scenario: the weekend portrait photographer
Imagine a photographer who shoots environmental portraits on Saturday mornings, often in a local park. The light is unpredictable: one frame is overcast and flat, the next has harsh dappled shadows through leaves. Back home with a memory card of eighty RAW files, she wants to deliver five edited images before lunch. She opens Luminar Neo, selects the first portrait, and lets the AI Assistant read the scene. It lifts the exposure gently, adds a touch of contrast, and suggests a preset that warms the skin tones. She accepts the suggestion, then opens the Relight tool and pulls a little brightness back onto the face from the foreground slider. A quick crop, a vignette from the Optics panel, and the image is ready. No pixel‑level retouching, no layer masks. The whole sequence takes under four minutes. She moves to the next frame, applies the same preset via the sync function, and fine‑tunes. By 11:30, five portraits are exported as full‑resolution JPEGs. The afternoon is free. Luminar Neo fits a rhythm where the editing must serve the shooting, not overshadow it.
Export fix: disabling acceleration for smoother saves
Luminar Neo ships with sensible defaults, but a few adjustments make the editing environment feel more personal and responsive. These are the first four I reach for after a fresh installation:
- Turn off hardware acceleration if exporting feels sluggish. In Preferences, under the General tab, you can toggle hardware acceleration on and off. On certain Intel Macs with discrete AMD GPUs, disabling it can actually speed up export times for layered compositions. The behaviour varies, so test both states.
- Set the default colour profile to ProPhoto RGB. In the Colour Management section, switch from sRGB to ProPhoto RGB if your work moves between Luminar Neo and a wide‑gamut monitor. This preserves more colour data in the editing pipeline, particularly in saturated reds and blues.
- Reduce the cache size manually. Under the Performance tab, you can limit the cache to 10 GB instead of the automatic setting. This prevents the application from quietly consuming a quarter of a small SSD.
- Disable the welcome screen. Minor, but the welcome window that appears at launch adds a click before you reach the catalogue. Uncheck “Show this window at startup” and you save that click every single time.
Workflow: creating a moody landscape with layers and relight
This walkthrough covers a specific edit — transforming a flat midday landscape into a moody, low‑contrast scene — using Luminar Neo’s layers and AI‑powered relighting. It assumes you have already imported the image into the catalogue.
Step 1. Start in the Edit tab and apply the AI Assistant. Accept its exposure and colour temperature suggestions as a baseline. The image will likely look technically correct but emotionally neutral.
Step 2. Open the Develop panel and reduce the overall contrast by pulling the Contrast slider to −25. Increase the Blacks slightly, around +10, to soften the deepest shadows. This creates a matte foundation.
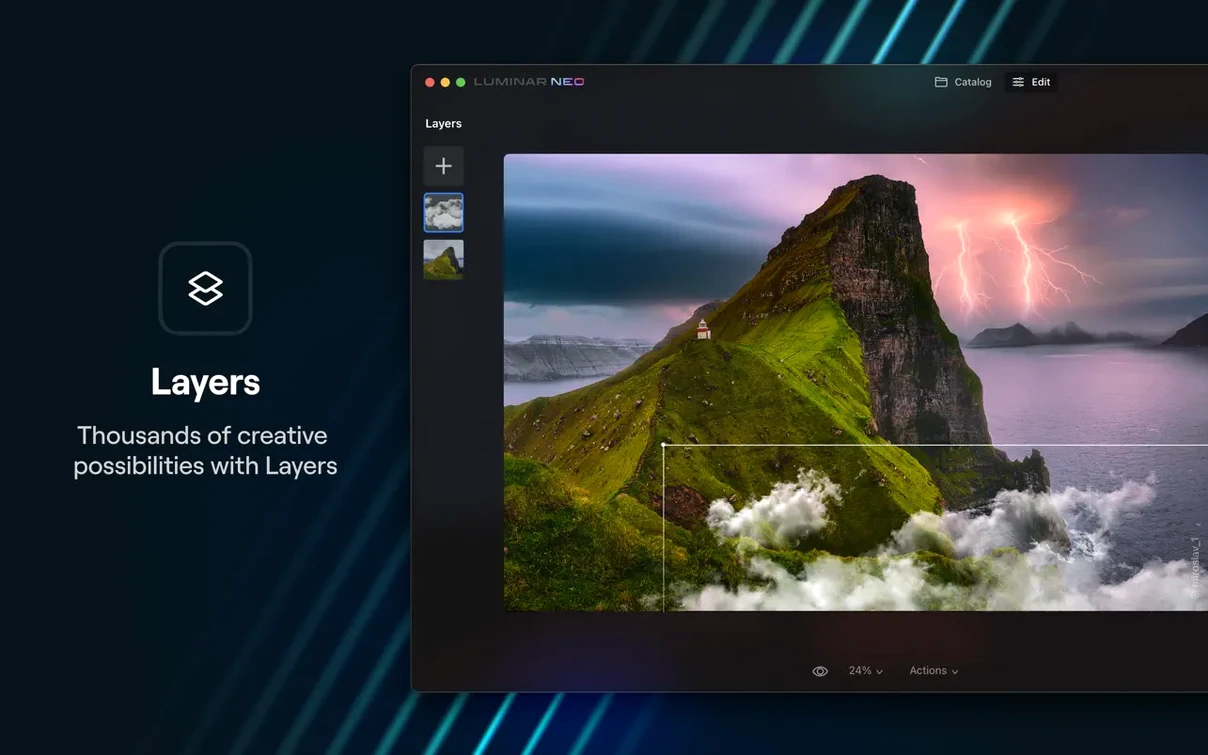
Step 3. Add a new adjustment layer. In the Layers panel, click the plus icon and choose “Add New Adjustment Layer.” Label it “Tone.” On this layer, apply the Mood tool from the Edits section. Drag the Amount slider to the left to introduce a muted, blue‑grey tonality. Set the blend mode of this layer to Soft Light at 60 % opacity. The landscape now carries a subdued, cinematic weight.
Step 4. Add a second adjustment layer named “Relight.” Open the RelightAI tool on this layer. Paint over the distant hills with the Near and Far depth sliders adjusted so only the background receives a subtle lift in luminance. Use a large, soft brush with 30 % flow so the effect builds gradually. The aim is not to brighten the hills but to separate them from a dark sky.
Step 5. Insert a texture layer. Click the plus icon again, choose “Add New Image Layer,” and select a subtle grain texture from your own library. Set the blend mode to Overlay and reduce opacity to 15 %. This layer rests above the tone adjustment but below any finishing colour work.
Step 6. Return to the base image layer and apply the Landscape tool. Increase the Golden Hour slider modestly — around +15 — to introduce a faint warmth into the midtones without overpowering the cool mood. The two treatments, cool shadows and warm midtones, create a gentle colour tension that feels organic.
Step 7. Finish with a custom vignette from the Optics panel. Set the Amount to −40 and the Feather to 80, then drag the centre point slightly off‑axis so the lightest area sits where the foreground interest lies. Export as a 16‑bit TIFF for further printing work, or as a full‑resolution JPEG for sharing.
The whole edit takes roughly seven minutes once the steps become familiar. The key is restraint: Luminar Neo’s AI tools can easily push an image into hyper‑real territory, but using layers to blend subtle effects keeps the result grounded. In short, the application rewards a painterly, additive approach — building mood through stacked, gentle adjustments rather than a single heavy‑handed filter.







Correspondence 0
Take a chair or join the table to send a letter.
No correspondence on this note yet. Letters are read before they appear.