 LeCoqRoti
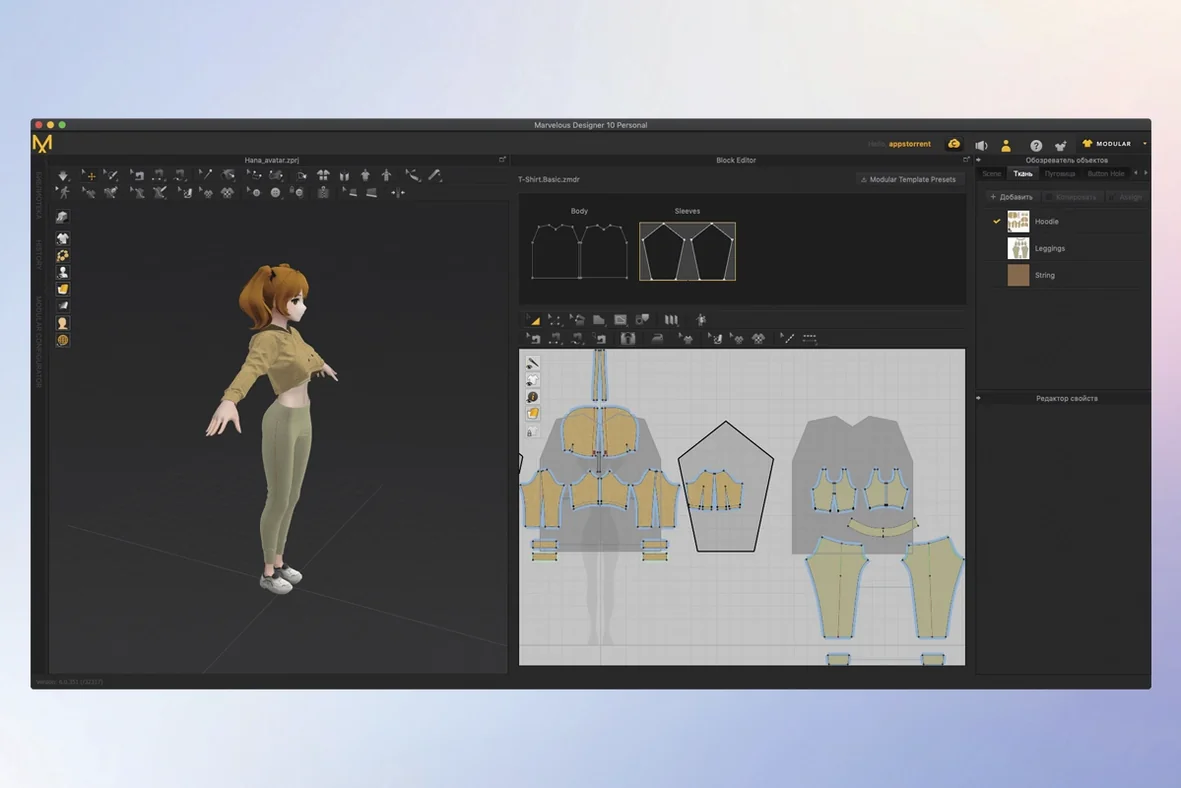
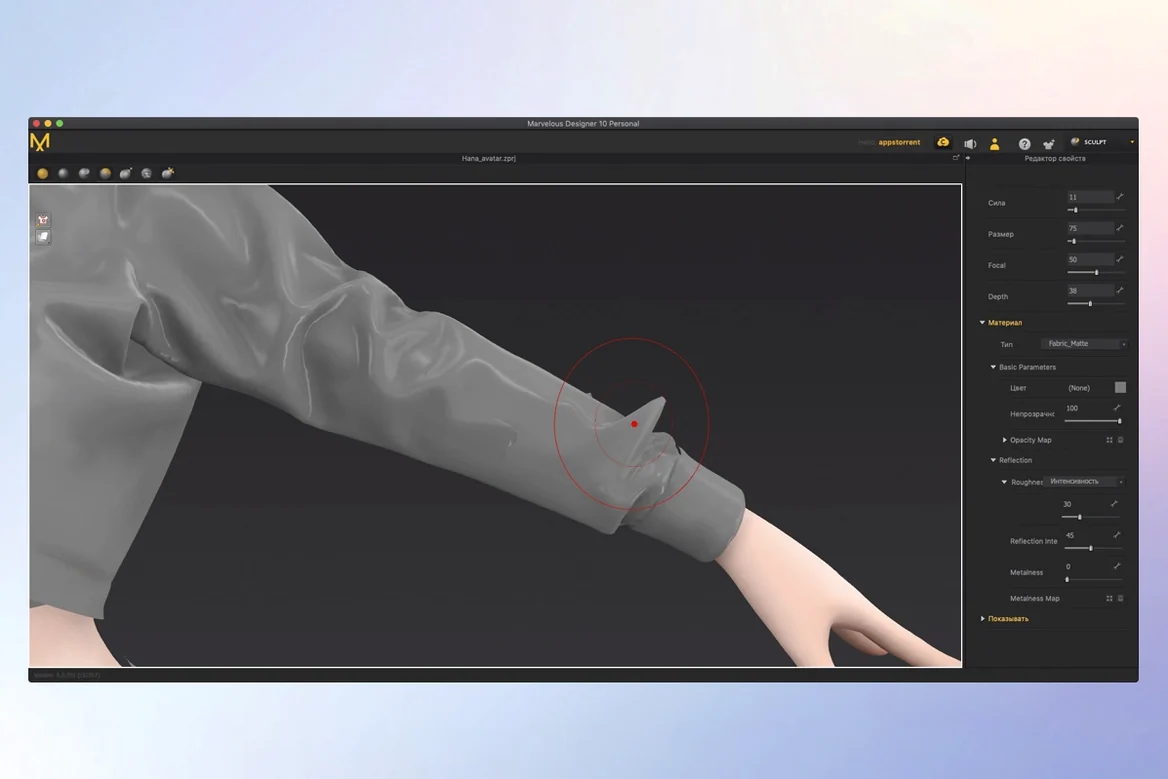
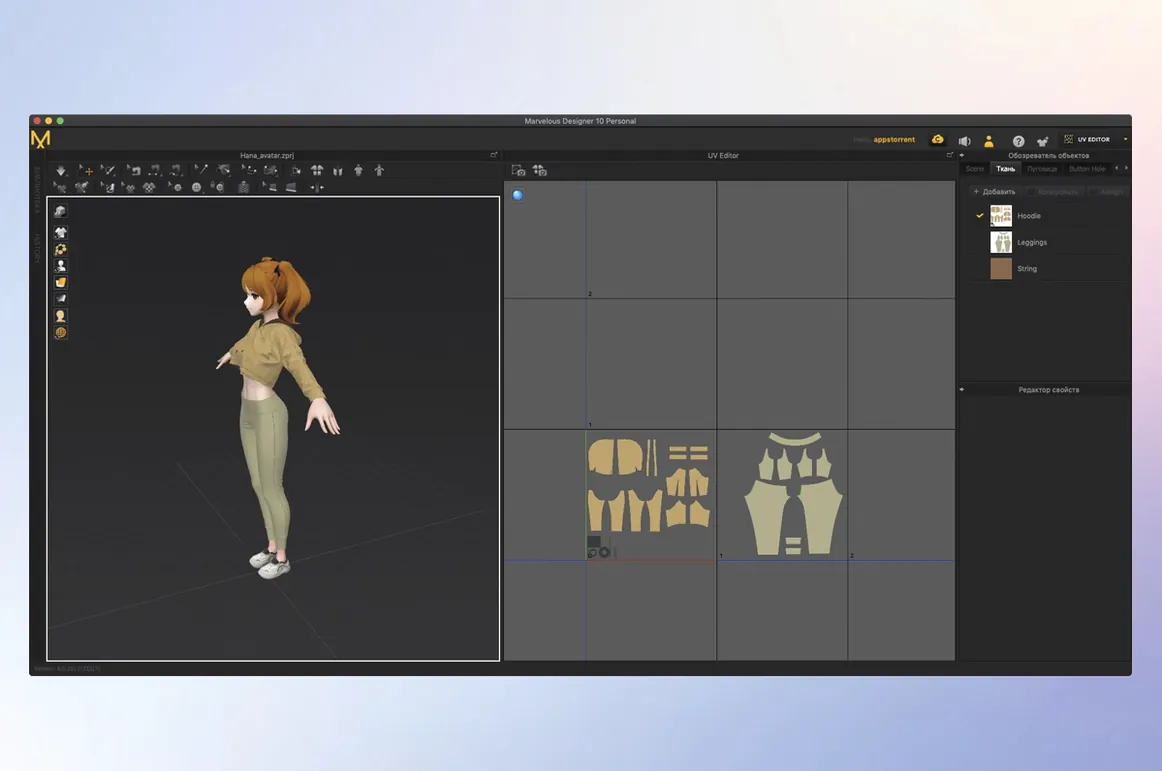
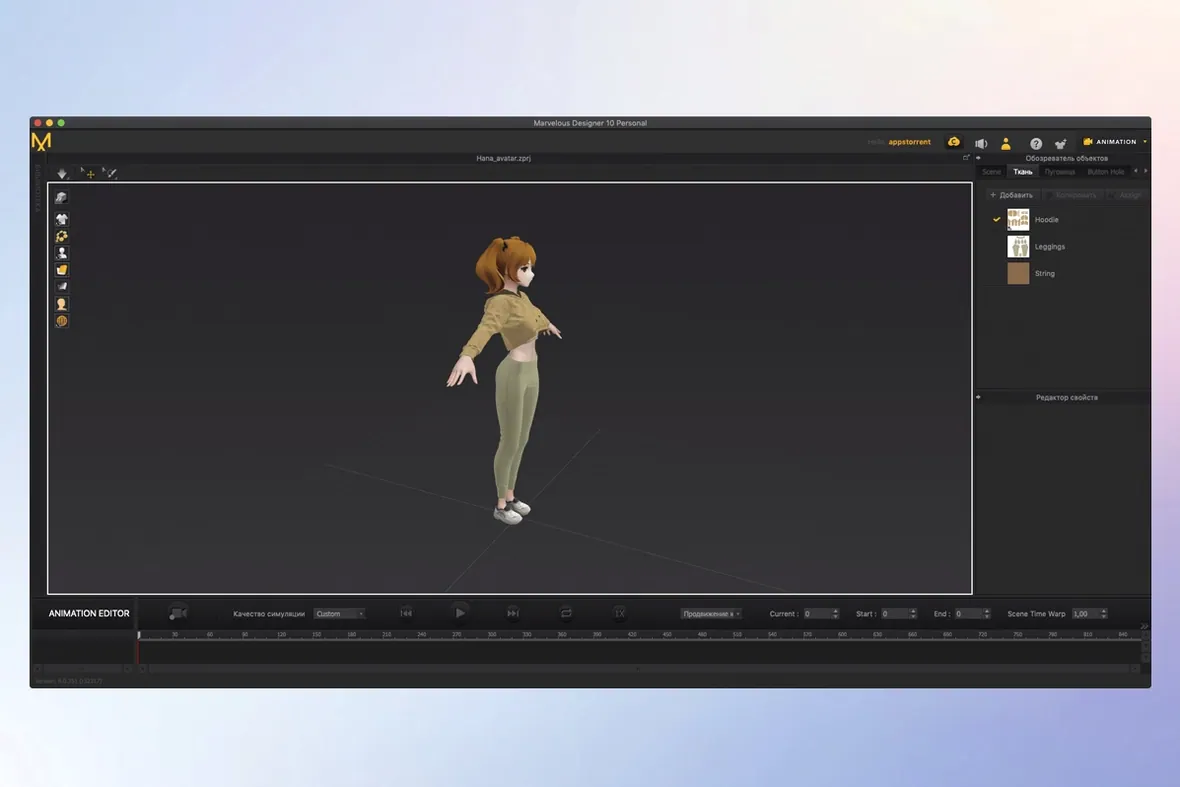
Marvelous Designer occupies a space familiar to anyone who has used a 2D pattern-making tool, yet its logic arrives fully translated into three dimensions. The polygonal pattern shapes you draft behave like cloth from the first stitch, draping over an avatar with a physicality that rewards careful seam placement.
The EveryWear pipeline: rigging and reusable wardrobes
Beyond the initial drape lies the EveryWear system, which brings template-based rigging to a character’s clothing archive. A coat fitted once can be saved as a reusable garment and transferred across multiple figures, preserving its tailored relationship to the underlying rig. This turns a single design into a lasting wardrobe component rather than a one-off file.
Toon Shader and motion recording: finishing with intent
The Toon Shader flattens realistic simulations into graphic, cel-style renders — useful when a project calls for a drawn look without losing the accuracy of the cloth solve. Alongside this, the software records clothing motion during character animation, capturing the behaviour of folds, buttons and layered accessories in real time. The result is a simulation that retains its material logic even when exported into a broader pipeline.
First adjustments: preferences worth changing early
New users often accept the default simulation parameters without question, but three settings repay immediate attention. Under Preferences > Simulation, reduce the default Particle Distance for pattern pieces you intend to refine — a value of 10 mm works for rough blocking, while 5 mm reveals the drape of a cotton blouse and 3 mm catches how a silk scarf pools on a surface. Lower particle distances increase calculation time, so keep them on a per-fabric basis rather than applying them globally.
Next, disable Auto Sewing when importing third-party patterns. The feature attempts to join adjacent edges automatically, but on complex meshes it creates unintended seam lines that buckle the fabric. Sew manually for control. Finally, set your Undo Memory to at least 50 steps; the default is conservative, and a pattern-drafting session with multiple fitting passes exhausts it faster than the interface suggests.
Overlooked shortcuts and small conveniences
Several gestures in the 2D and 3D windows remain undocumented in the toolbar but become habitual once discovered. Holding Shift while dragging a pattern piece in the 3D view locks movement to the horizontal plane, useful for positioning a collar relative to the neck without accidentally lifting it. In the 2D window, Ctrl + drag on an internal line flattens it into a fold angle rather than moving the entire segment — a distinction that saves repeated trips to the Property Editor.
The Arrange Pattern tool, tucked under the 2D toolbar’s secondary flyout, distributes pieces across the UV grid with a single click once you have assigned a fabric. Fewer clicks than manual arrangement, especially after splitting a bodice into six panels. In the 3D viewport, double-tapping Space resets the simulation from the initial flat state, which is faster than hunting for the reset icon when a seam tangles mid-solve.
A hidden convenience worth noting: the Measure tool accepts two internal lines and reports the angle between them. Tailors use this to check shoulder slope against a reference block, but it also catches asymmetries in digital patterns before fabric-cutting decisions become final.
Dragging fabric like clay: misuse of the 3D view
The most frequent mistake is treating Marvelous Designer as a sculpting application. New users pull and pinch fabric in the 3D view as though shaping clay, ignoring the fact that every fold originates from the 2D pattern and the sewing relationships. A wrinkle that appears wrong usually means a seam is too short or a dart is missing — not that the simulation engine needs overriding. Fix the pattern, then re-simulate.
Another early error: simulating at full particle distance and then freezing the cloth before export. The frozen mesh locks in the coarse geometry, producing faceted edges in renders. Always run a final simulation at the target particle distance for the intended output resolution, and only freeze after the cloth has settled. Similarly, beginners often skip assigning physical properties to trims and buttons. A metal button with default cotton parameters flutters like a leaf; the Preset dropdown in the Fabric tab includes rigid options for fasteners that behave correctly under gravity.
Overlapping pattern pieces in the 2D window before arrangement is another trap. When two pieces occupy the same space, the simulator treats them as a collision pair from the first frame, often launching the garment off the avatar. Keep pieces separated on the grid, arrange them only after sewing is complete, and simulate in stages — first the main body, then collars and cuffs, then accessories.
Pre-export cleanup: naming pattern pieces for Maya or Blender
Marvelous Designer speaks to other applications through USD and Alembic formats, and a clean export depends on preparation inside the software. Before sending a garment to Maya or Blender, select each pattern piece and apply a meaningful Fabric Name in the Property Editor; these names carry through as material assignments in the receiving application and prevent a single monolithic shader being applied to an entire outfit. The Alembic export options include a tick-box for UV Coordinates — off by default, but essential if you plan to texture in Substance Painter or Mari.
A workflow that rewards the effort: simulate the garment through a full motion sequence in Marvelous Designer, export Alembic caches of the cloth, and import them into ZBrush for detail sculpting on the frozen frame. The folds generated by the solver become the base for wrinkles added with the Dam Standard brush, combining physical accuracy with artistic control.
On macOS, the software integrates with Quick Look for .zprj and .zpac files, showing a preview thumbnail of the garment without opening the full project. The Services menu also recognises selected pattern pieces, allowing you to pipe them to a text editor as plain coordinate data — a peculiar but occasionally useful bridge to custom pipeline tools. For artists working with the marvelous designer mac version, the unified file format means project files move between Intel and Apple Silicon machines without conversion, and the simulation speed difference on M-series chips is tangible during multi-garment solves.







Correspondence 0
Take a chair or join the table to send a letter.
No correspondence on this note yet. Letters are read before they appear.