 LeCoqRoti
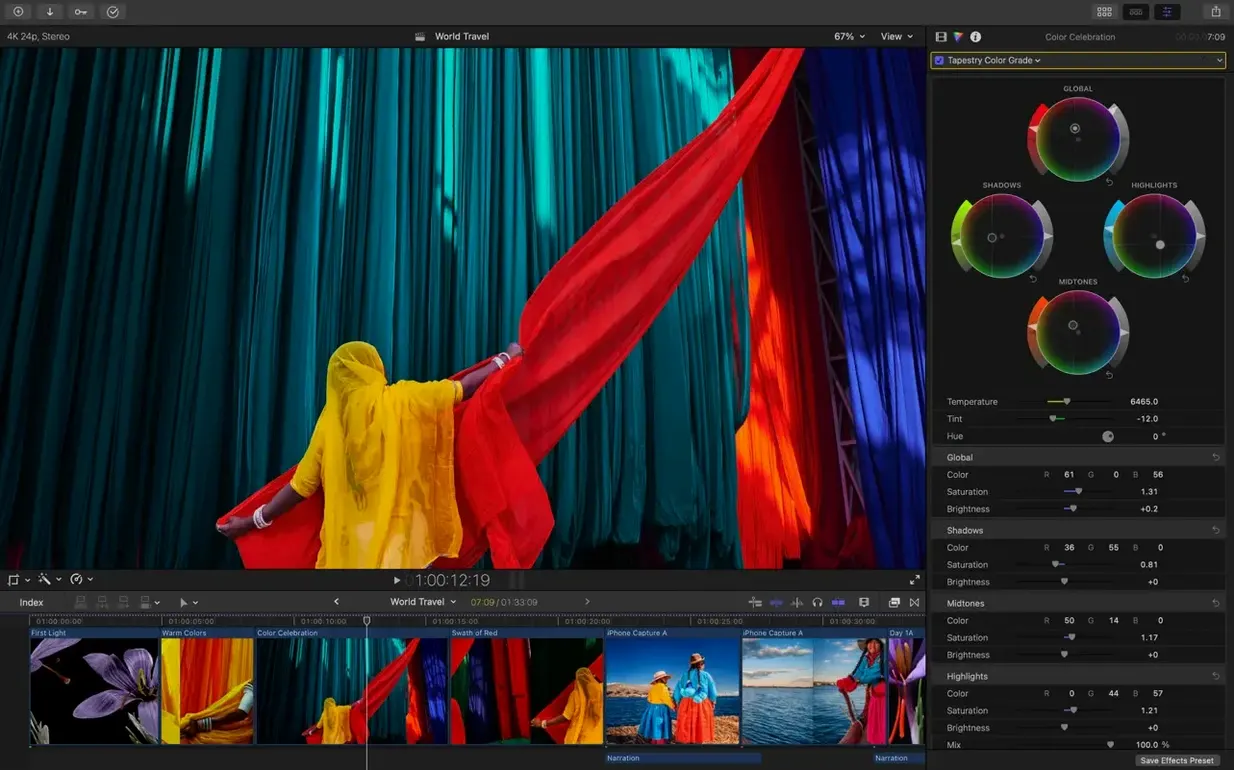
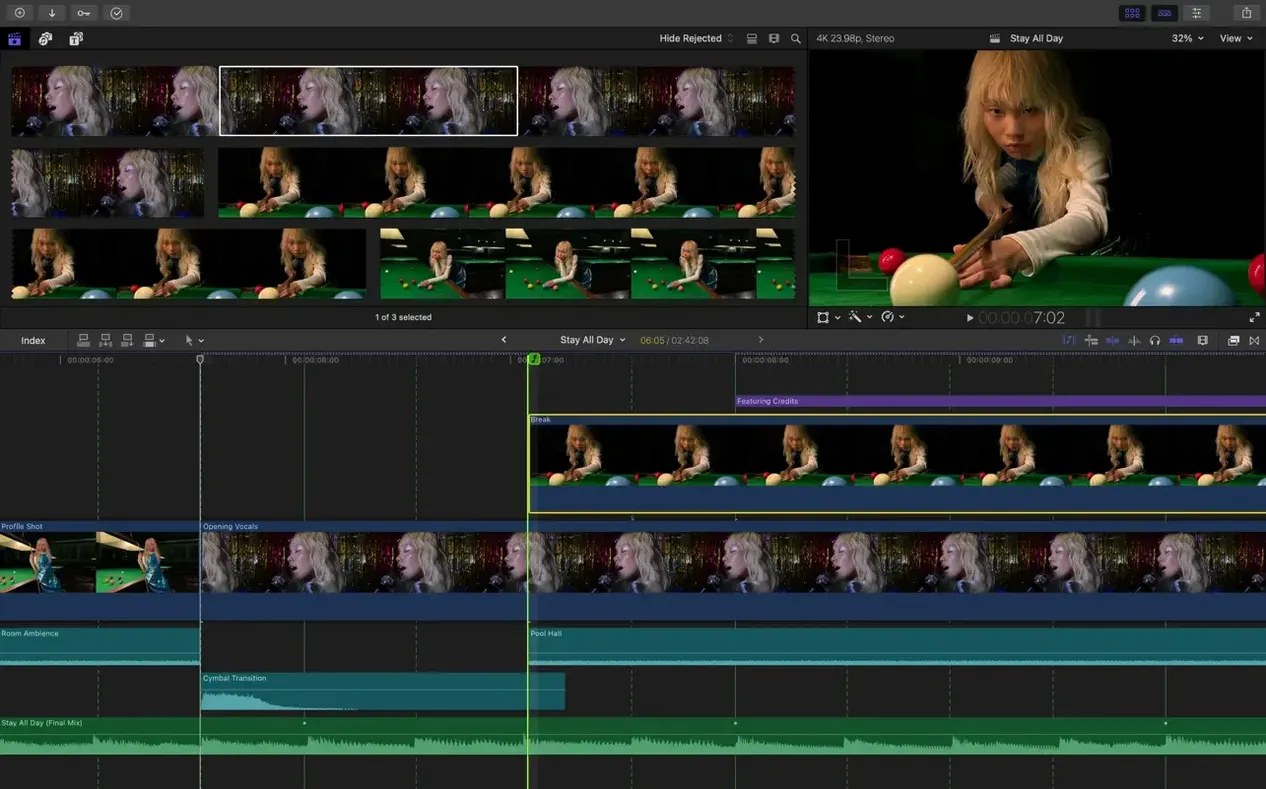
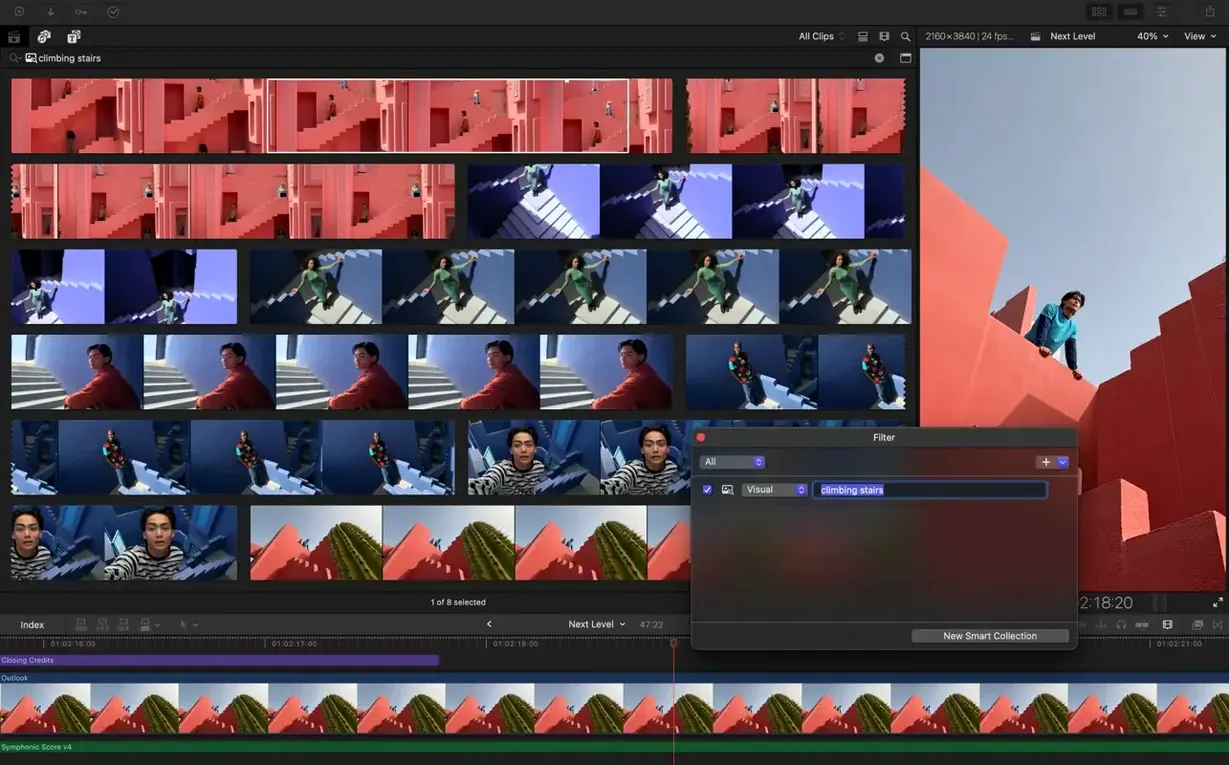
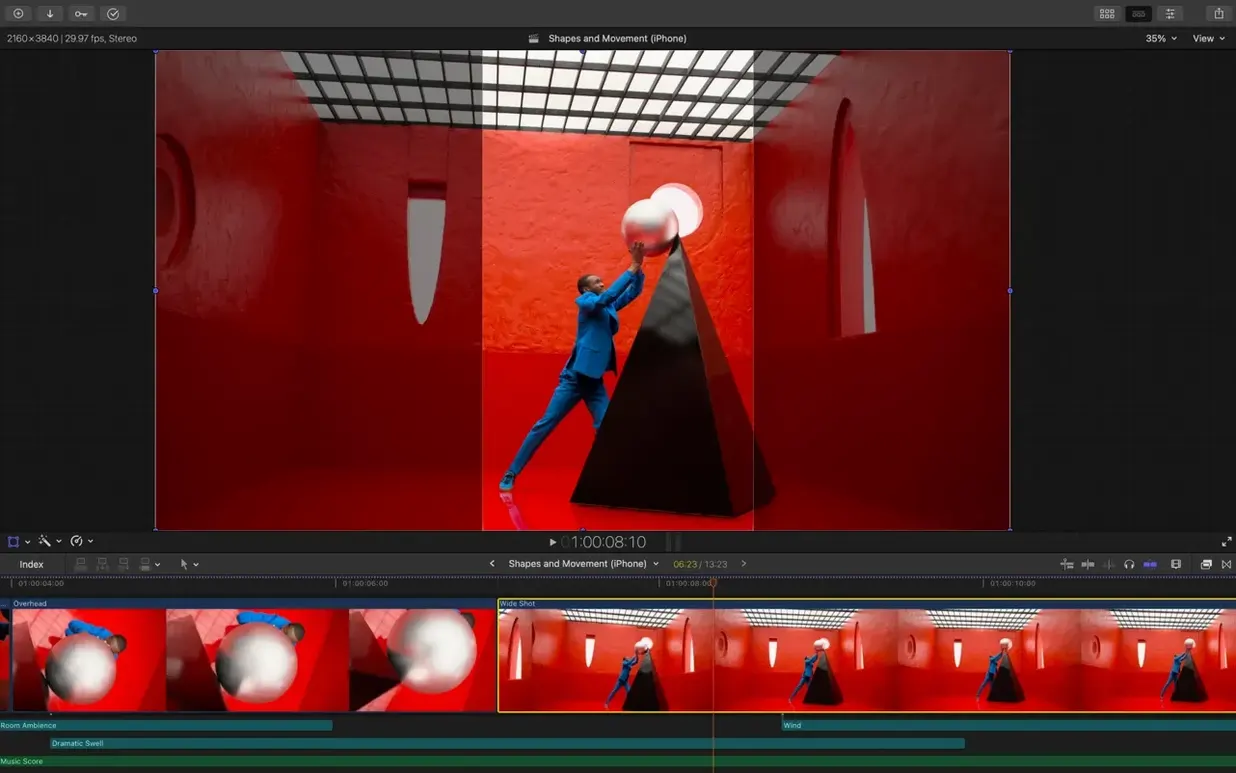
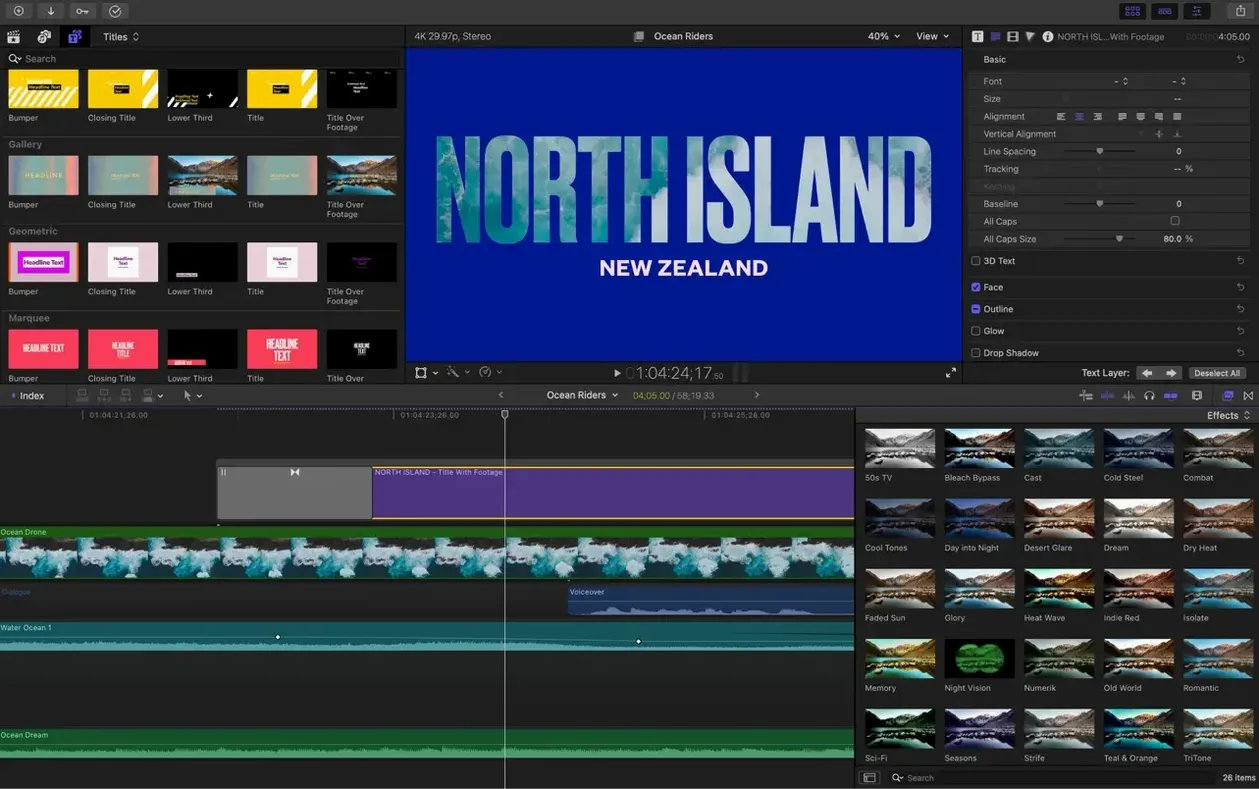
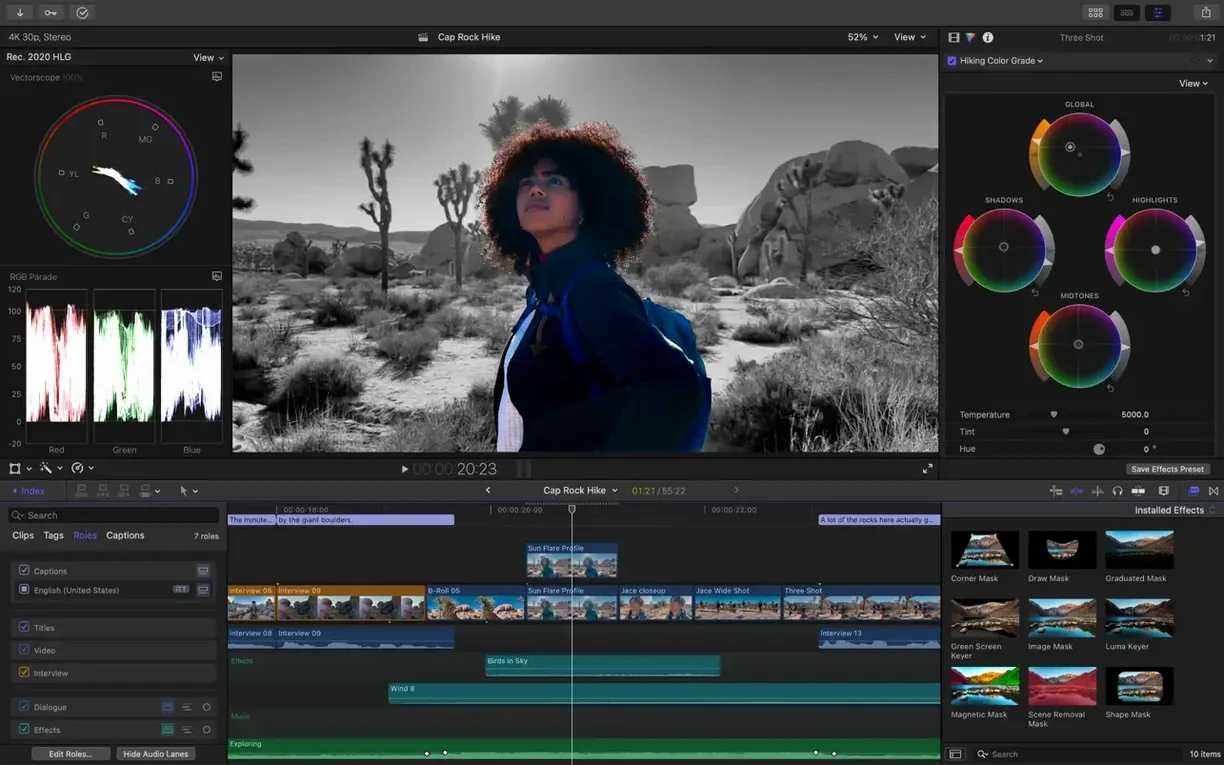
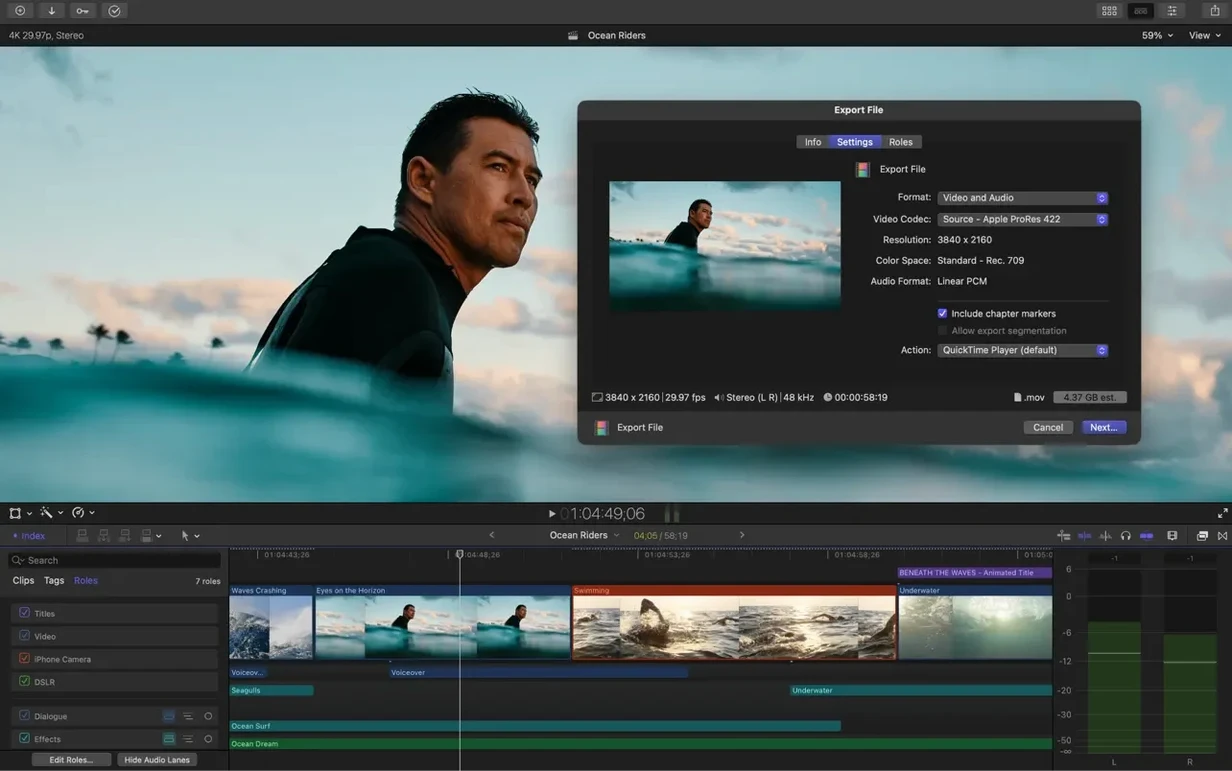
Final Cut Pro is Apple’s professional video editor, built around a trackless Magnetic Timeline that keeps clips connected to their audio and effects. For someone opening it for the first time, the interface is calm but layered: a browser for libraries on the left, a viewer at the centre, and a dark timeline below. This selection focuses on features that reveal how the app thinks, not just a feature list.
- Try the Magnetic Timeline straight away. Drop a few clips in and feel how connected storylines move as a unit. Press P for the Position tool if you need to place a clip without ripple; press A to return to the Arrow tool.
- Assign a keyword to a clip range. Select a portion in the browser, press Command-K, and type a term like “close-up” or “keeper”. Smart Collections then gather every clip with that keyword automatically.
- Experiment with Smart Conform. Load a 16:9 project into a square or vertical format. The tool analyses the frame and keeps the dominant action centred — a quick way to repurpose a landscape edit for social media.
- Generate a proxy library. Highlight your media, choose File > Transcode Media, and create ProRes Proxy copies. Working with proxies keeps playback smooth on a MacBook, and you switch back to originals only for the final export.
- Open the inspector for a colour correction. Select a clip, press Command-6, and add a simple colour board adjustment. It is a quiet introduction to the grading tools before exploring Match Colour across different camera sources.
Each of these steps touches a core part of the app — the timeline, the organisational model, the export workflow — without requiring plug-ins or complex setups. The goal is to learn how Final Cut Pro keeps media organised and how it handles movement across formats, so the editor can concentrate on the cut itself.
Library hygiene: an hour to banish future clutter
Once the application is installed and a first library created, a handful of deliberate habits prevent the kind of accumulated clutter that becomes hard to untangle later. These are things you can set up in under an hour, while the interface still feels fresh.
- Decide where your libraries live. Internal drive for speed, external SSD for space — but pick one location and stick to it. Libraries can swell quickly once proxy media and render files accumulate, so a clean root folder named FCP Libraries avoids searching across scattered directories a month later.
- Create a custom workspace and save it early. Drag the browser wider, collapse the inspector if you do not need it during an assembly pass, then choose Window > Workspaces > Save Workspace As. The app ships with default layouts, but a personal one — maybe timeline left, inspector right, angles hidden — saves a dozen small adjustments each time you return.
- Set a storage location for media and cache. In Library Properties, point the media and motion content folders to the drive you chose. Leave cache on the fastest internal drive if you can; Final Cut Pro generates waveform displays, thumbnails and optical flow analyses there, and the read‑ahead benefit is noticeable.
- Learn the three keyboard shortcuts you will use every session. E appends a selected clip to the end of the storyline, W inserts it at the playhead, and Option‑W inserts silence or a gap. Those three alone reshape the speed of a timeline assembly.
- Turn on reference waveforms for audio. In View, enable Show Reference Waveforms. The translucent overlay of the largest waveform across all channels makes it easier to spot where dialogue overlaps or music peaks, without opening the audio inspector at all.
Built for the solo shooter: from ingest to final export
The editor who feels most at home in Final Cut Pro tends to work within a self‑contained media world: they shoot, they log, they edit, they deliver. The tight relationship between the browser, keywords and timeline rewards an organised mind more than a large team requires. A single person moving from ingest to final export finds that the library structure removes the kind of asset drift that happens when media folders sit outside the application.
Solo documentary makers are a natural fit. A documentary timeline can accumulate fifty hours of interview and B‑roll, much of it needing quick tagging. Keyword ranges applied to parts of clips — not whole files — allow “soundbite” or “reaction” collections that populate automatically. Smart Collections then filter those ranges by camera, by date, or by a custom metadata field, which turns a sprawling library into something searchable before a single edit is placed.
Social content teams who need to produce vertical, square and landscape versions from one master edit also gain a great deal. Smart Conform reduces the manual reframing burden, and roles‑based export lets them deliver a clean version with embedded captions, a version with burned‑in captions, and a music‑only stem — all from the same timeline, in one pass. The caption workflow, built directly into the viewer rather than an external tool, removes a round‑trip that would otherwise add an hour to every revision cycle.
Larger post‑production facilities may still lean on XML as a bridge to DaVinci Resolve or Pro Tools for finishing, and Final Cut Pro supports that cleanly. An assistant editor can organise, sync, and create a string‑out before exporting an XML for a colourist and an AAF for a sound mixer. The app does not try to replace those specialised environments; it prepares material for them.
A typical session, told step by step
Imagine it is late morning in a small studio. An editor, Kei, sits at a Mac Studio with two displays and a library of footage from a product launch shot the day before. The session unfolds in a familiar rhythm.
Ingest and review. Kei connects the camera card, imports the media into a new event called Launch_2025, and checks Create proxy media during import. While the proxies transcode, she skims through each clip in the browser using the J-K-L keys — reverse, pause, forward — setting in‑and‑out points with I and O as she goes. Clips that show good reactions get a keyword range labelled “hero expression”.
Rough assembly. She switches to the timeline view and starts dragging the best takes into a new project. The Magnetic Timeline pulls connected audio and cutaways along as she trims and re‑orders. When a gap appears, she presses Option‑W and types a duration to insert a deliberate pause — a beat before the next speaker. A secondary storyline holds B‑roll shots of the product, connected to the primary clip they illustrate with a simple drag.
First sound pass. Kei opens the audio inspector on the dialogue clips and applies a Channel EQ preset to reduce low‑end rumble from the venue. She assigns roles — Dialogue for the main speaker, Music for the background track, Effects for the product sounds — so that later she can export a music‑only version for the client with two clicks.
Colour and captions. Using Match Colour, she selects a well‑lit reference shot and applies the look across the remaining interview angles. The result is not final‑grade material, but consistent enough for a review. She then selects the project and chooses Edit > Captions > Generate Captions. The transcription appears in the inspector; she skims through to correct a product name, then adjusts the caption style to a thin sans‑serif on a dark translucent bar.
Export and share. With the timeline selected, she navigates to File > Share > Export File and sets the roles to export only the dialogue and music stems, plus a master file with captions embedded. The queue runs in the background while she writes the email to the client. Forty minutes from import to delivery, with no round‑trips to another application.
A caption‑first workflow for social delivery
Short promotional edits destined for Instagram or YouTube Shorts often start from a single interview answer. The goal is a vertical clip under sixty seconds, with readable captions, a branded lower‑third, and background music that ducks under the voice. Here is a repeatable path through the app.
Begin in the browser: locate the interview clip, set in‑and‑out points around the chosen answer, and press E to append it to a new vertical project set to 1080×1920. Apply Smart Conform immediately — the tool analyses the speaker’s face and keeps it centred in the frame, which is usually correct for a talking head. For a clip where the speaker moves laterally, switch to manual reframing with the Transform tool and keyframe a gentle horizontal pan.
With the clip placed, select it and choose Edit > Captions > Generate Captions. The app transcribes the speech and lays timed captions onto the viewer. Adjust the typeface to match the brand — a geometric sans‑serif in bold white, outlined with a 2‑pixel black stroke for legibility on light backgrounds. Use the inspector to set the type size and background, then skim through and correct any misheard words. The captions are now part of the project, not a separate sidecar file, so they export with every version automatically.
Add a lower‑third title from the Titles browser, drag it above the storyline so it connects to the interview clip, and type the speaker’s name and title. Use the Object Tracker to pin a small logo bug to the lower‑right corner: draw a tracking region over a stationary area of the shirt or background, and the effect follows even if the speaker leans slightly.
For audio, assign the interview clip the Dialogue role and import a music track under a Music role. Open the audio inspector on the music clip and raise the ducking amount to 18 dB, with the ducking source set to Dialogue. The music now dips automatically whenever the speaker is present, without needing keyframes.
Export once with Roles as Separate Files disabled for a finished social clip, and optionally a second time with roles enabled if the client wants a clean version for re‑editing. The whole process, from raw interview to captioned vertical edit, stays inside one application.
Hokkaido in three hours: mixing drones, phones and interviews
A travel filmmaker returns from a week in Hokkaido with a mix of drone footage, handheld iPhone clips, and a handful of interviews recorded on a mirrorless camera. The library holds about three hours of material across three formats — XAVC, HEVC, and ProRes — with a mix of frame rates and colour spaces. The deliverable is a three‑minute highlight reel for a tourism board, with a secondary vertical cut for Instagram.
The filmmaker starts by creating a library called Hokkaido_2025 and three events: Drone, Interviews, and Vérité. Each event receives its media during import. As clips appear in the browser, she assigns keywords liberally — “aerial wide”, “food close‑up”, “laughing”, “snow texture” — and creates a Smart Collection that gathers everything tagged “aerial” from all three events into one place. This collection becomes the first building block for the opening montage.
On the timeline, she lays a slow piece of piano music as the primary storyline and begins connecting drone shots above it as connected clips. The Magnetic Timeline keeps each clip paired to the beat of the music; she trims with the T key for slip edits, shifting the visible portion of a clip without moving its in‑point. A multicam clip synchronises two interview angles — the wide and the close‑up — using the audio waveform, and she cuts between them in real time by clicking the angle viewer during playback.
Colour comes last. She applies the standard Rec. 709 colour space to the project, then uses Match Colour to pull the iPhone clips closer to the drone’s neutral profile. A subtle film grain overlay — applied as an adjustment layer connected above the entire timeline — gives the varied sensors a unified texture. For the vertical version, she duplicates the project







Correspondence 0
Take a chair or join the table to send a letter.
No correspondence on this note yet. Letters are read before they appear.